Chapter 3: Setting up and connecting
Follow this procedure to scan for channels from an
1Press the MENU button on your remote control.
2Highlight the SETUP menu item, and press the OK button.
3Highlight the Antenna & Cable menu item, and press the OK button.
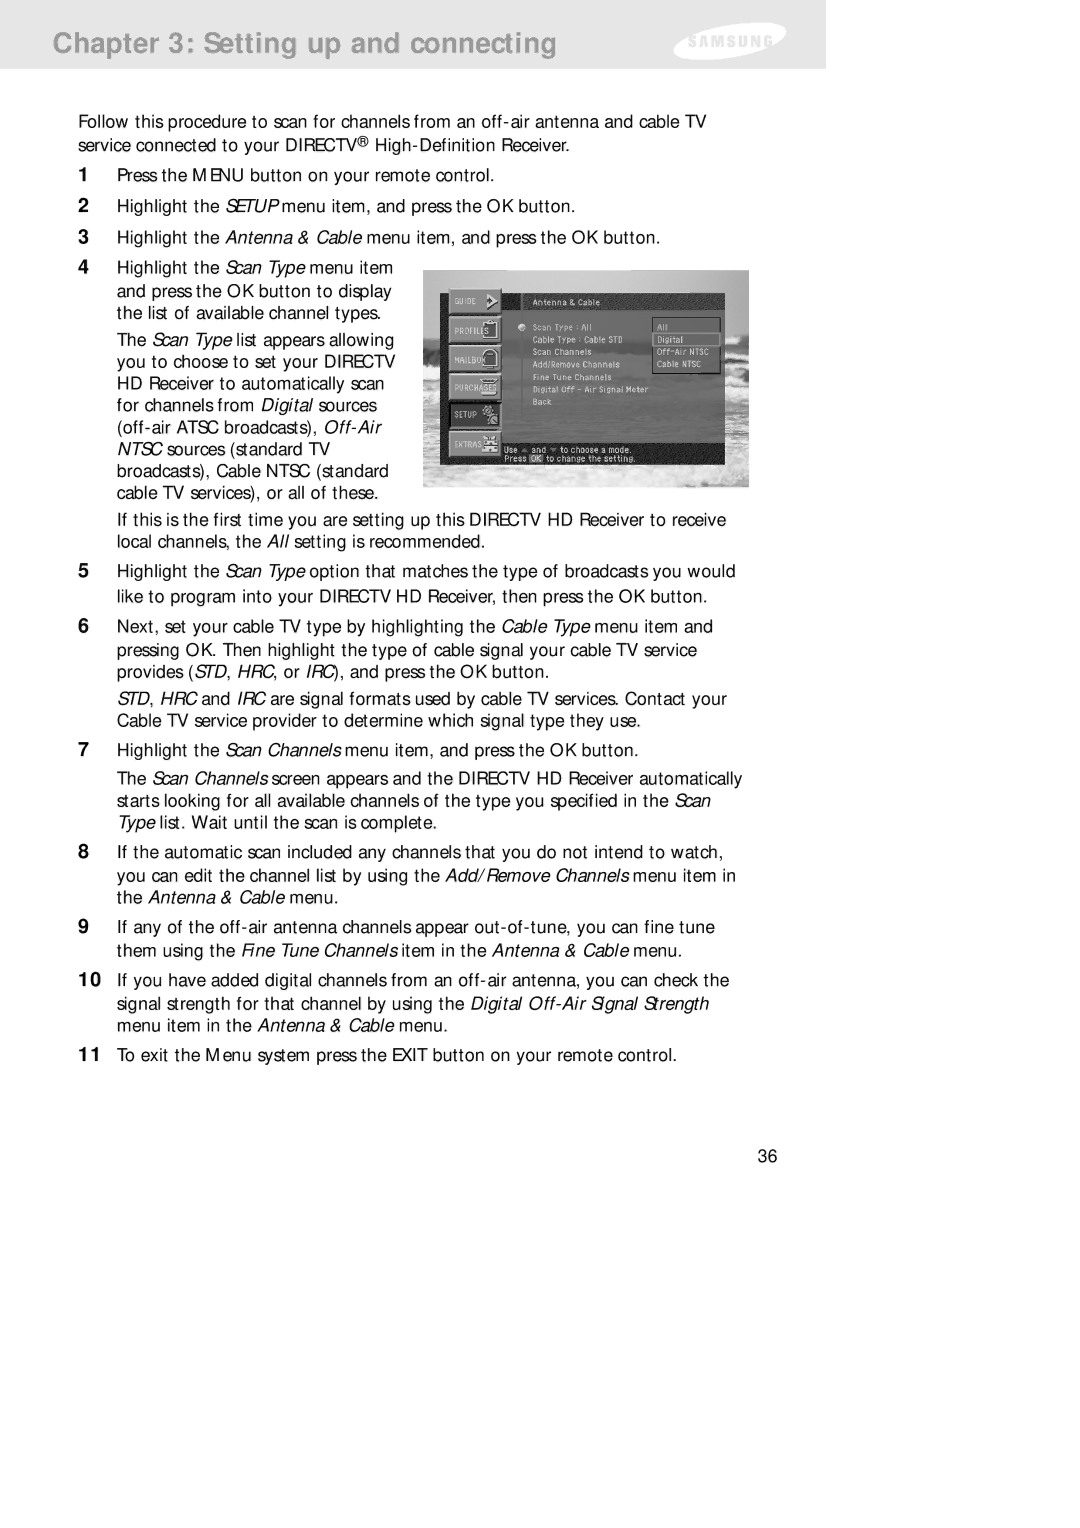
4Highlight the Scan Type menu item and press the OK button to display the list of available channel types.
The Scan Type list appears allowing you to choose to set your DIRECTV HD Receiver to automatically scan for channels from Digital sources
If this is the first time you are setting up this DIRECTV HD Receiver to receive local channels, the All setting is recommended.
5Highlight the Scan Type option that matches the type of broadcasts you would like to program into your DIRECTV HD Receiver, then press the OK button.
6Next, set your cable TV type by highlighting the Cable Type menu item and pressing OK. Then highlight the type of cable signal your cable TV service provides (STD, HRC, or IRC), and press the OK button.
STD, HRC and IRC are signal formats used by cable TV services. Contact your Cable TV service provider to determine which signal type they use.
7Highlight the Scan Channels menu item, and press the OK button.
The Scan Channels screen appears and the DIRECTV HD Receiver automatically starts looking for all available channels of the type you specified in the Scan Type list. Wait until the scan is complete.
8If the automatic scan included any channels that you do not intend to watch, you can edit the channel list by using the Add/Remove Channels menu item in the Antenna & Cable menu.
9If any of the
10If you have added digital channels from an
11To exit the Menu system press the EXIT button on your remote control.
36
