Chapter 5. Quick Setup
This chapter explains the Quick Setup menu, from which you can set the recording mode and the system date and time. You can also turn on event checking and audio, and select the language for the system to use.
This chapter information is presented in the following sections:
▶5.1 Working on the Quick Setup Menu
▶5.2 Setting the Record Mode
▶5.3 Setting the Date and Time
5.1. Working on the Quick Setup Menu
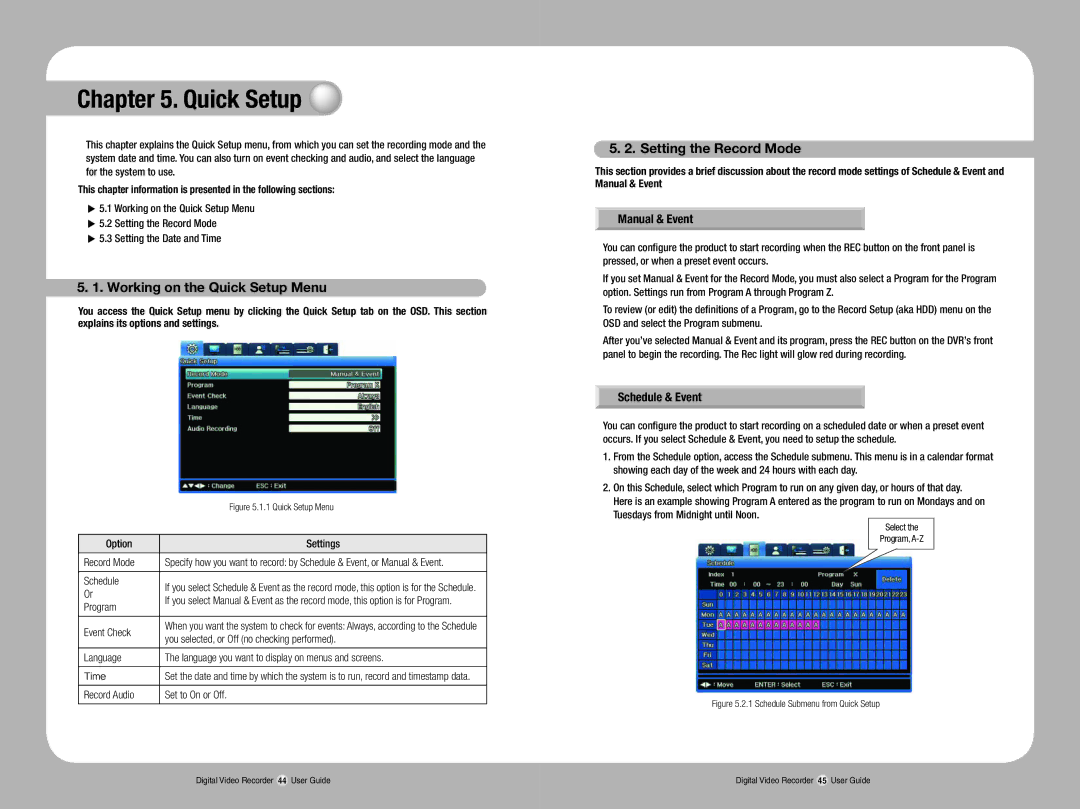
You access the Quick Setup menu by clicking the Quick Setup tab on the OSD. This section explains its options and settings.
| Figure 5.1.1 Quick Setup Menu | |
|
| |
Option | Settings | |
|
| |
Record Mode | Specify how you want to record: by Schedule & Event, or Manual & Event. | |
|
| |
Schedule | If you select Schedule & Event as the record mode, this option is for the Schedule. | |
Or | ||
If you select Manual & Event as the record mode, this option is for Program. | ||
Program | ||
| ||
|
| |
Event Check | When you want the system to check for events: Always, according to the Schedule | |
you selected, or Off (no checking performed). | ||
| ||
|
| |
Language | The language you want to display on menus and screens. | |
|
| |
Time | Set the date and time by which the system is to run, record and timestamp data. | |
|
| |
Record Audio | Set to On or Off. | |
|
|
5. 2. Setting the Record Mode
This section provides a brief discussion about the record mode settings of Schedule & Event and Manual & Event
Manual & Event
You can configure the product to start recording when the REC button on the front panel is pressed, or when a preset event occurs.
If you set Manual & Event for the Record Mode, you must also select a Program for the Program option. Settings run from Program A through Program Z.
To review (or edit) the definitions of a Program, go to the Record Setup (aka HDD) menu on the OSD and select the Program submenu.
After you’ve selected Manual & Event and its program, press the REC button on the DVR’s front panel to begin the recording. The Rec light will glow red during recording.
Schedule & Event
You can configure the product to start recording on a scheduled date or when a preset event occurs. If you select Schedule & Event, you need to setup the schedule.
1.From the Schedule option, access the Schedule submenu. This menu is in a calendar format showing each day of the week and 24 hours with each day.
2.On this Schedule, select which Program to run on any given day, or hours of that day. Here is an example showing Program A entered as the program to run on Mondays and on Tuesdays from Midnight until Noon.
Select the
Program,
Figure 5.2.1 Schedule Submenu from Quick Setup
Digital Video Recorder 44 User Guide | Digital Video Recorder 45 User Guide |
