Chapter 2. SVR-1670 Description
Setting the SVR-1670’s ID for the Remote Control
You can control up to 16
· Setting the ID for the remote control device
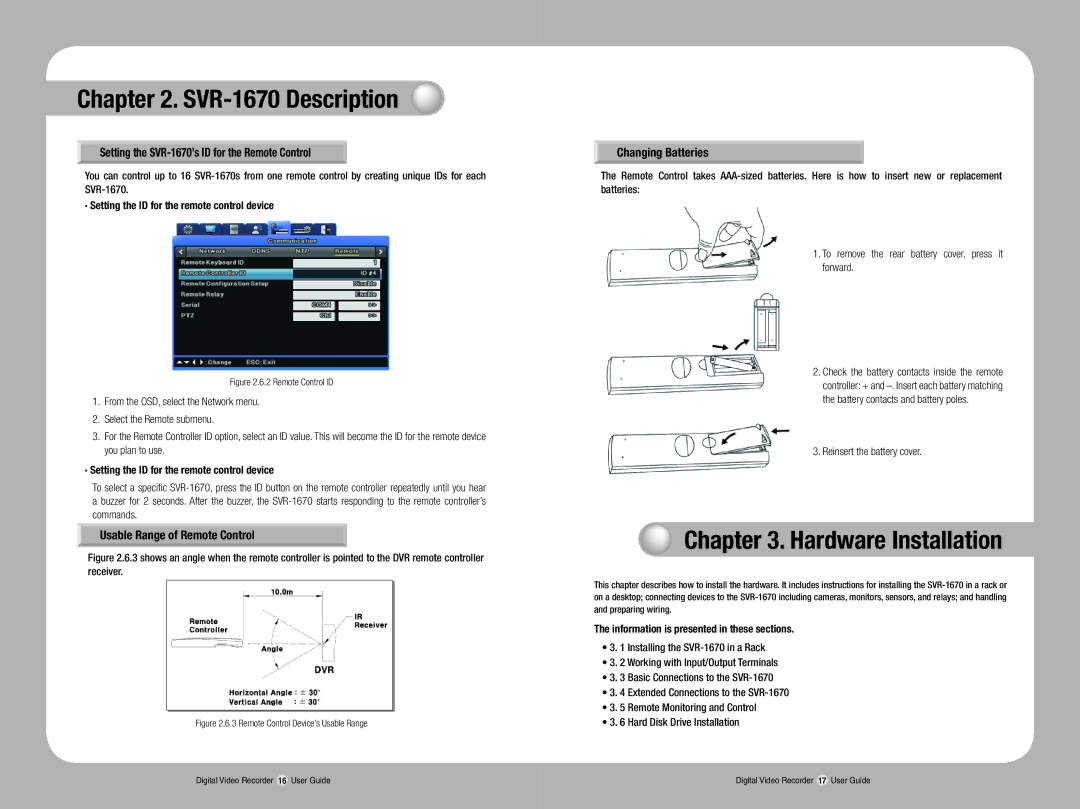
Figure 2.6.2 Remote Control ID
1.From the OSD, select the Network menu.
2.Select the Remote submenu.
3.For the Remote Controller ID option, select an ID value. This will become the ID for the remote device you plan to use.
·Setting the ID for the remote control device
To select a specific
Usable Range of Remote Control
Figure 2.6.3 shows an angle when the remote controller is pointed to the DVR remote controller receiver.
Figure 2.6.3 Remote Control Device’s Usable Range
Changing Batteries
The Remote Control takes
1. To remove the rear battery cover, press it forward.
2. Check the battery contacts inside the remote controller: + and
3. Reinsert the battery cover.
Chapter 3. Hardware Installation
This chapter describes how to install the hardware. It includes instructions for installing the
The information is presented in these sections.
•3. 1 Installing the
•3. 2 Working with Input/Output Terminals
•3. 3 Basic Connections to the
•3. 4 Extended Connections to the
•3. 5 Remote Monitoring and Control
•3. 6 Hard Disk Drive Installation
Digital Video Recorder 16 User Guide | Digital Video Recorder 17 User Guide |