Chapter 5. Quick Setup
3.Once you have completed the Record setup, notice the Rec light on the DVR’s front panel flickers and the symbol S displays to show that all channels are recording as scheduled.
5.3. Setting the Date and Time
Setting the system time is very important for the validity of your recorded data. The date and time you set governs all schedules your subsequently configure for the DVR. The date and time appear on all monitor displays and on all timestamps for events.
Plan carefully if you need to set the date and time! Back up video before changing the time.
Do not change time setting while recording. Doing so can compromise the date stamping of the recording.
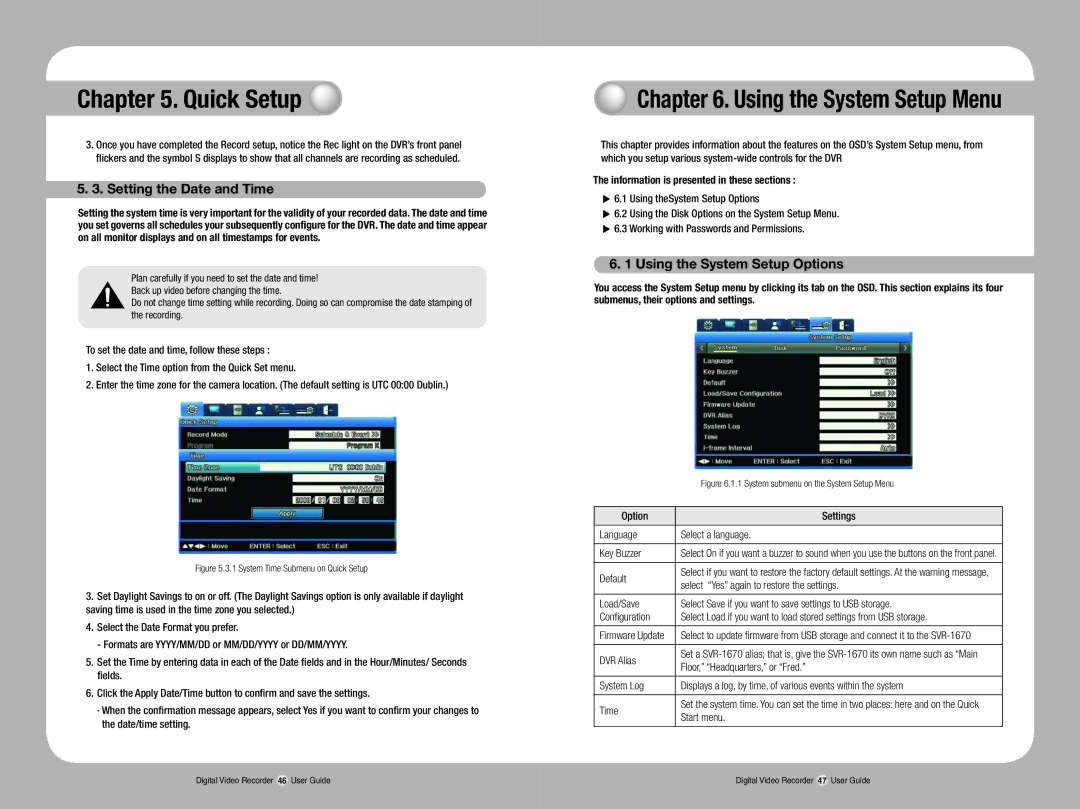
To set the date and time, follow these steps :
1.Select the Time option from the Quick Set menu.
2.Enter the time zone for the camera location. (The default setting is UTC 00:00 Dublin.)
Figure 5.3.1 System Time Submenu on Quick Setup
3.Set Daylight Savings to on or off. (The Daylight Savings option is only available if daylight saving time is used in the time zone you selected.)
4.Select the Date Format you prefer.
- Formats are YYYY/MM/DD or MM/DD/YYYY or DD/MM/YYYY.
5.Set the Time by entering data in each of the Date fields and in the Hour/Minutes/ Seconds fields.
6.Click the Apply Date/Time button to confirm and save the settings.
· When the confirmation message appears, select Yes if you want to confirm your changes to the date/time setting.
Chapter 6. Using the System Setup Menu
This chapter provides information about the features on the OSD’s System Setup menu, from which you setup various
The information is presented in these sections :
▶6.1 Using theSystem Setup Options
▶6.2 Using the Disk Options on the System Setup Menu.
▶6.3 Working with Passwords and Permissions.
6.1 Using the System Setup Options
You access the System Setup menu by clicking its tab on the OSD. This section explains its four submenus, their options and settings.
| Figure 6.1.1 System submenu on the System Setup Menu | |
|
| |
Option | Settings | |
|
| |
Language | Select a language. | |
|
| |
Key Buzzer | Select On if you want a buzzer to sound when you use the buttons on the front panel. | |
|
| |
Default | Select if you want to restore the factory default settings. At the warning message, | |
select “Yes” again to restore the settings. | ||
| ||
|
| |
Load/Save | Select Save if you want to save settings to USB storage. | |
Configuration | Select Load if you want to load stored settings from USB storage. | |
|
| |
Firmware Update | Select to update firmware from USB storage and connect it to the | |
|
| |
DVR Alias | Set a | |
Floor,” “Headquarters,” or “Fred.” | ||
| ||
|
| |
System Log | Displays a log, by time, of various events within the system | |
|
| |
Time | Set the system time. You can set the time in two places: here and on the Quick | |
Start menu. | ||
| ||
|
|
Digital Video Recorder 46 User Guide | Digital Video Recorder 47 User Guide |
