ENGLISH
Photo Mode : Setting the Capturing Options
Setting the Metering Method
Metering controls the brightness and exposure of the picture taken. Select an appropriate
metering method for the best results.
3
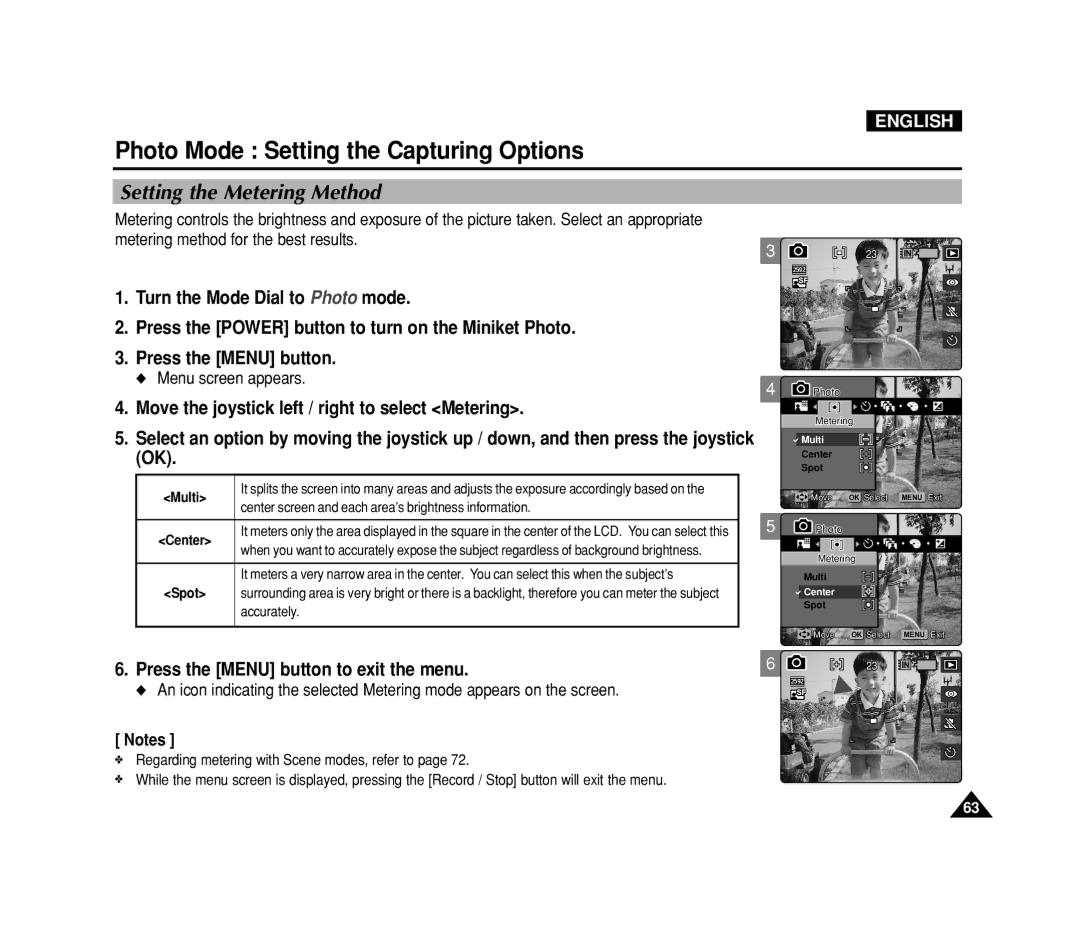
1. Turn the Mode Dial to Photo mode.
2. Press the [POWER] button to turn on the Miniket Photo.
3. Press the [MENU] button.
◆ Menu screen appears.
4
4.Move the joystick left / right to select <Metering>.
5.Select an option by moving the joystick up / down, and then press the joystick (OK).
| <Multi> | It splits the screen into many areas and adjusts the exposure accordingly based on the |
|
| center screen and each area’s brightness information. |
| |
|
|
| |
|
|
| 5 |
| <Center> | It meters only the area displayed in the square in the center of the LCD. You can select this | |
| when you want to accurately expose the subject regardless of background brightness. |
| |
|
|
| |
|
|
|
|
|
| It meters a very narrow area in the center. You can select this when the subject’s |
|
| <Spot> | surrounding area is very bright or there is a backlight, therefore you can meter the subject |
|
|
| accurately. |
|
|
|
| 6 |
6. Press the [MENU] button to exit the menu. | |||
◆An icon indicating the selected Metering mode appears on the screen.
[ Notes ]
✤Regarding metering with Scene modes, refer to page 72.
✤While the menu screen is displayed, pressing the [Record / Stop] button will exit the menu.
2323 IN ![]()
![]()
2592
 PhotoPhoto
MeteringMetering
![]() Multi
Multi
Center
Spot
MoveMove | OK SelectSelect MENU ExitExit |
 PhotoPhoto
MeteringMetering
Multi
![]() Center
Center
Spot
MoveMove | OK SelectSelect MENU ExitExit |
2323 IN ![]()
![]()
2592
63