ENGLISH
PictBridge Mode: Printing with PictBridge
Printing with PictBridge
With the provided USB cable and a
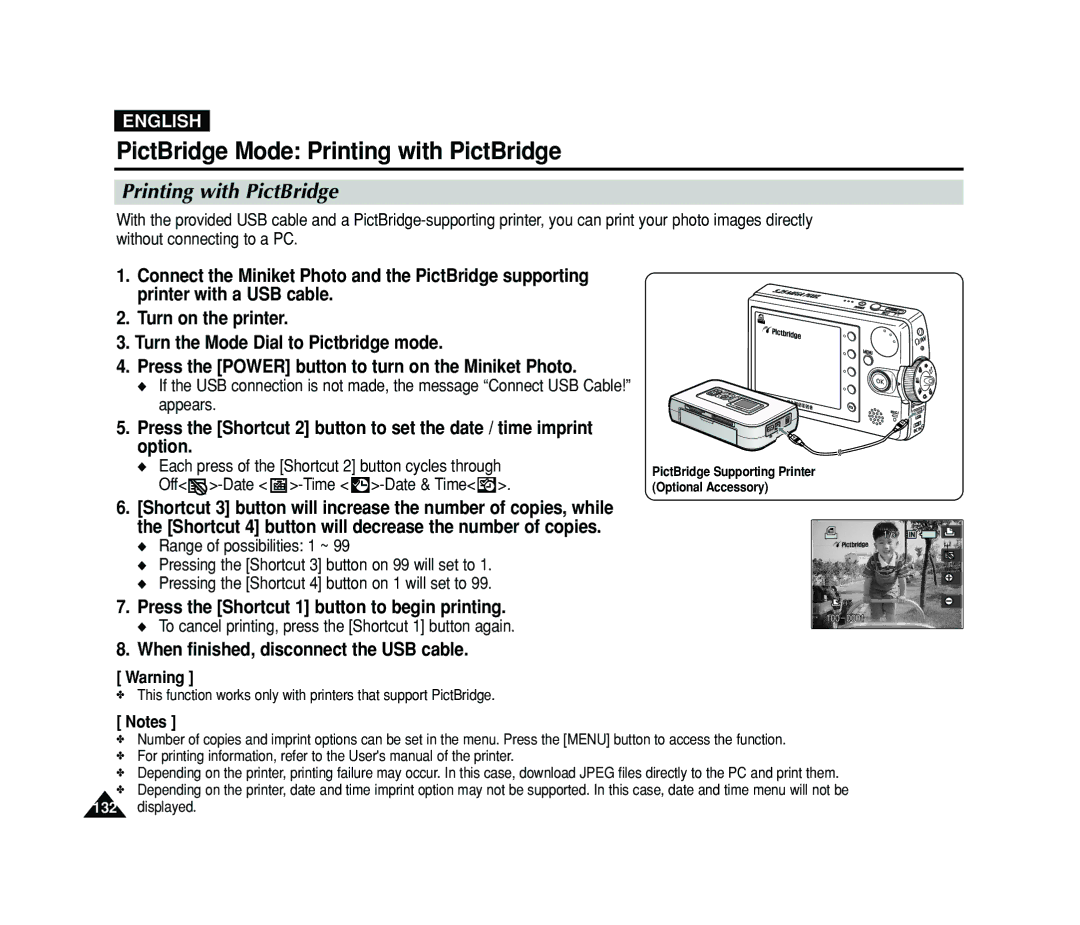
1.Connect the Miniket Photo and the PictBridge supporting printer with a USB cable.
2.Turn on the printer.
3.Turn the Mode Dial to Pictbridge mode.
4.Press the [POWER] button to turn on the Miniket Photo.
◆If the USB connection is not made, the message “Connect USB Cable!” appears.
5.Press the [Shortcut 2] button to set the date / time imprint option.
◆Each press of the [Shortcut 2] button cycles through Off< ![]()
![]()
![]()
![]()
![]()
![]()
![]()
![]() >-Date
>-Date![]() >.
>.
PictBridge Supporting Printer (Optional Accessory)
6. [Shortcut 3] button will increase the number of copies, while the [Shortcut 4] button will decrease the number of copies.
◆ Range of possibilities: 1 ~ 99
◆Pressing the [Shortcut 3] button on 99 will set to 1.
◆Pressing the [Shortcut 4] button on 1 will set to 99.
7. Press the [Shortcut 1] button to begin printing.
◆ To cancel printing, press the [Shortcut 1] button again.
8.When finished, disconnect the USB cable.
[ Warning ]
✤This function works only with printers that support PictBridge.
[ Notes ]
✤Number of copies and imprint options can be set in the menu. Press the [MENU] button to access the function.
✤For printing information, refer to the User's manual of the printer.
✤Depending on the printer, printing failure may occur. In this case, download JPEG files directly to the PC and print them.
✤Depending on the printer, date and time imprint option may not be supported. In this case, date and time menu will not be
132 displayed.