Adding a watermark to printed pages (Watermark)
Faint
| 1 |
| Click the "Watermarks" tab in the printer driver setup screen. |
| |
|
|
|
|
|
|
| 2 |
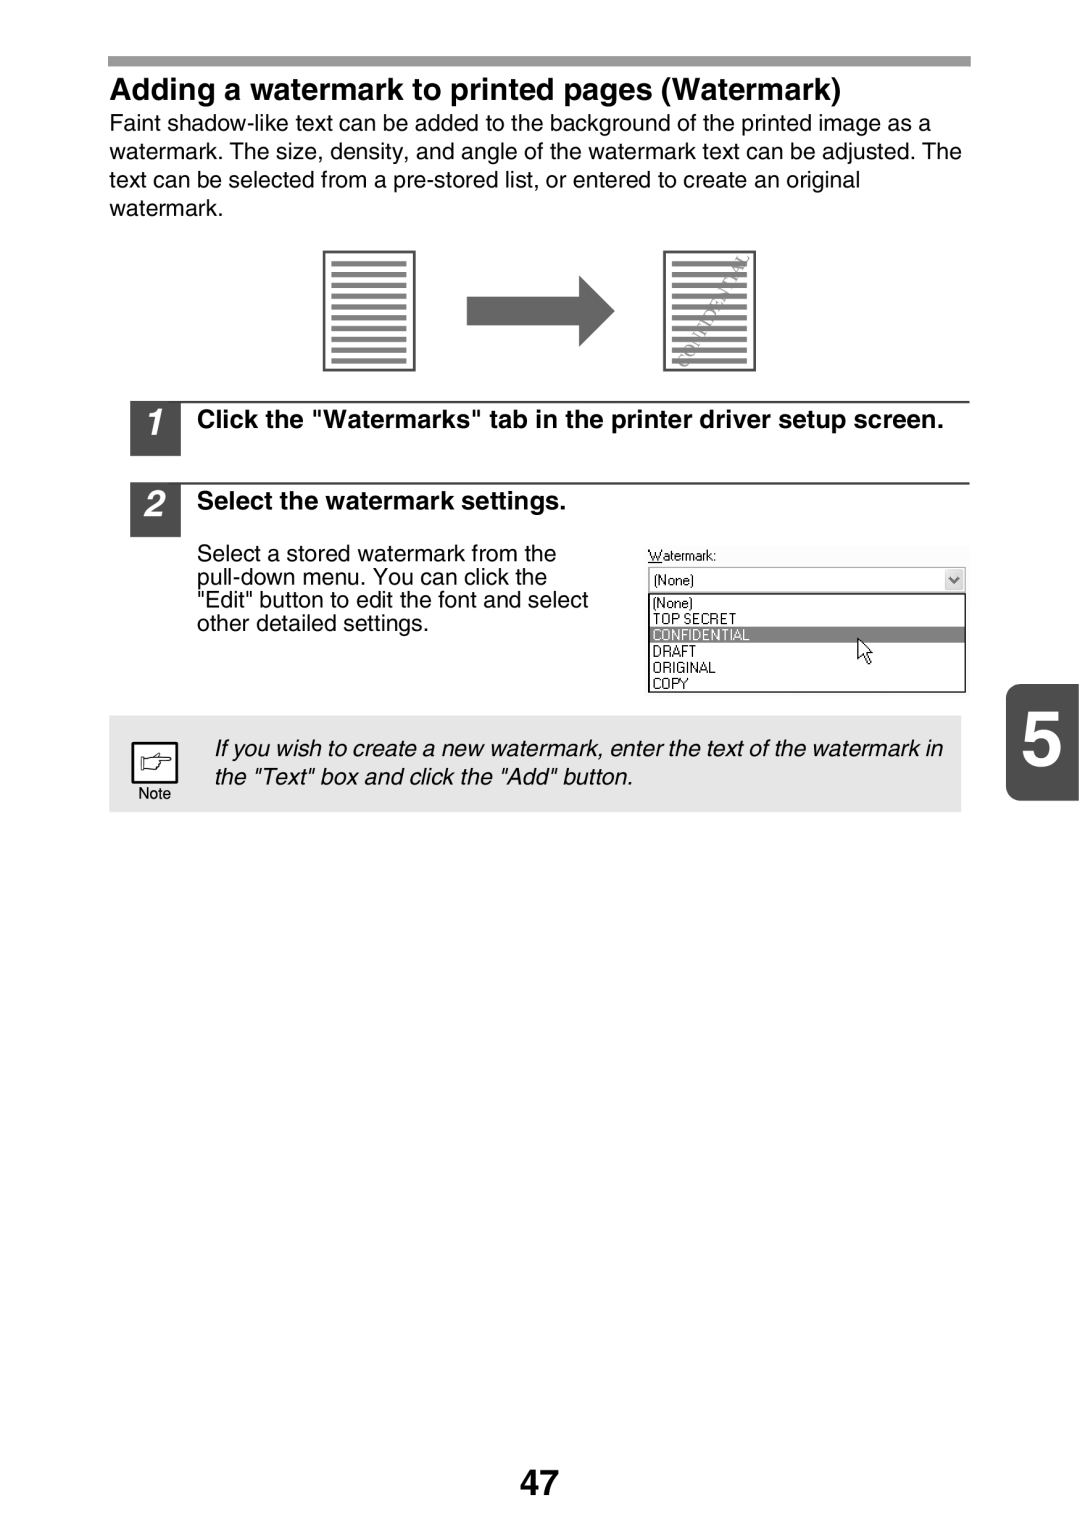
| Select the watermark settings. |
| |
|
|
| Select a stored watermark from the |
| |
|
|
|
| ||
|
|
|
| ||
|
|
| "Edit" button to edit the font and select |
| |
|
|
| other detailed settings. |
| |
|
|
|
| 5 | |
|
|
| If you wish to create a new watermark, enter the text of the watermark in |
| |
|
|
| the "Text" box and click the "Add" button. |
|
|
|
|
|
|
|
|
47