Manuals
/
Sharp
/
Computer Equipment
/
All in One Printer
Sharp
MX-5000N Enter the fax number of the first destination, Press the Black & White Start key
Models:
MX-5001N
MX-4101N
MX-5000N
MX-4100N
1
65
120
120
Download
120 pages
60.18 Kb
62
63
64
65
66
67
68
69
Troubleshooting
FAQ
Image send indicators
Maintenance
Open the page setup window
Select the print command
USB connector type a
Colour adjustments menu screen
Press the System Settings key
Resolution
Page 65
Image 65
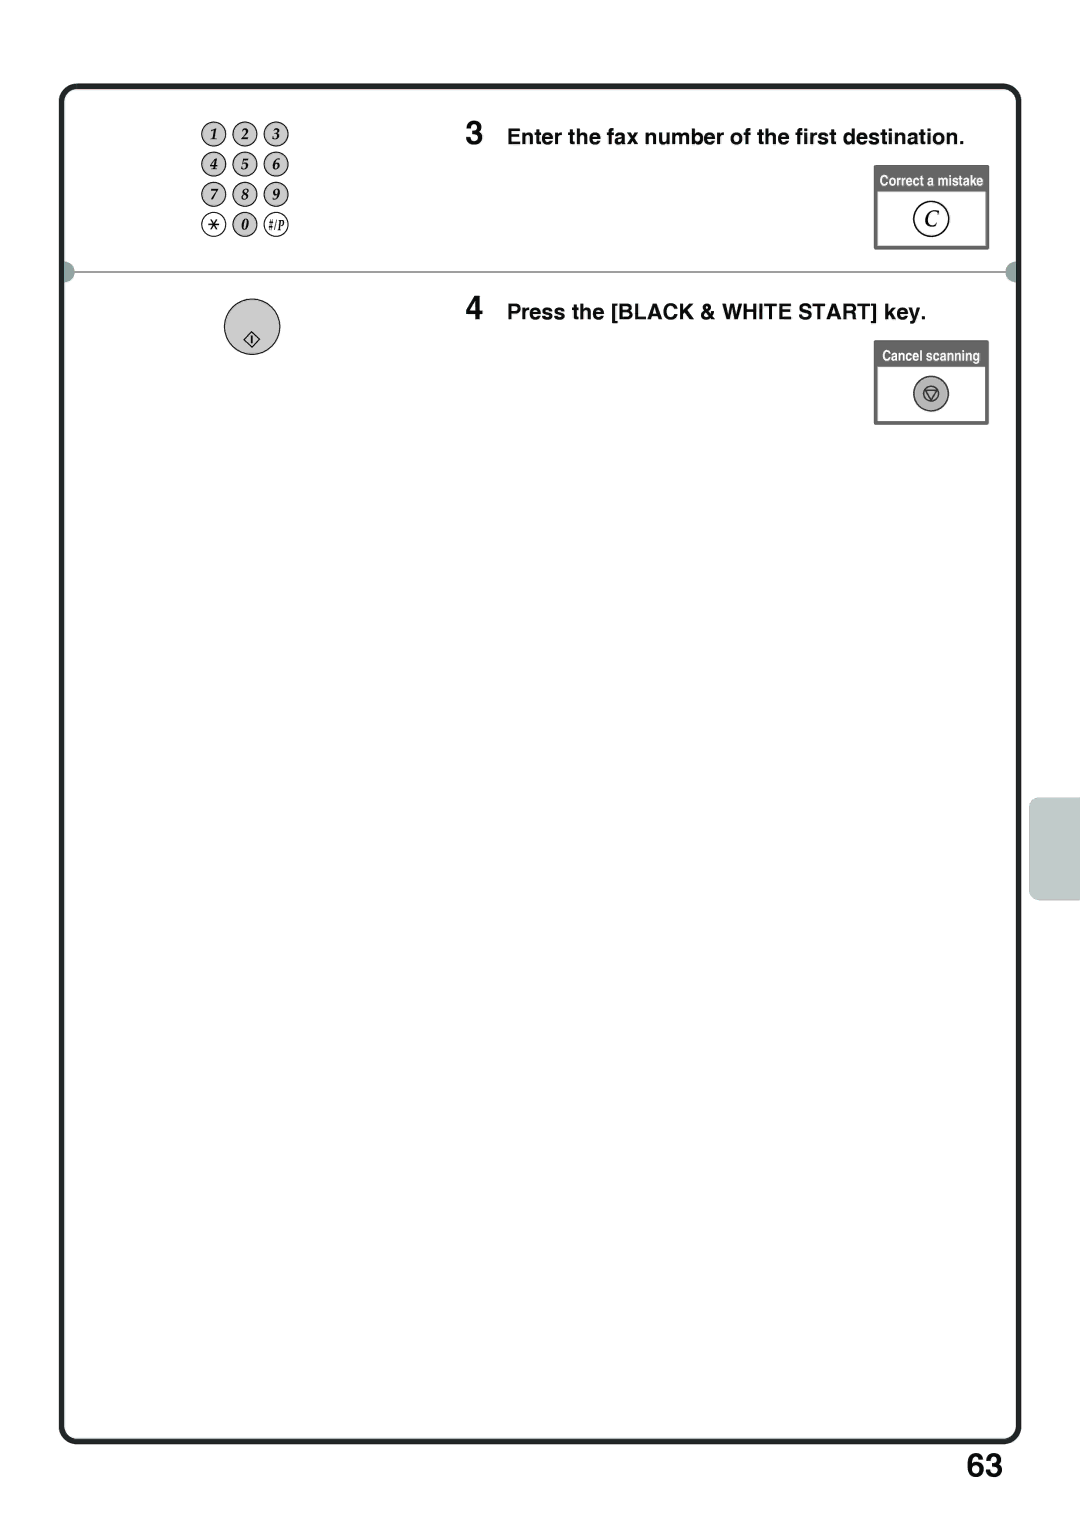
3
Enter the fax number of the first destination.
Correct a mistake
4
Press the [BLACK & WHITE START] key.
Cancel scanning
63
Page 64
Page 66
Page 65
Image 65
Page 64
Page 66
Contents
Quick Start Guide
Printed manuals
Operation Guide
Convenient methods for using the Operation Guide
Checking the IP Address
Press the System Settings key
Select the all custom setting list in the touch panel
Access the Web server in the machine to open the Web pages
Accessing the WEB Server in the Machine
Opening the Web pages
Downloading the Operation Guide
Table of Contents
Faxing
Document filing
Before using the machine
Part Names and Functions
USB connector type a
Main power switch
Document glass
Keyboard
Touch panel JOB Status key Print mode indicators
Image send indicators
System Settings key
Operation Panel
Power key
Main power indicator
Power Save key
Numeric keys
Mode select keys
Using the Touch Panel
Using general keys
System display
Checking the status of the machine
Maintenance Information
Job Status display
Display selection key
Logging out
User Authentication
User authentication methods
Home Screen
Example The image check screen for a received fax
Image Check Function Preview
Convenient uses of image check
Using the document glass
Using the automatic document feeder
Placing Originals
Place the originals face up with the edges aligned evenly
Names of the trays
Changing Paper in a Tray
Trays 1 to
Bypass tray and tray
Loading paper in a tray
Configure the tray settings in the touch panel
Changing the tray settings
Touch the Paper Tray Settings key
Touch the Tray Settings key Touch the Change key in Tray
Example Loading an envelope
Loading paper in other trays
Large capacity tray
Zoom X Interrupting a Copy RUN Interrupt Copy
Copying
Base Screen of Copy Mode
Touch the Copy key
Making Copies
Place the originals
Sided original
Sided Copying Automatic Document Feeder
Select settings in the touch panel
Original
Copying on Special Paper Bypass Copy
Touch the Heavy Paper 1 key or Heavy Paper 2 key
Selecting a tray
Original Copy
Making Colour Copies Colour Mode
Set the number of copies and press the Colour Start key
Light original
Selecting the Exposure and Image Type
A4 A3
Press the Colour Start key or the Black & White Start key
Set the number of copies
Touch the Copy Ratio key Touch the key Touch the 50% key
ENLARGEMENT/REDUCTION Preset Ratios / Zoom
Set the copy ratio to 55% with the key
Original Ratio-specified copy
Set the number of copies
Touch the Interrupt key while the machine is printing
Interrupting a Copy RUN Interrupt Copy
Set the number of copies and then press
Start key
Storing Copy Operations Job Programs
Using a job program
Storing a job program
Press the #/P key
Touch the key of the desired job program
Deleting a job program
Special Modes
Colour adjustments menu screen
Special modes
1st screen
Touch the Special Modes key Touch the Margin Shift key
Selecting a Special Mode
Adding margins Margin Shift
Convenient Copy Functions
Erasing peripheral shadows Erase
Copying each facing page of a bound document Dual Page Copy
Sets
Using a different paper type for covers Covers/Inserts
Copying a pamphlet Book Copy
Copying multiple pages onto one sheet of paper Multi Shot
Copying captions onto tab paper Tab Copy
Reverse side of a card onto one sheet
Repeating photos on a copy Photo Repeat
Printing the date or a stamp on copies Stamp
Creating a large poster Multi-Page Enlargement
Inverting the image Mirror Image
Adjusting the sharpness of an image Sharpness
Adjusting red/green/blue in copies RGB Adjust
Copying in the centre of the paper Centring
Reversing white and black in a copy B/W Reverse
Adjusting the brightness of a copy Brightness
Adjusting the colour Colour Balance
Adjusting the intensity of a copy Intensity
Whitening faint colours in copies Suppress Background
Copying thin originals Slow Scan Mode
Printing
Printing
Select the print command
Application
Open the printer driver properties Window
Click the Paper tab Select A4 Click the OK button
Select print settings
Click the Print button
To view Help for a specific setting
Using printer driver help
When the information icon appears
Click the Help button
Open the page setup window
Setting the paper size
Select paper settings
TextEdit
Printing a file
Select print settings and click
Execute printing from TextEdit
Print button
Press the JOB Status key
Cancelling Printing AT the Machine
Click the Paper tab
Selecting Print Settings
Select Fit To Paper Size
Select A3
Select
Select Layout
Select the desired type
Borderline
Printing on both sides of the paper 2-sided printing
Convenient Printer Functions
Fitting the print image to the paper Fit To Paper Size
Printing multiple images on one page N-Up Printing
Machine also has these functions
Punching holes in output Punch
Page
Faxing
Base Screen of FAX Mode
Touch the Image Send key
Sending a FAX
Enter the fax number of the receiving fax
Machine and press the Black & White
Touch the Original key
Changing the Size of a FAX
Touch the 2-Sided Booklet key
Touch the Send Size key
Press the Black & White Start key
Enter the fax number of the first destination
Touch the Exposure key
Changing the Exposure
Touch the Manual key
Touch Key to darken the exposure
Touch the Resolution key
Changing the Resolution
Touch the Fine key
Touch the Half Tone key
Storing an individual key
Storing a FAX Number
Touch the Address Control key Touch the Address Book key
Touch the Add New key
KKK KKK
Touch the Initial text box
Forwarding Received Faxes Fax Data Forward
System Settings Fax Settings
Touch the To key
Convenient Dialling Methods
One-touch keys
Speed dialling
Resending
Touch the Speaker key
Dialling using the speaker
Destination is stored
Touch the one-touch key in which the desired
Touch the To key Touch the Address Review key
Original Broadcast
Check the destinations and then touch the OK key
1st screen 2nd screen
Special FAX Modes
Set the erasure width to 15 mm with the keys
Touch the Special Modes key
Touch the Erase key
Sending two original pages as a single page 2in1
Convenient FAX Functions
Sending a fax directly from a computer PC-Fax
Page
Scanning
Scan to E-mail
Network Scanner Function
Scan to FTP
Scan to Network Folder
Address Entry key
Base Screen of Scan Mode
Send Settings key
Press the Colour Start key or Black & White Start key
Scanning AN Original
Touch the Image Send key Touch the Scan tab
Touch the Address Entry key
Changing the Exposure and Original Image Type
Touch the 300X300dpi key Touch the OK key
Touch the File Format key
Changing the File Format
Select the destination and press the Colour Start key
Touch the Address Control key
Storing a Destination
Touch the Address Book key Touch the Add New key
Touch the scroll bar to move the screen
Touch the E-mail Address text box
One-touch key
Convenient Transmission Methods
Touch the Resend key
Search number sending
Abcd
Special Scan Modes
Scan mode 1st screen
Touch the Suppress Background key
Erasing peripheral shadows on the image Erase
Convenient Scanner Functions
Scanning an original as two separate pages Dual Page Scan
Whitening faint colours in the image Suppress Background
Sending two pages as a single page 2in1
Scanning many originals at once Job Build
Document Filing X Quickly Saving a JOB Quick File
Document filing
Uses of the document filing function
Document Filing
Files that you want to store for later use
Quick File
Document filing is convenient
Document filing function is convenient in these situations
This situation
Touch the Quick File key Touch the OK key
Quickly Saving a JOB Quick File
Touch the Stored to key
Appending Information When Storing a File File
Touch the User 1 key Touch the OK key
Touch the Scan to HDD tab
Saving a Document only Scan to HDD
Touch the Document Filing key
Select the file and print it
Printing a Saved File
Touch the Print key
Touch the Print and Save the Data key
System Settings X System Settings Menu
System settings
Displaying the system settings screen
System Settings
What you can do in the system settings
Settings Description
System settings administrator
System Settings Menu
107
Page
Frequently Asked Questions X Removing Misfeeds
Troubleshooting
Making a copy of a non-standard size original
Frequently Asked Questions
Printing on an envelopes
Tray Settings
Check details on the job
Changing the paper size used for a print job
Checking the machines communication record
Adjusting the volume of the ringer
Misfeed location
Removing Misfeeds
Please note
Page
BrightnessIntensity
About the colour adjustments menu
MX-4100N MX-4101N MX-5000N MX-5001N Quick Start Guide
Top
Page
Image
Contents