Installing the Utility Software
11
12
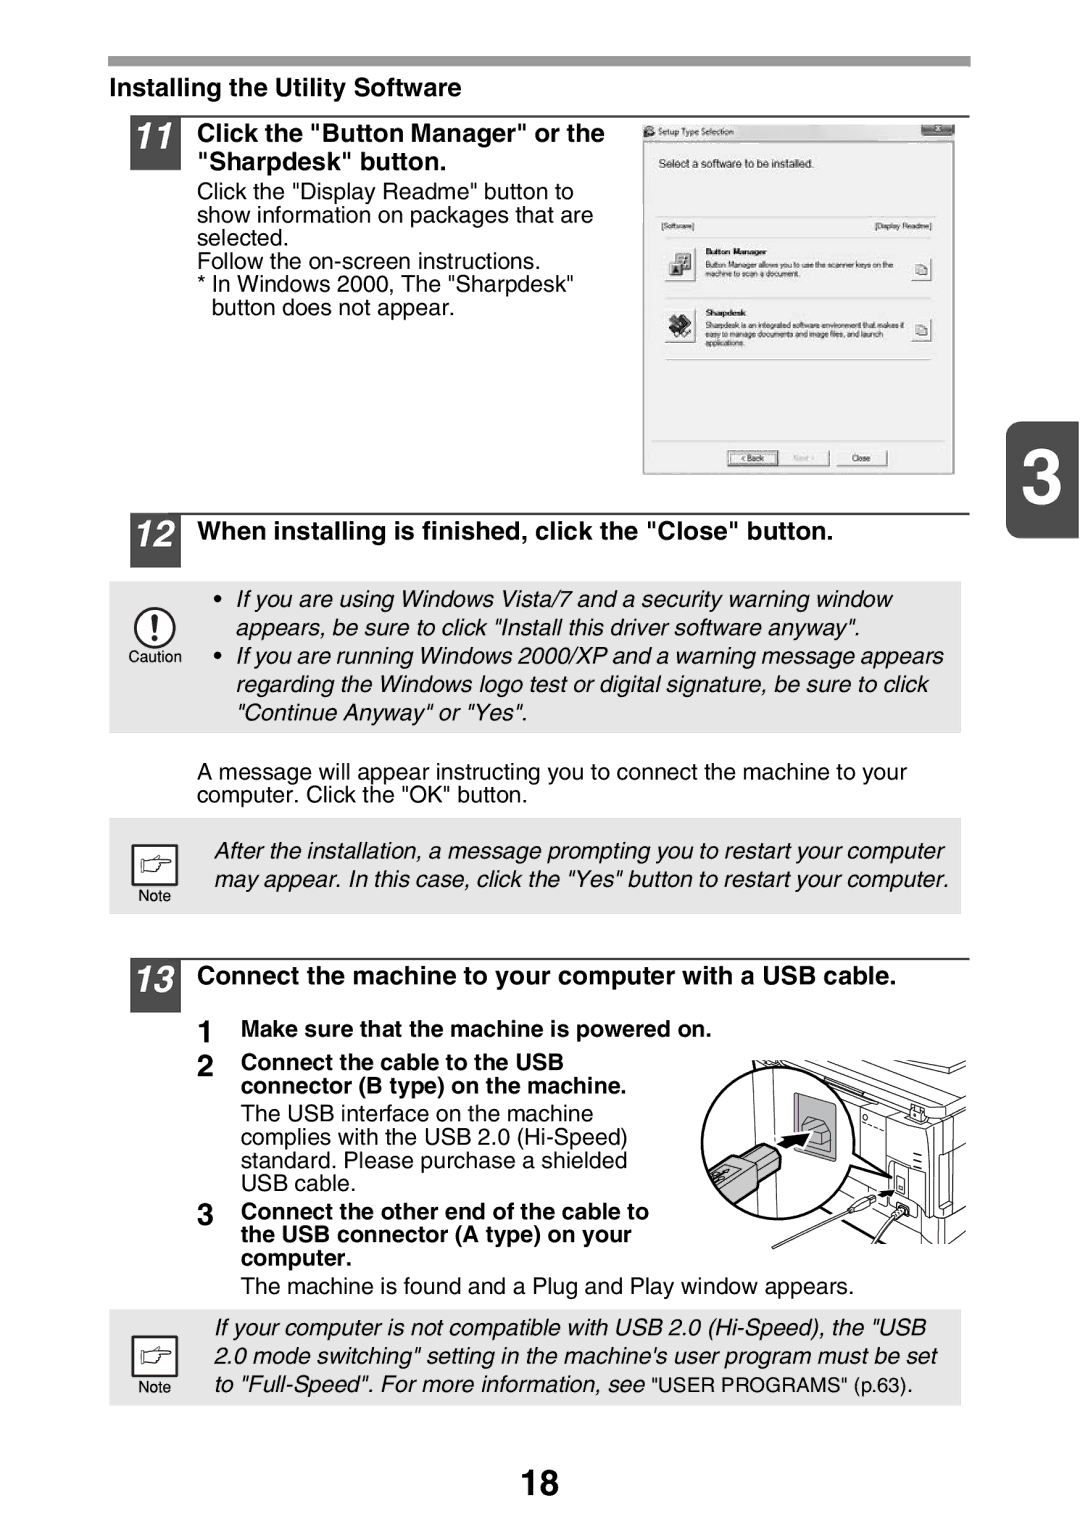
Click the "Button Manager" or the "Sharpdesk" button.
Click the "Display Readme" button to show information on packages that are selected.
Follow the
*In Windows 2000, The "Sharpdesk" button does not appear.
3
When installing is finished, click the "Close" button.
•If you are using Windows Vista/7 and a security warning window appears, be sure to click "Install this driver software anyway".
•If you are running Windows 2000/XP and a warning message appears regarding the Windows logo test or digital signature, be sure to click "Continue Anyway" or "Yes".
A message will appear instructing you to connect the machine to your computer. Click the "OK" button.
After the installation, a message prompting you to restart your computer may appear. In this case, click the "Yes" button to restart your computer.
13 Connect the machine to your computer with a USB cable.
1Make sure that the machine is powered on.
2 Connect the cable to the USB connector (B type) on the machine.
The USB interface on the machine complies with the USB 2.0
3 Connect the other end of the cable to the USB connector (A type) on your computer.
The machine is found and a Plug and Play window appears.
If your computer is not compatible with USB 2.0
18