M A I N T E N A N C E | For Machines Mfg. Since 3/11 |
Cross Slide |
|
Tools Needed: | Qty |
Hex Wrench 3mm | ................................................. 1 |
Hex Wrench 5mm | ................................................ 1 |
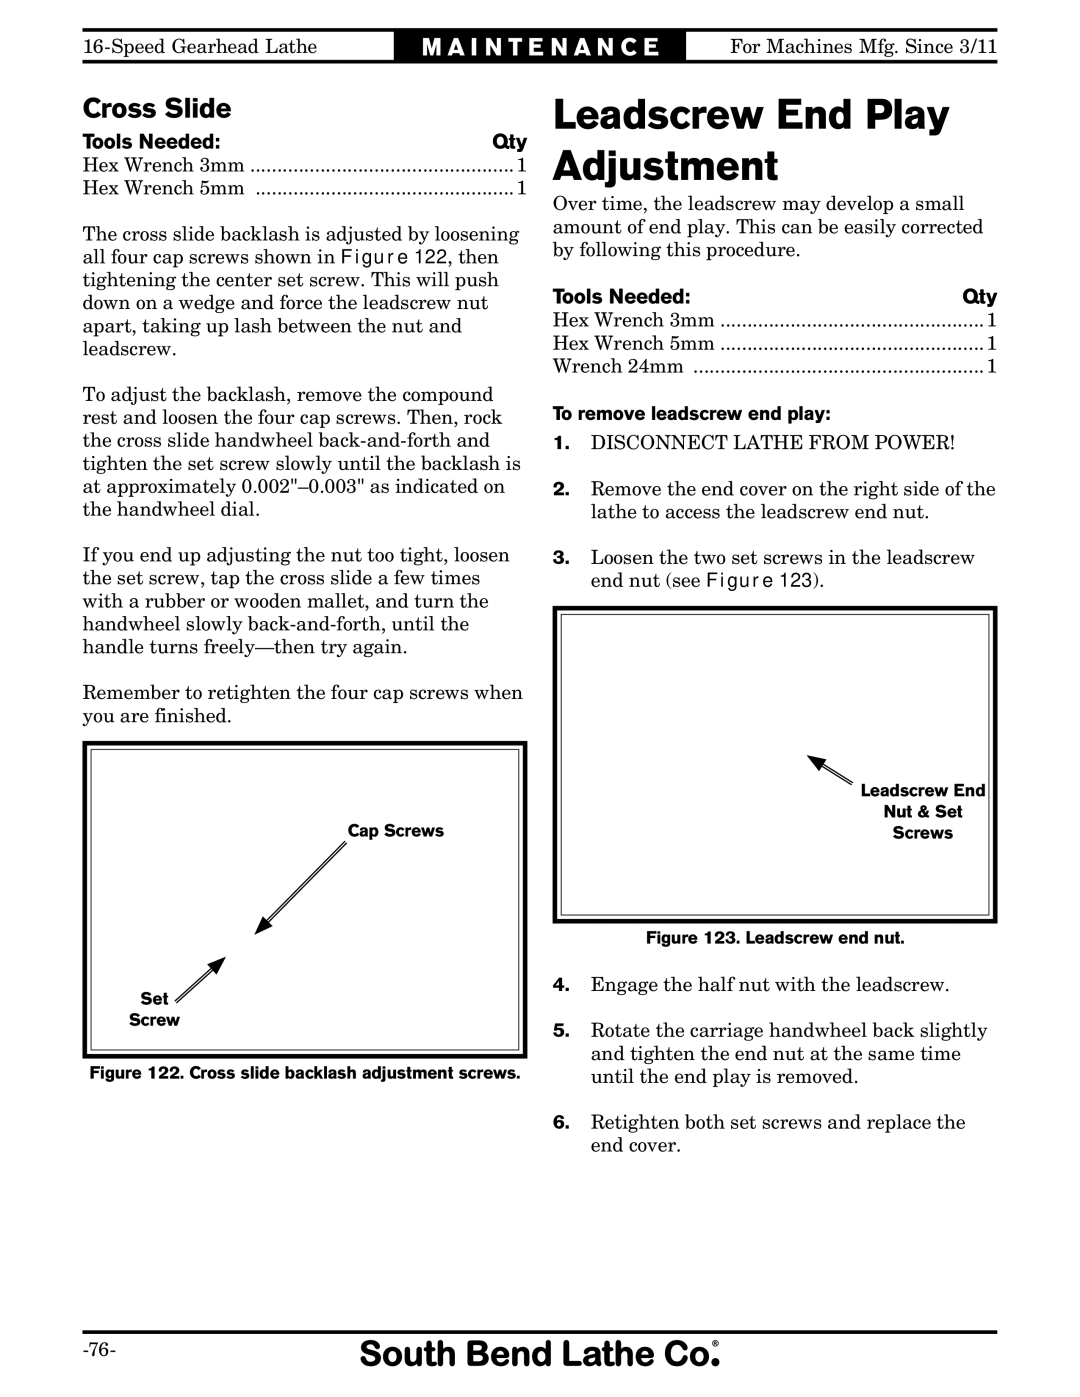
The cross slide backlash is adjusted by loosening all four cap screws shown in Figure 122, then tightening the center set screw. This will push down on a wedge and force the leadscrew nut apart, taking up lash between the nut and leadscrew.
To adjust the backlash, remove the compound rest and loosen the four cap screws. Then, rock the cross slide handwheel
If you end up adjusting the nut too tight, loosen the set screw, tap the cross slide a few times with a rubber or wooden mallet, and turn the handwheel slowly
Remember to retighten the four cap screws when you are finished.
Cap Screws
Set ![]()
Screw
Figure 122. Cross slide backlash adjustment screws.
Leadscrew End Play Adjustment
Over time, the leadscrew may develop a small amount of end play. This can be easily corrected by following this procedure.
Tools Needed: | Qty |
Hex Wrench 3mm | ................................................. 1 |
Hex Wrench 5mm | ................................................. 1 |
Wrench 24mm | 1 |
To remove leadscrew end play:
1.DISCONNECT LATHE FROM POWER!
2.Remove the end cover on the right side of the lathe to access the leadscrew end nut.
3.Loosen the two set screws in the leadscrew end nut (see Figure 123).
Leadscrew End
Nut & Set
Screws
Figure 123. Leadscrew end nut.
4.Engage the half nut with the leadscrew.
5.Rotate the carriage handwheel back slightly and tighten the end nut at the same time until the end play is removed.
6.Retighten both set screws and replace the end cover.
