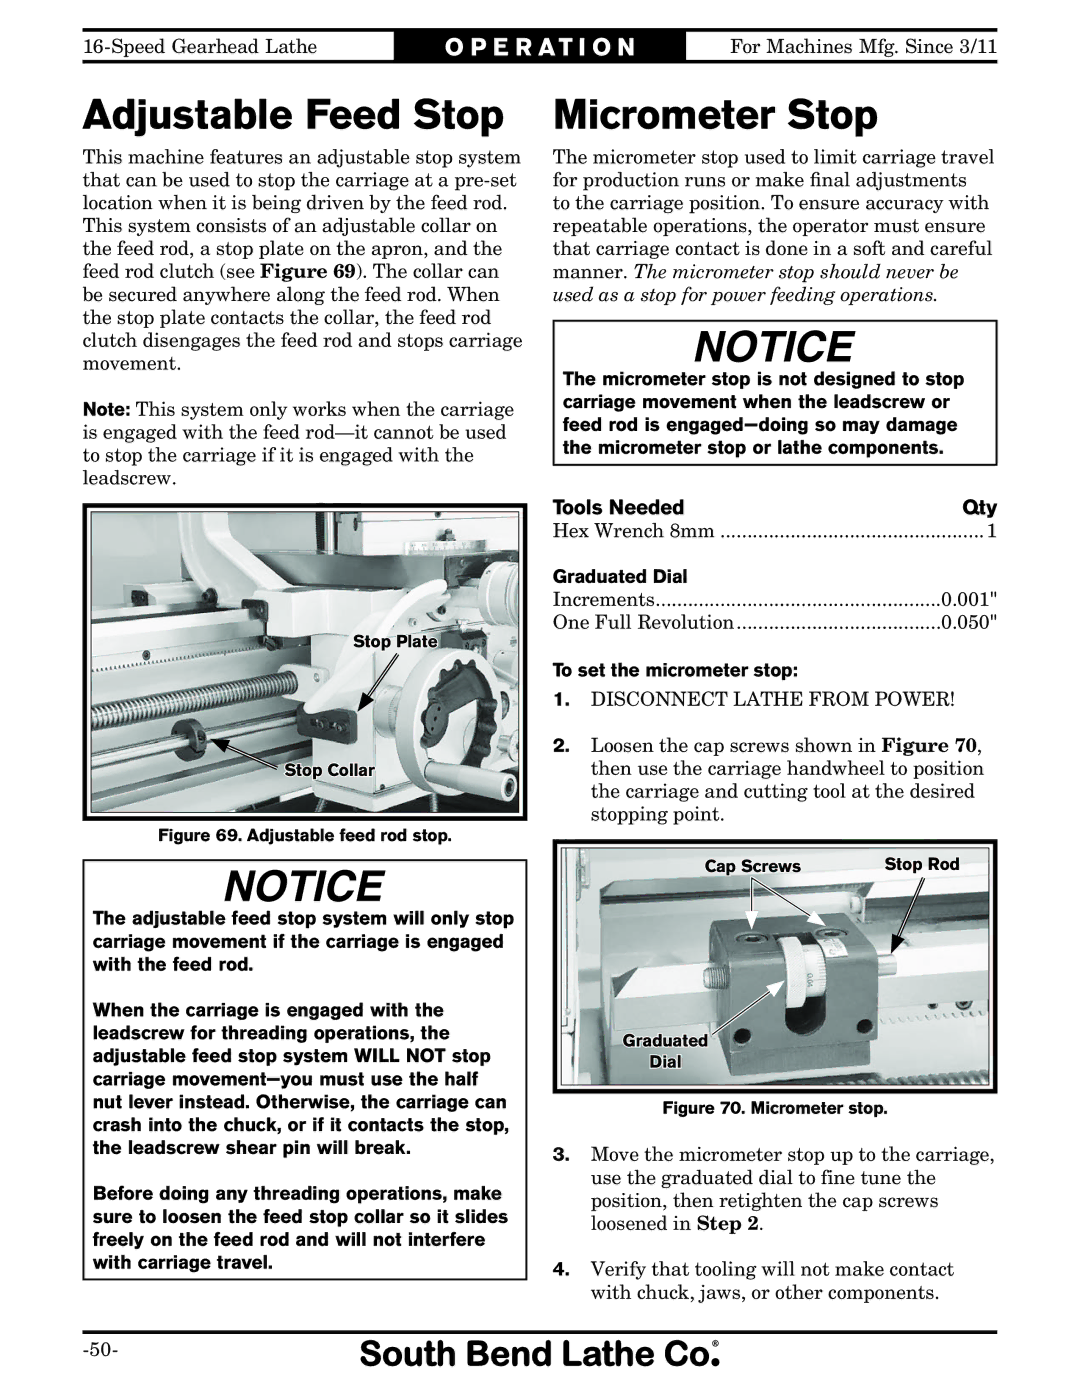
O P E R A T I O N | For Machines Mfg. Since 3/11 |
Adjustable Feed Stop
This machine features an adjustable stop system that can be used to stop the carriage at a
This system consists of an adjustable collar on the feed rod, a stop plate on the apron, and the feed rod clutch (see Figure 69). The collar can be secured anywhere along the feed rod. When the stop plate contacts the collar, the feed rod clutch disengages the feed rod and stops carriage movement.
Note: This system only works when the carriage is engaged with the feed
Stop Plate
![]() Stop Collar
Stop Collar
Figure 69. Adjustable feed rod stop.
The adjustable feed stop system will only stop carriage movement if the carriage is engaged with the feed rod.
When the carriage is engaged with the leadscrew for threading operations, the adjustable feed stop system WILL NOT stop carriage
Before doing any threading operations, make sure to loosen the feed stop collar so it slides freely on the feed rod and will not interfere with carriage travel.
Micrometer Stop
The micrometer stop used to limit carriage travel for production runs or make final adjustments to the carriage position. To ensure accuracy with repeatable operations, the operator must ensure that carriage contact is done in a soft and careful manner. The micrometer stop should never be used as a stop for power feeding operations.
The micrometer stop is not designed to stop carriage movement when the leadscrew or feed rod is
Tools Needed | Qty |
Hex Wrench 8mm | 1 |
Graduated Dial |
|
Increments | 0.001" |
One Full Revolution | 0.050" |
To set the micrometer stop:
1.DISCONNECT LATHE FROM POWER!
2.Loosen the cap screws shown in Figure 70, then use the carriage handwheel to position the carriage and cutting tool at the desired stopping point.
Cap Screws | Stop Rod |
Graduated
Dial
Figure 70. Micrometer stop.
3.Move the micrometer stop up to the carriage, use the graduated dial to fine tune the position, then retighten the cap screws loosened in Step 2.
4.Verify that tooling will not make contact with chuck, jaws, or other components.
