13.Turn the platen knob to feed the paper forward until it comes out from under the top cover.
14.Move the bail lever back to close the bail.
15.Check that the paper is feeding in flat, then raise the other clamp lever to lock the other sprocket unit.
16.Replace the rear cover. Hold it tilted upward and insert the two tabs at the bottom into their slots. Then rotate the cover forward, pressing down on the thumb pads on the left and right to snap it into place.
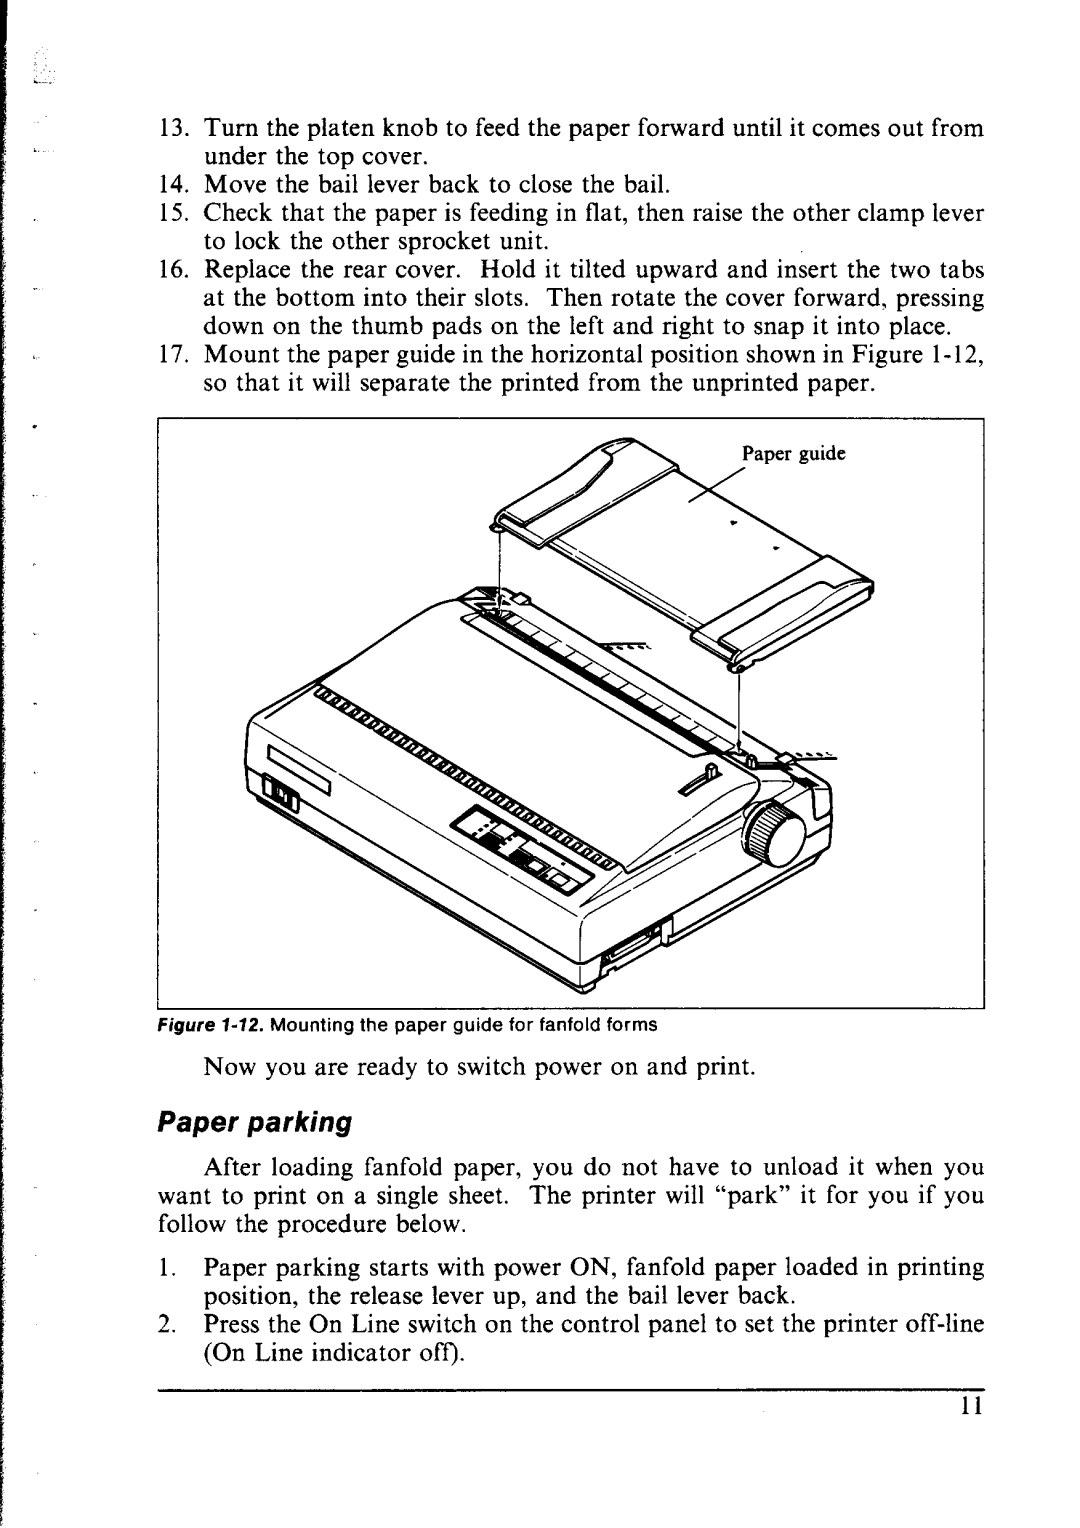
17.Mount the paper guide in the horizontal position shown in Figure
‘gure
Now you are ready to switch power on and print.
Paper parking
After loading fanfold paper, you do not have to unload it when you want to print on a single sheet. The printer will “park” it for you if you follow the procedure below.
1.Paper parking starts with power ON, fanfold paper loaded in printing position, the release lever up, and the bail lever back.
2.Press the On Line switch on the control panel to set the printer
11