hstall the ribbon cartridge
The top side of the ribbon cartridge has a handle for turning the ribbon. Turn this handle in the direction of the arrow to tighten the ribbon.
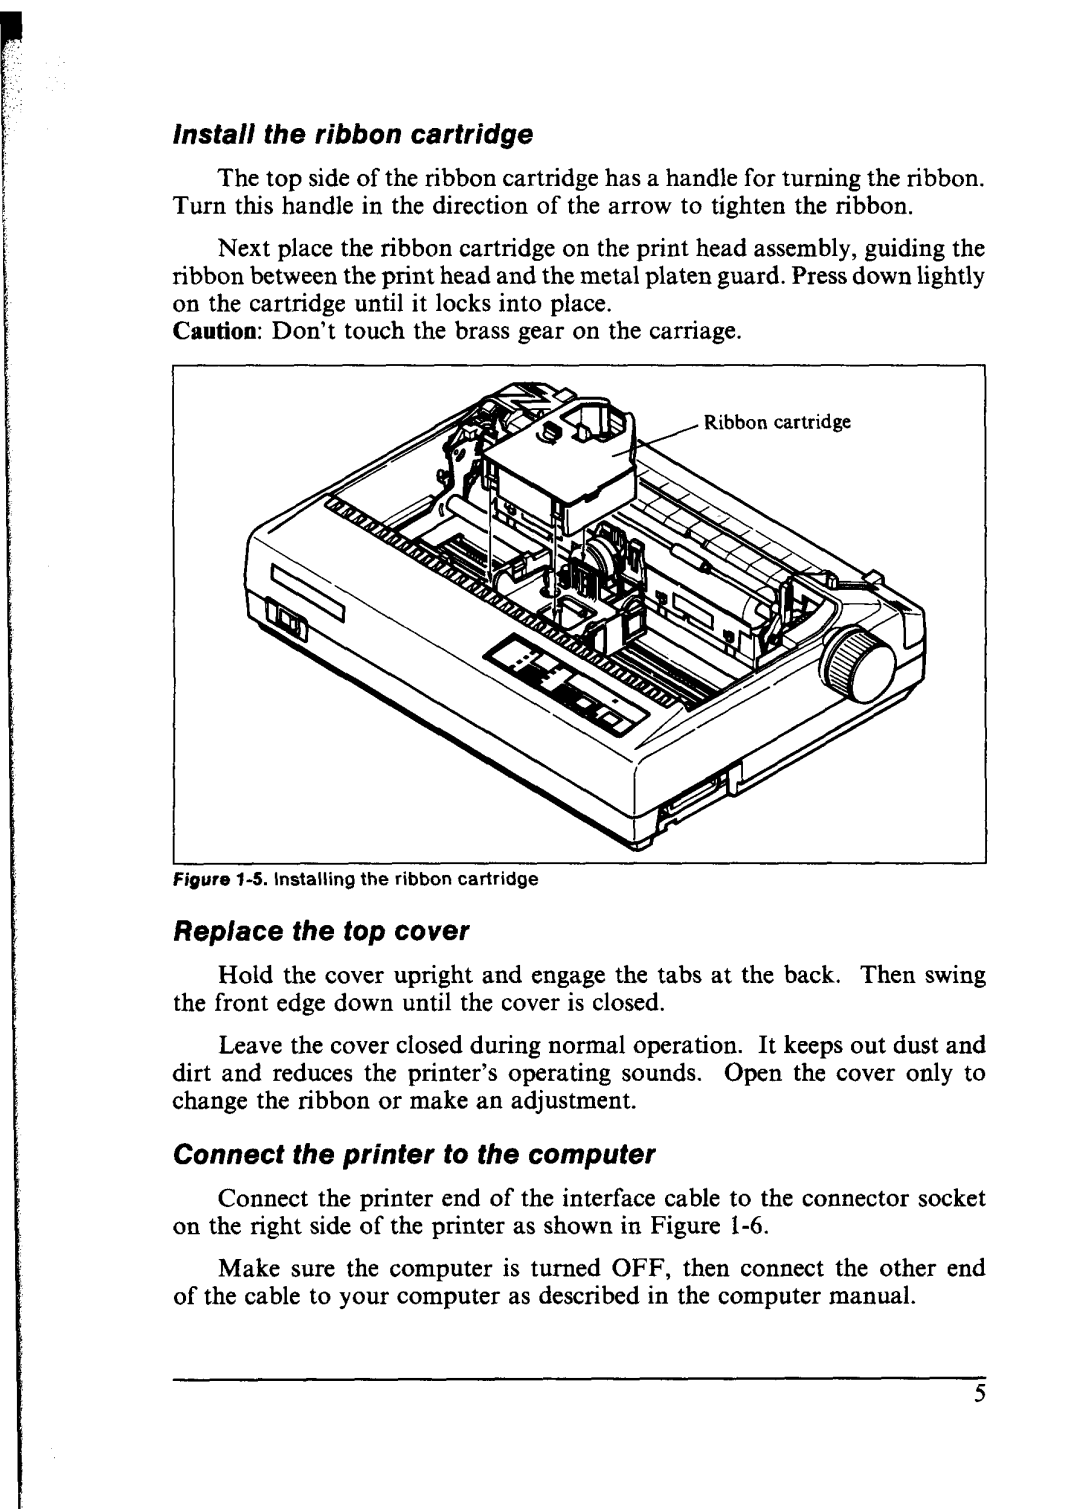
Next place the ribbon cartridge on the print head assembly, guiding the ribbon between the print head and the metal platen guard. Press down lightly on the cartridge until it locks into place.
Caution: Don’t touch the brass gear on the carriage.
I
Figure l-5. Installing the ribbon cartridge
Replace the top cover
Hold the cover upright and engage the tabs at the back. Then swing the front edge down until the cover is closed.
Leave the cover closed during normal operation. It keeps out dust and dirt and reduces the printer’s operating sounds. Open the cover only to change the ribbon or make an adjustment.
Connect the printer to the computer
Connect the printer end of the interface cable to the connector socket on the right side of the printer as shown in Figure
Make sure the computer is turned OFF, then connect the other end of the cable to your computer as described in the computer manual.