I
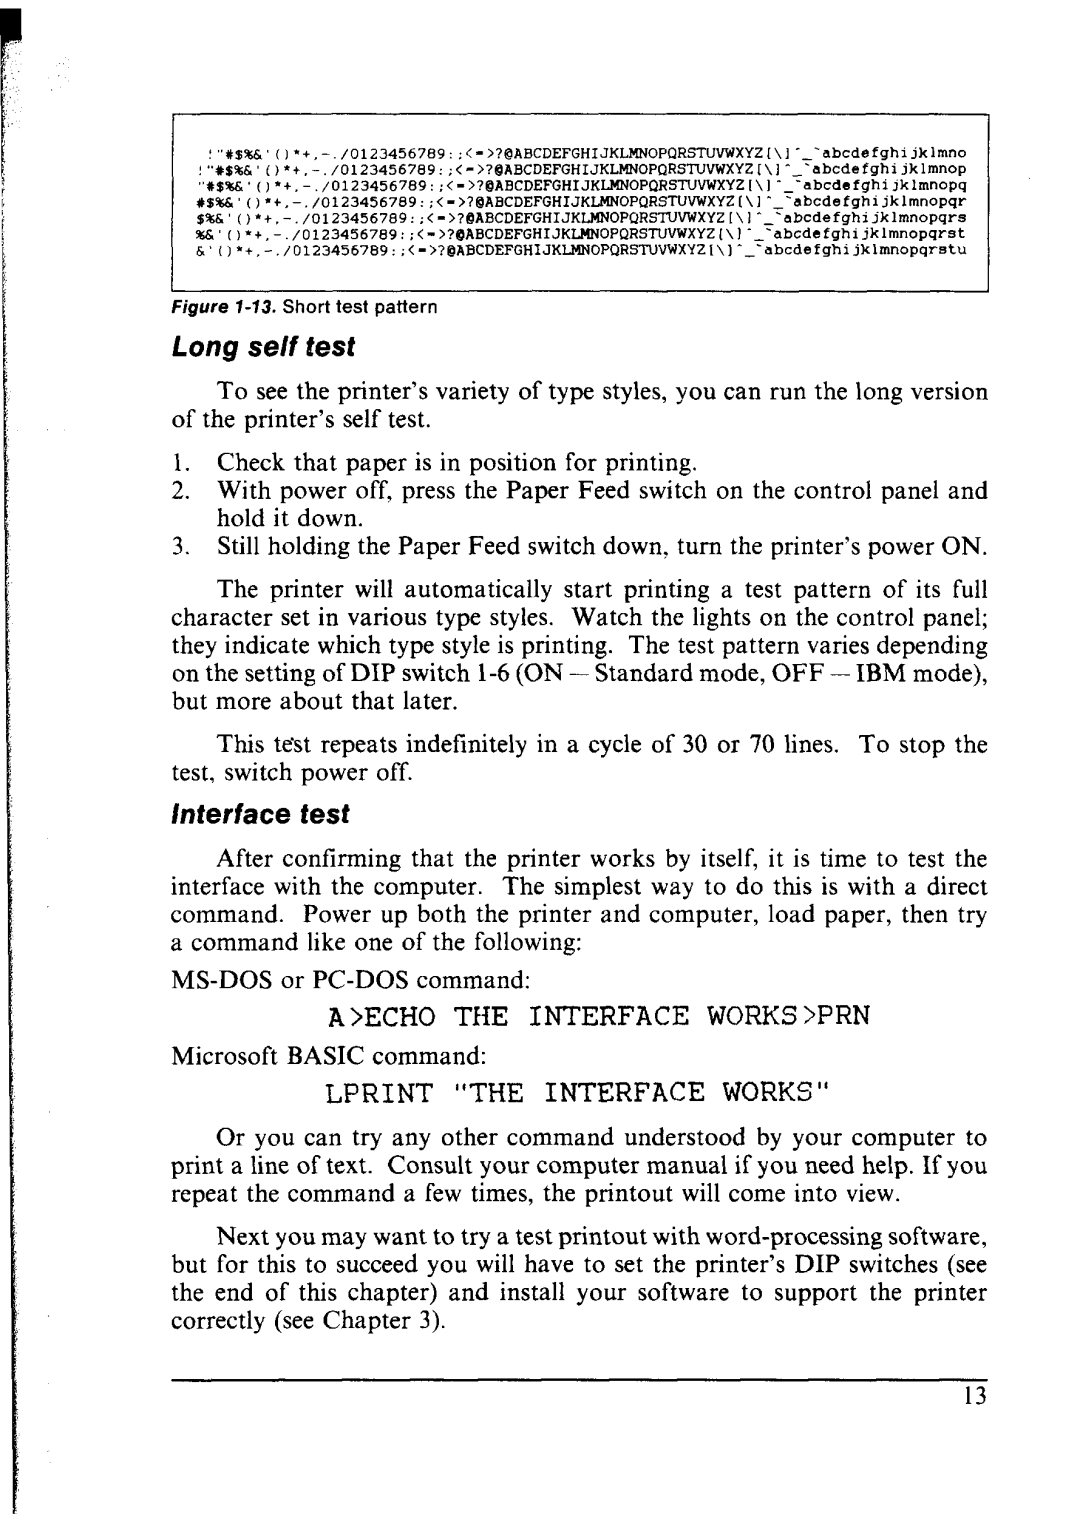
Figure 7-13. Short test pattern
Long se/f test
To see the printer’s variety of type styles, you can run the long version of the printer’s self test.
1.Check that paper is in position for printing.
2.With power off, press the Paper Feed switch on the control panel and hold it down.
3.Still holding the Paper Feed switch down, turn the printer’s power ON.
The printer will automatically start printing a test pattern of its full character set in various type styles. Watch the lights on the control panel; they indicate which type style is printing. The test pattern varies depending on the setting of DIP switch
This test repeats indefinitely in a cycle of 30 or 70 lines. To stop the test, switch power off.
interface test
After confirming that the printer works by itself, it is time to test the interface with the computer. The simplest way to do this is with a direct command. Power up both the printer and computer, load paper, then try a command like one of the following:
A>ECHO THE INTERFACE WORKS >PRN
Microsoft BASIC command:
LPRINT “THE INTERFACE WORKS“
Or you can try any other command understood by your computer to print a line of text. Consult your computer manual if you need help. If you repeat the command a few times, the printout will come into view.
Next you may want to try a test printout with