DESIGNING YOUR OWN NLQ CHARACTERS
As you have probably noticed, NLQ characters are printed by two passes of the print head. Half of the character is printed on the first pass, and the remainder on the second pass. The paper is rolled up half a dot height in between passes to let the print head print dots on the second pass that overlap the previous dots, in order to fill in the spaces and produce denser characters.
Fundamentally, the process to define and print downloaded NLQ characters is the same as for draft characters, except that you must design the character with the two passes of the print head in mind.
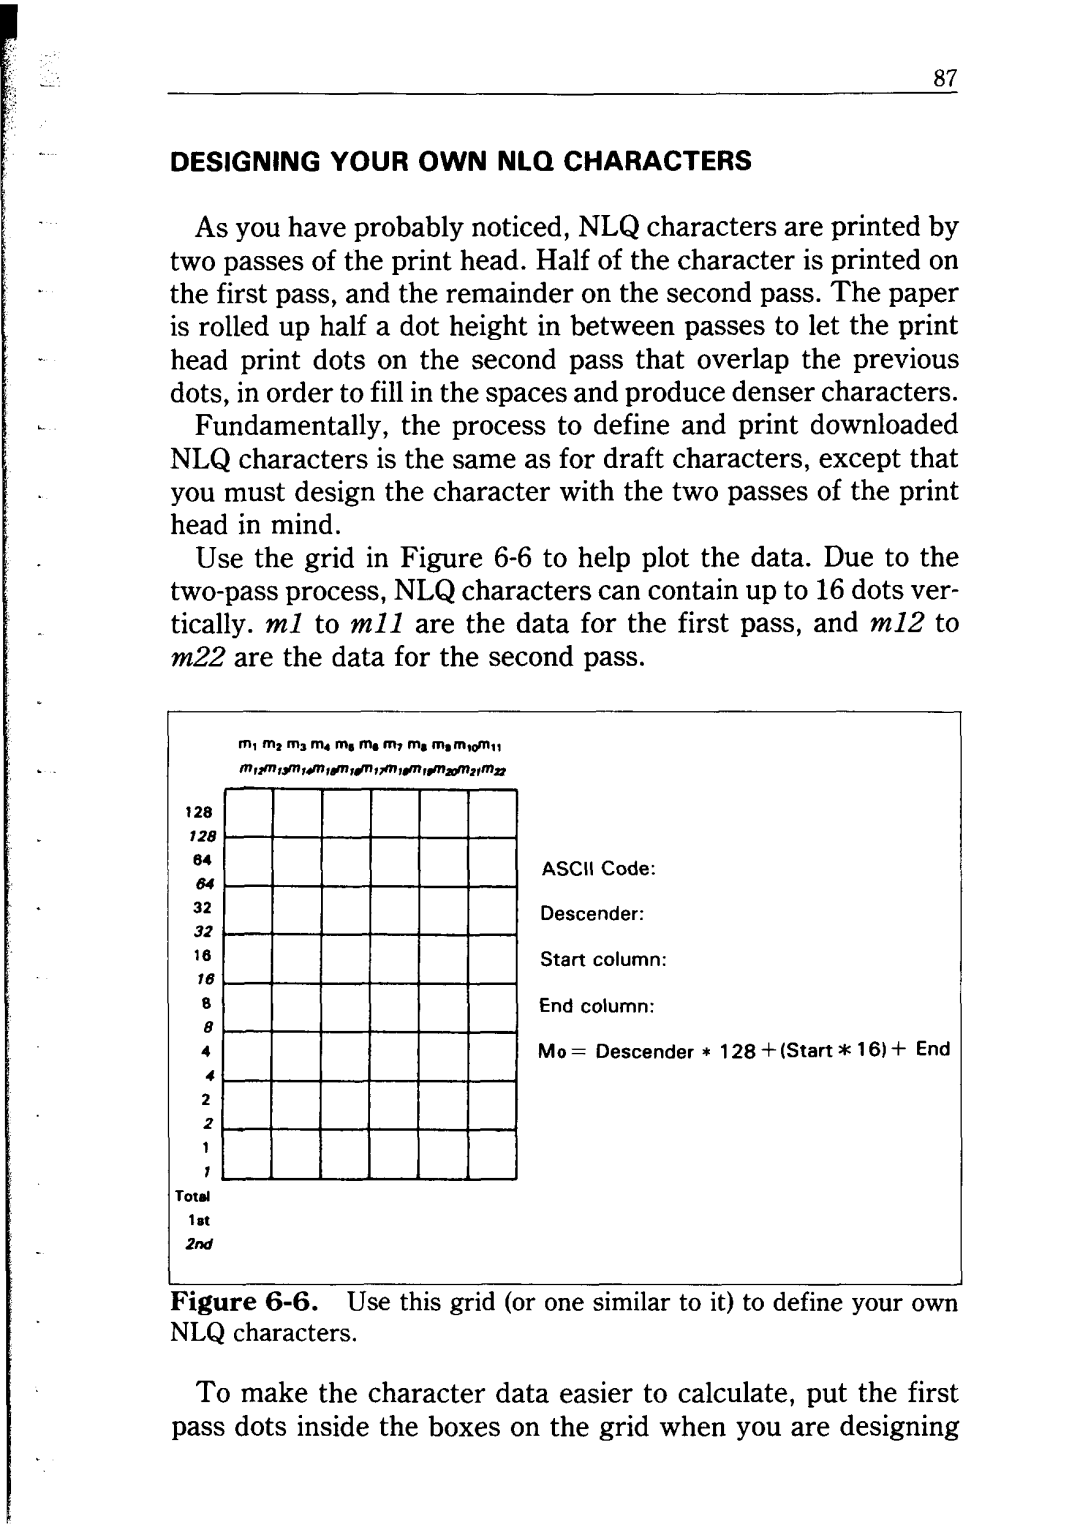
Use the grid in Figure
128 |
|
|
|
|
|
|
128 |
|
|
|
|
|
|
84 | ASCII | Code: |
|
|
|
|
64 |
|
|
|
| ||
|
|
|
|
|
| |
32 | Descender: |
|
|
|
| |
32 |
|
|
|
|
|
|
18 | Start | column: |
|
|
|
|
1s |
|
|
|
|
|
|
s | End column: |
|
|
|
| |
8 |
|
|
|
|
|
|
4 | MO = | Descender | * 128 + | (Start * | 16) + | End |
4 |
|
|
|
|
|
|
2 |
|
|
|
|
|
|
2 |
|
|
|
|
|
|
1 |
|
|
|
|
|
|
1 |
|
|
|
|
|
|
TOlJ |
|
|
|
|
|
|
1st |
|
|
|
|
|
|
2nd |
|
|
|
|
|
|
I |
|
|
|
|
| 1 |
Figure | Use this grid (or one | similar to | it) to | define | your | own |
NLQ characters. |
|
|
|
|
|
|
To make the character data easier to calculate, put the first
pass dots inside the boxes on the grid when you are designing
