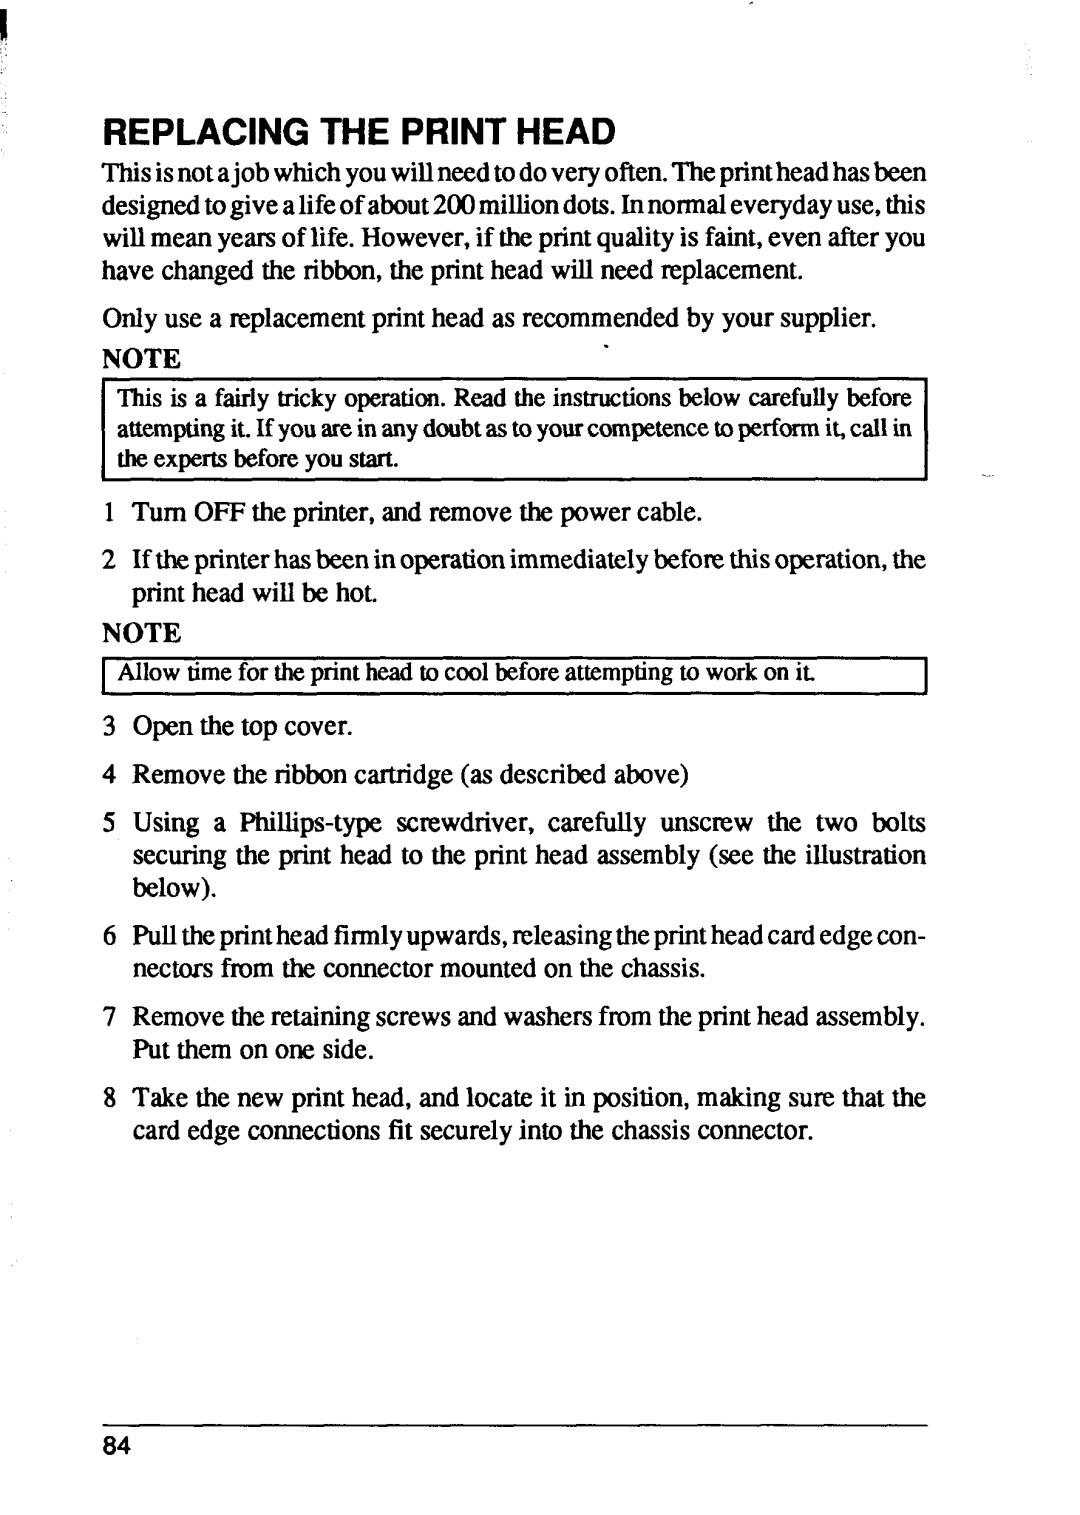
XB24-15, XB24-10 specifications
Star Micronics, a leader in the manufacturing of point-of-sale (POS) peripherals, has greatly enhanced the user experience with their XB24-10 and XB24-15 models. Known for their robust functionality and reliability, these printers are specifically designed to meet the demands of modern retail and hospitality environments.The XB24-10 and XB24-15 models boast a high-speed printing capability, reaching up to 300mm per second. This speed is complemented by a print resolution of 203 DPI, ensuring crisp and clear receipts, labels, and tickets. Users can expect high-quality output at any time, significantly improving workflow efficiency.
Both models support various printing methods and media types, including thermal paper, which eliminates the need for ink, reducing overall costs and maintenance. The printers are equipped with advanced sensor technology that not only detects paper jams but also ensures the correct alignment of paper for precise printing. This feature minimizes downtime and maximizes productivity.
Connectivity is a significant highlight of the XB24-10 and XB24-15. They come with multiple interface options, including USB, Ethernet, and Bluetooth, facilitating seamless integration with existing systems. This versatility allows businesses to adapt and scale their setup as necessary, ensuring compatibility with most POS systems available in the market.
Another key characteristic of these printers is their compact design, which makes them ideal for environments with limited space. Despite their small footprint, they do not compromise on performance or functionality. The durable construction of the XB24-10 and XB24-15 ensures longevity, making them a reliable choice for businesses that value dependability.
In addition to their physical features, Star Micronics has incorporated advanced technologies to enhance user experience. These include easy-to-use features such as an intuitive control panel and straightforward paper loading processes. Additionally, the printers support various customization options, allowing businesses to tailor output formats according to their specific requirements.
Overall, the Star Micronics XB24-10 and XB24-15 models are an excellent choice for organizations looking for efficient, dependable, and versatile printing solutions. With their high-speed performance, reliable connectivity, and compact design, these printers stand out as ideal options for any modern retail or hospitality setup. Their combination of advanced features and user-friendly operation exemplifies Star Micronics’ commitment to delivering top-tier products tailored to the needs of their customers.

