SUPERSERVER
5-2 Serverboard Installation
This section explains how to mount the
Note: Before you install the serverboard you should first attach the heatsink brackets to the back of the serverboard.
Installing the Heatsink Brackets
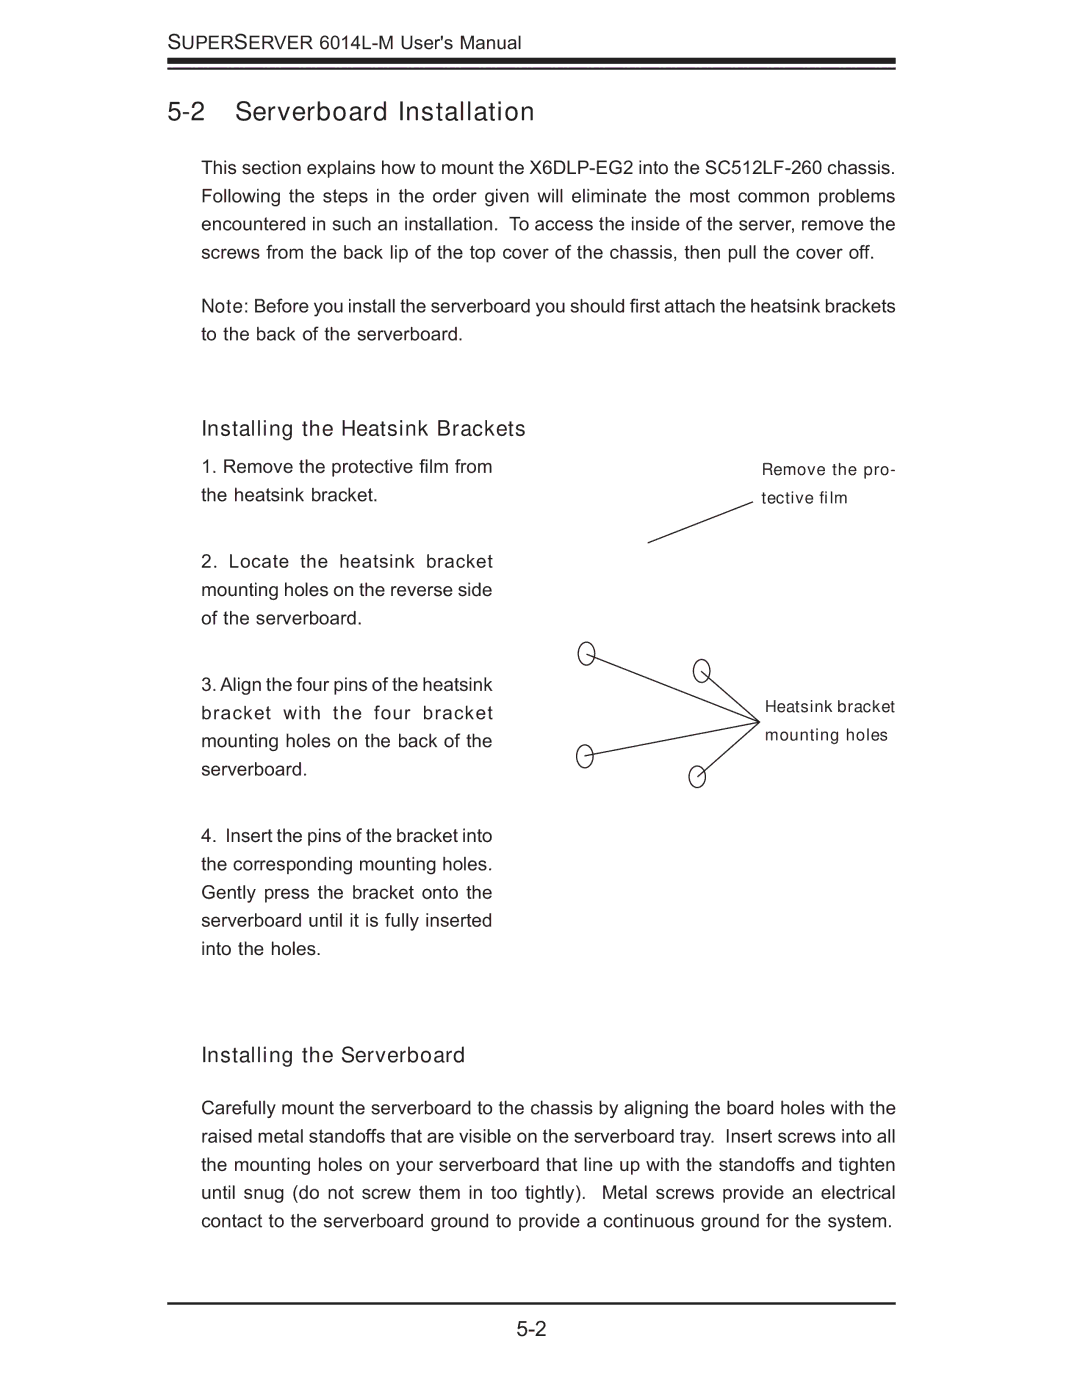
1.Remove the protective fi lm from the heatsink bracket.
2.Locate the heatsink bracket mounting holes on the reverse side of the serverboard.
3.Align the four pins of the heatsink bracket with the four bracket mounting holes on the back of the serverboard.
4.Insert the pins of the bracket into the corresponding mounting holes. Gently press the bracket onto the serverboard until it is fully inserted into the holes.
Installing the Serverboard
Remove the pro- tective film
Heatsink bracket mounting holes
Carefully mount the serverboard to the chassis by aligning the board holes with the raised metal standoffs that are visible on the serverboard tray. Insert screws into all the mounting holes on your serverboard that line up with the standoffs and tighten until snug (do not screw them in too tightly). Metal screws provide an electrical contact to the serverboard ground to provide a continuous ground for the system.