3. PRINTER OPERATION |
3.3 Installing the Printer Drivers
3.3.3Driver Installation (Cont.)
3.3.4 Add Printers
NOTE:
If you want to use a shared network printer, you can set it up quickly by browsing for it in Network Neighborhood, clicking the printer's icon, and then clicking Install on the File menu
7.Click on the Next button to accept the default Destination Folder (TEC_DRV\MONO), or click on the Browse button to select a different folder.
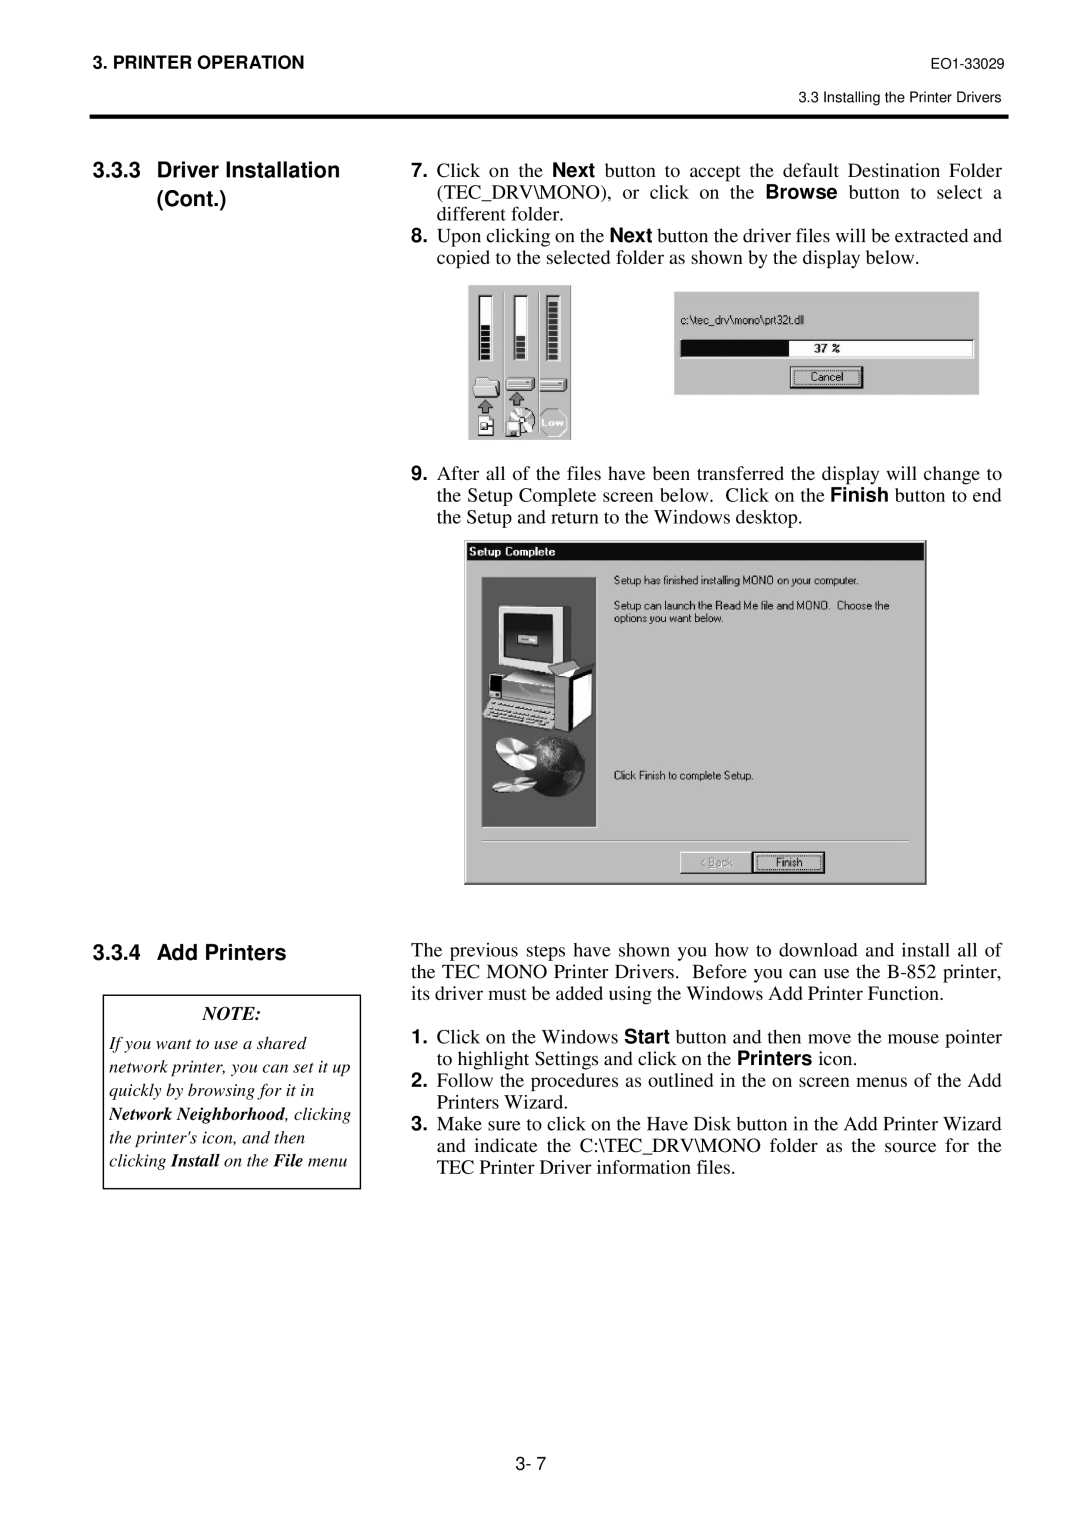
8.Upon clicking on the Next button the driver files will be extracted and copied to the selected folder as shown by the display below.
9.After all of the files have been transferred the display will change to the Setup Complete screen below. Click on the Finish button to end the Setup and return to the Windows desktop.
The previous steps have shown you how to download and install all of the TEC MONO Printer Drivers. Before you can use the
1.Click on the Windows Start button and then move the mouse pointer to highlight Settings and click on the Printers icon.
2.Follow the procedures as outlined in the on screen menus of the Add Printers Wizard.
3.Make sure to click on the Have Disk button in the Add Printer Wizard and indicate the C:\TEC_DRV\MONO folder as the source for the TEC Printer Driver information files.
3- 7