3. PRINTER OPERATION |
3.4 Using the
3.4.3 Details Tab
NOTE:
The print to the following
port: scrolling text box displays the port the printer is connected to or the path to the network printer being used. The print path can be changed by typing the network path here, by opening the list and clicking a different port, or by clicking the Add Port button and specifying a new port.
NOTE:
To print to a file, click File in
the Print to the following
port: scrolling text box.
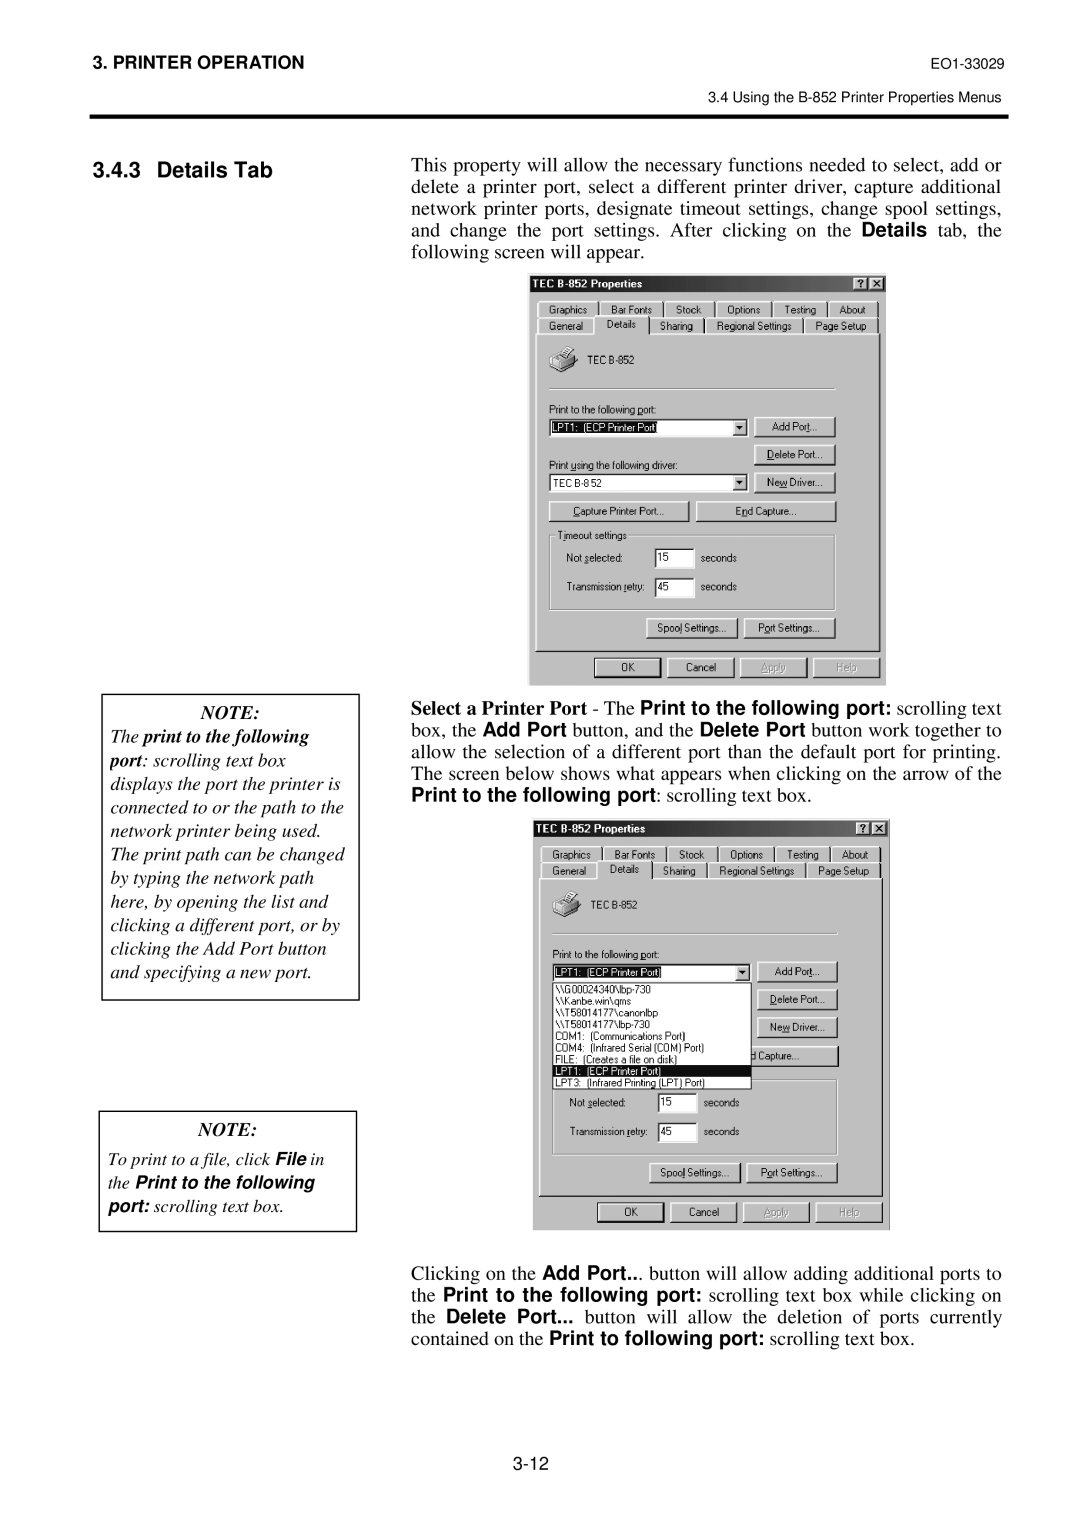
This property will allow the necessary functions needed to select, add or delete a printer port, select a different printer driver, capture additional network printer ports, designate timeout settings, change spool settings, and change the port settings. After clicking on the Details tab, the following screen will appear.
Select a Printer Port - The Print to the following port: scrolling text box, the Add Port button, and the Delete Port button work together to allow the selection of a different port than the default port for printing. The screen below shows what appears when clicking on the arrow of the Print to the following port: scrolling text box.
Clicking on the Add Port... button will allow adding additional ports to the Print to the following port: scrolling text box while clicking on the Delete Port... button will allow the deletion of ports currently contained on the Print to following port: scrolling text box.
