2.PRINTER SETUP
ENGLISH VERSION
2.13 Threshold Setting
2.13Threshold Setting (Cont.)
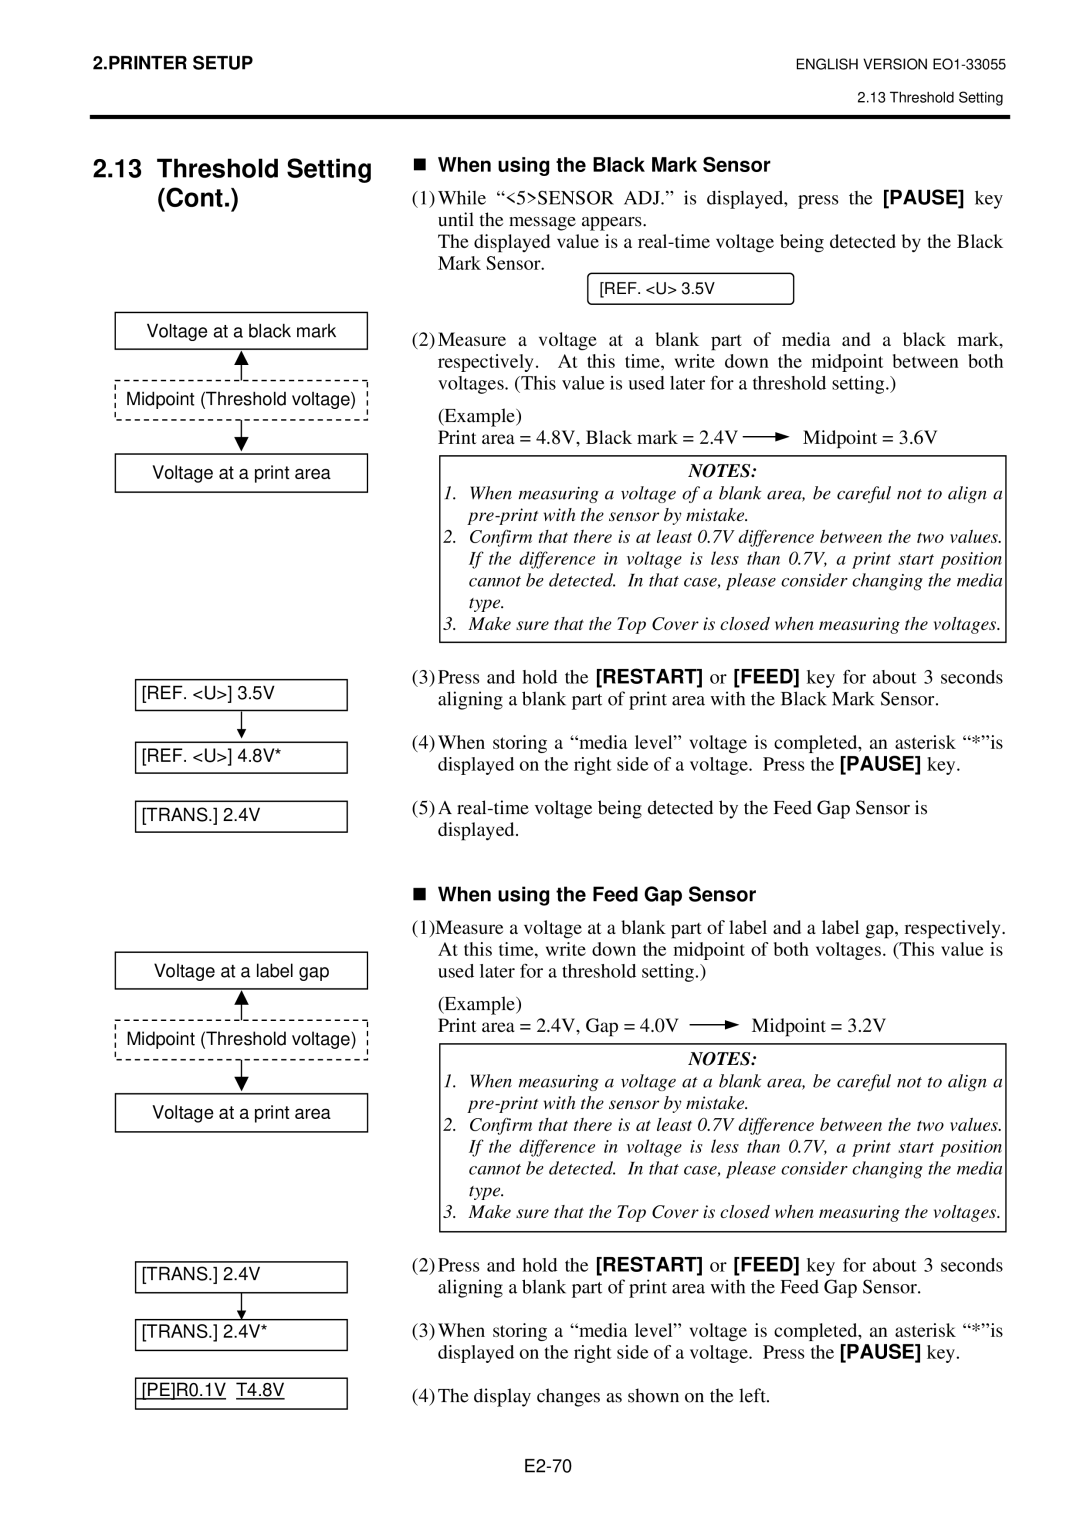
Voltage at a black mark
Midpoint (Threshold voltage)
Voltage at a print area
[REF. <U>] 3.5V
[REF. <U>] 4.8V*
[TRANS.] 2.4V
Voltage at a label gap
Midpoint (Threshold voltage)
Voltage at a print area
[TRANS.] 2.4V
[TRANS.] 2.4V*
[PE]R0.1V T4.8V
When using the Black Mark Sensor
(1)While “<5>SENSOR ADJ.” is displayed, press the [PAUSE] key until the message appears.
The displayed value is a
[REF. <U> 3.5V
(2)Measure a voltage at a blank part of media and a black mark, respectively. At this time, write down the midpoint between both voltages. (This value is used later for a threshold setting.)
(Example) |
|
Print area = 4.8V, Black mark = 2.4V | Midpoint = 3.6V |
NOTES:
1.When measuring a voltage of a blank area, be careful not to align a
2.Confirm that there is at least 0.7V difference between the two values. If the difference in voltage is less than 0.7V, a print start position cannot be detected. In that case, please consider changing the media type.
3.Make sure that the Top Cover is closed when measuring the voltages.
(3)Press and hold the [RESTART] or [FEED] key for about 3 seconds aligning a blank part of print area with the Black Mark Sensor.
(4)When storing a “media level” voltage is completed, an asterisk “*”is displayed on the right side of a voltage. Press the [PAUSE] key.
(5)A
When using the Feed Gap Sensor
(1)Measure a voltage at a blank part of label and a label gap, respectively. At this time, write down the midpoint of both voltages. (This value is used later for a threshold setting.)
(Example) |
|
Print area = 2.4V, Gap = 4.0V | Midpoint = 3.2V |
NOTES:
1.When measuring a voltage at a blank area, be careful not to align a
2.Confirm that there is at least 0.7V difference between the two values. If the difference in voltage is less than 0.7V, a print start position cannot be detected. In that case, please consider changing the media type.
3.Make sure that the Top Cover is closed when measuring the voltages.
(2)Press and hold the [RESTART] or [FEED] key for about 3 seconds aligning a blank part of print area with the Feed Gap Sensor.
(3)When storing a “media level” voltage is completed, an asterisk “*”is displayed on the right side of a voltage. Press the [PAUSE] key.
(4)The display changes as shown on the left.