6.Basic Operation (continued)
6.4Port Selection
The NetDirector Console KVM Switch with IP Access provides three port selection methods to access the computers on the installation: Manual Pushbuttons, an OSD (On Screen Display) menu system, and Hotkeys. OSD Operation and Hotkey Port Selection are discussed in the Windows Client Port Operation and Java Client Port Operation chapters.
6.4.1 Manual Port Switching
Use the Port Selection Buttons on the keyboard to manually switch to a port. The left button switches to the previous port (7 to 6, etc.). When at port 1, the left button will switch to the last port in the installation. The right button switches to the next port. When at the last port, the right button will switch to the first port in the installation.
6.5 Hot Plugging
The NetDirector Console KVM Switch with IP Access supports hot plugging - components can be removed and added back into the installation by unplugging and replugging their cables from the ports without the need to shut the unit down.
If you change computer positions, in order for the OSD menus to correspond to the KVM port changes, you must manually edit the Port Names for the OSD to reflect the new port information. See Port Names (section 7.2.3) for details.
Note: If the computer’s operating system does not support hot plugging, this function may not work properly.
6.6 Powering Off and Restarting
If it becomes necessary to power off the KVM switch, or if the switch loses power and needs to be restarted, wait 10 seconds before powering it back on. The computers should not be affected by this, but if any of them should fail, simply restart the affected computers.
6.7 Port ID Numbering
Each port is assigned a
7.Administration
7.1Local Console
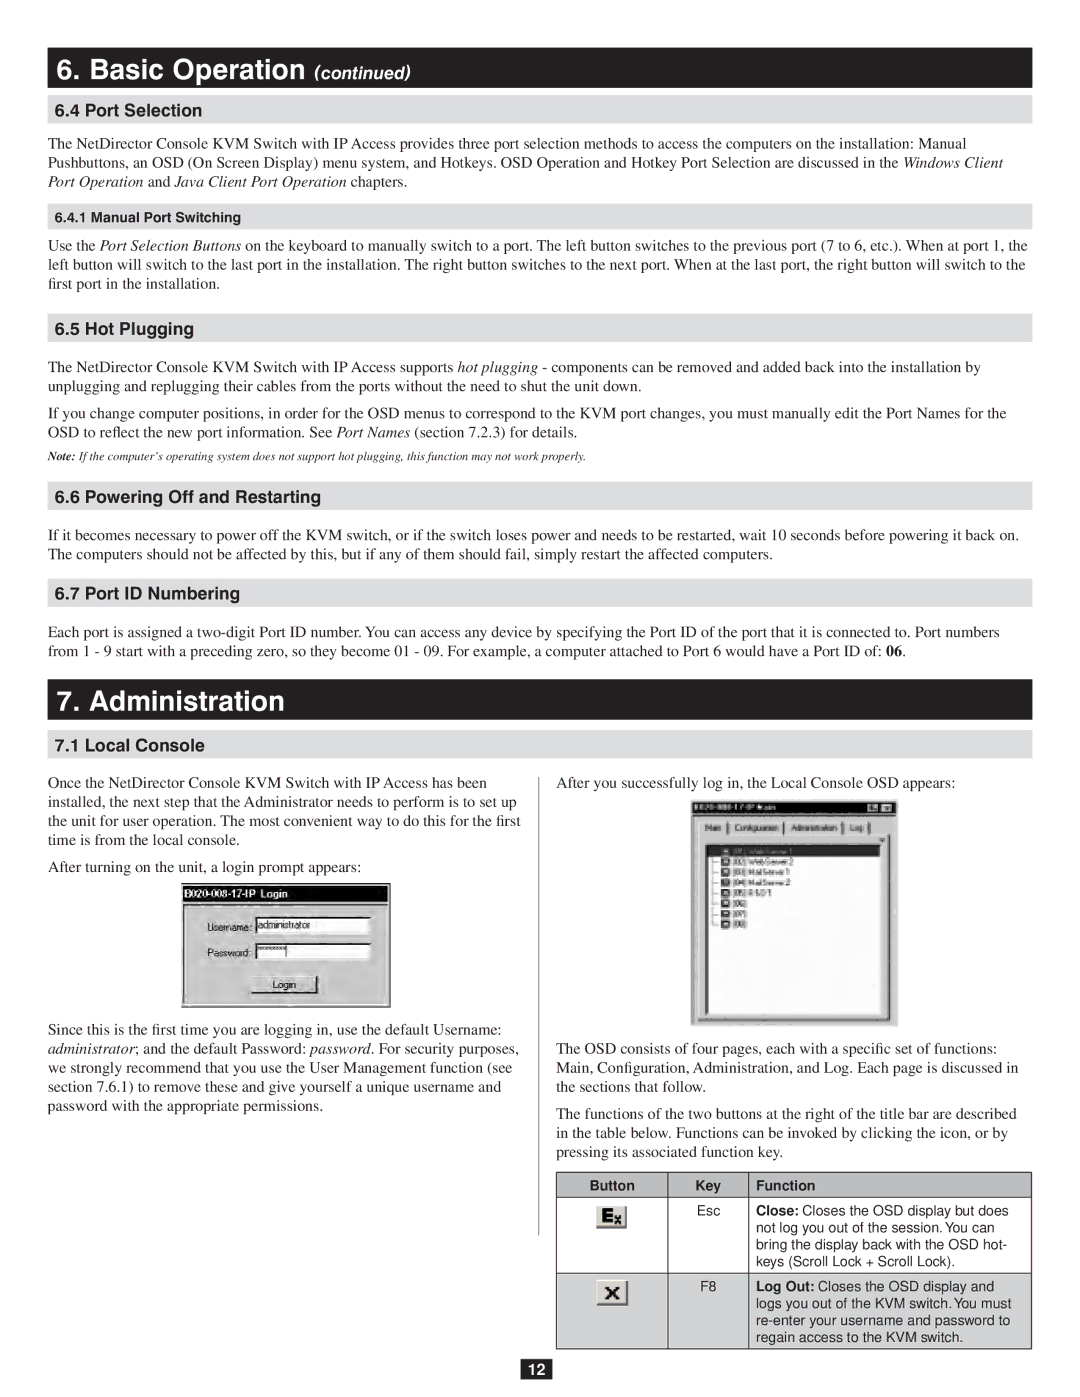
Once the NetDirector Console KVM Switch with IP Access has been installed, the next step that the Administrator needs to perform is to set up the unit for user operation. The most convenient way to do this for the first time is from the local console.
After turning on the unit, a login prompt appears:
Since this is the first time you are logging in, use the default Username: administrator; and the default Password: password. For security purposes, we strongly recommend that you use the User Management function (see section 7.6.1) to remove these and give yourself a unique username and password with the appropriate permissions.
After you successfully log in, the Local Console OSD appears:
The OSD consists of four pages, each with a specific set of functions: Main, Configuration, Administration, and Log. Each page is discussed in the sections that follow.
The functions of the two buttons at the right of the title bar are described in the table below. Functions can be invoked by clicking the icon, or by pressing its associated function key.
Button | Key | Function |
|
|
|
| Esc | Close: Closes the OSD display but does |
|
| not log you out of the session. You can |
|
| bring the display back with the OSD hot- |
|
| keys (Scroll Lock + Scroll Lock). |
|
|
|
| F8 | Log Out: Closes the OSD display and |
|
| logs you out of the KVM switch. You must |
|
| |
|
| regain access to the KVM switch. |
|
|
|
12
