12. Log Server
The
12.1 Installation
1.Specify the MAC address of the Log Server computer on the Service Configuration page of the Administrator Utility (see section 7.6.2).
2.From the computer that you want to use as the Log Server, open your browser and log into the remote main page. The computer you are installing the log server on must be connected to the same network as the KVM switch.
3.Click the ![]() button at the left of the Webpage to start the Log Server installation program.
button at the left of the Webpage to start the Log Server installation program.
4.If any security warning dialog boxes appear, ignore them and click Run or Open.
Note: If the browser cannot run the file, save it on your computer and run it from there.
5.Click Next. Then follow the
Service Configuration page of the Administrator Utility (see section
7.6.2).
12.2 Starting Up
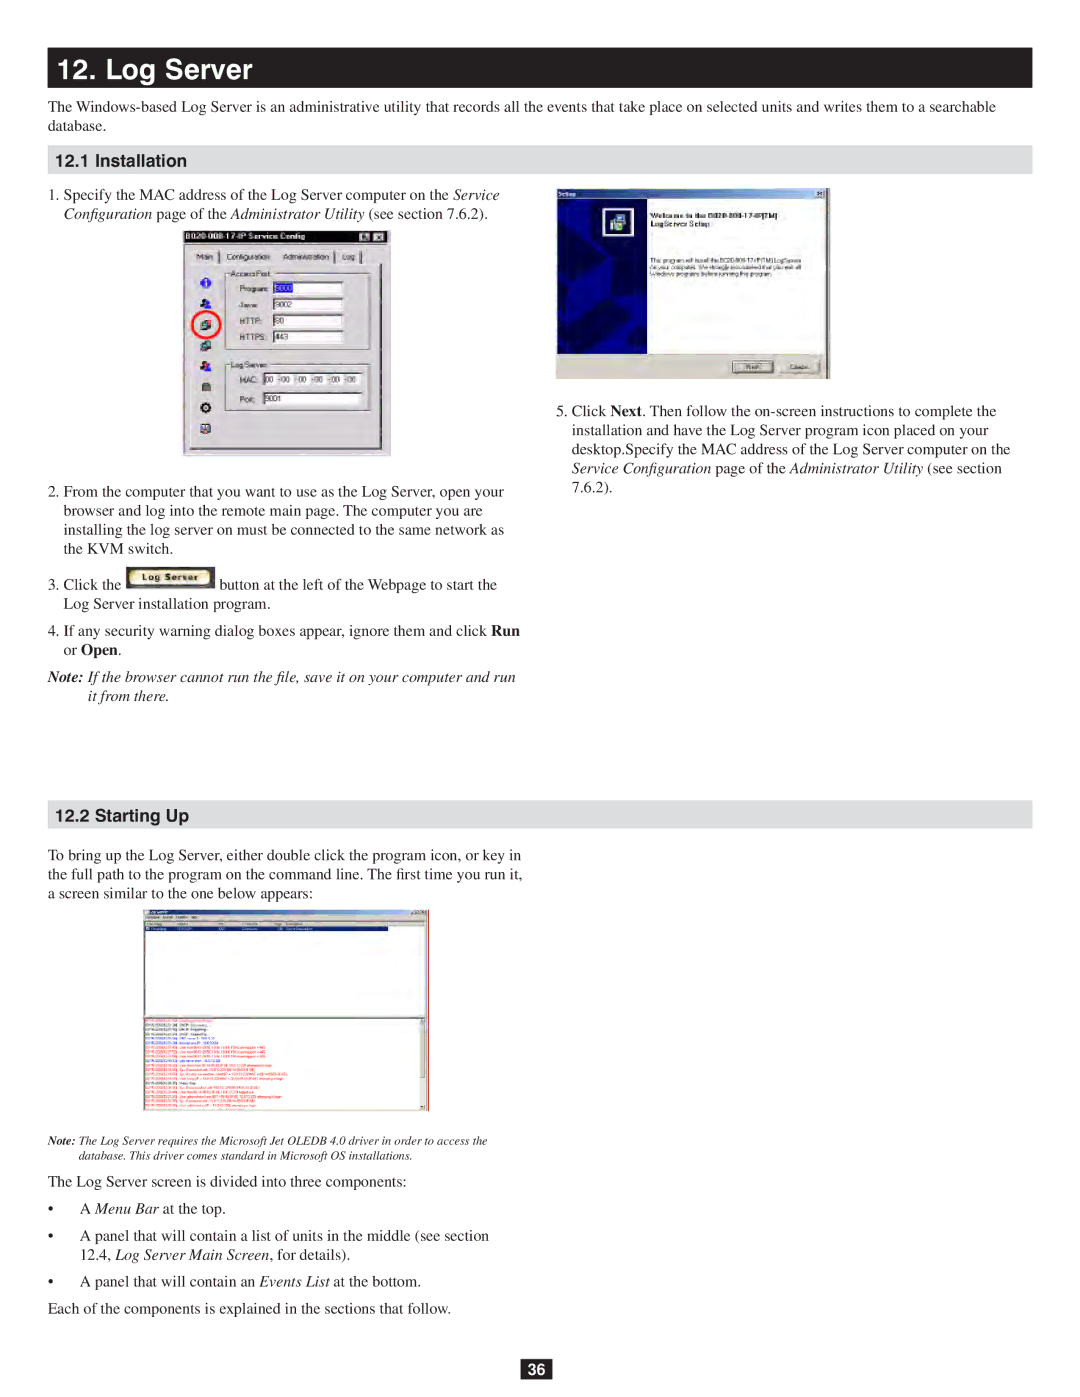
To bring up the Log Server, either double click the program icon, or key in the full path to the program on the command line. The first time you run it, a screen similar to the one below appears:
Note: The Log Server requires the Microsoft Jet OLEDB 4.0 driver in order to access the database. This driver comes standard in Microsoft OS installations.
The Log Server screen is divided into three components:
•A Menu Bar at the top.
•A panel that will contain a list of units in the middle (see section
12.4, Log Server Main Screen, for details).
•A panel that will contain an Events List at the bottom.
Each of the components is explained in the sections that follow.
36
