13.AP Operation (continued)
13.2Windows Client (continued)
13.2.2Starting Up (continued)
File Menu
The File Menu allows the operator to Create, Save, and Open user created Work files. A Work File consists of all the information specified in a Client session. This includes the Server List and Server IP list items, as well as the Hotkey settings.
Whenever a user runs the Client program, it opens with the values contained in the current work file. The current work file consists of the values that were in effect the last time the program was closed.
The File menu consists of three items, as follows:
| Allows the user to create a named work file so its | |
New | values will not be lost, and it will be available for | |
| future recall. | |
|
| |
Open | Allows the user to open a previously saved work file | |
and use the values contained in it. | ||
| ||
|
| |
Save | Allows the user to save the values presently in effect | |
as the current work file. | ||
| ||
|
|
Tools Menu
Tools menu operations are performed after you connect, but before you switch to remote view. There are two entries on the Tools Menu: Keyboard and Config.
Keyboard
Various configuration actions related to the keyboard, video, and mouse can be performed via hotkey combinations. The Hotkey Setup utility is accessed by opening the Tools menu and selecting Keyboard. The Hotkey Setup Screen that appears is essentially the same dialog box discussed in the
Config
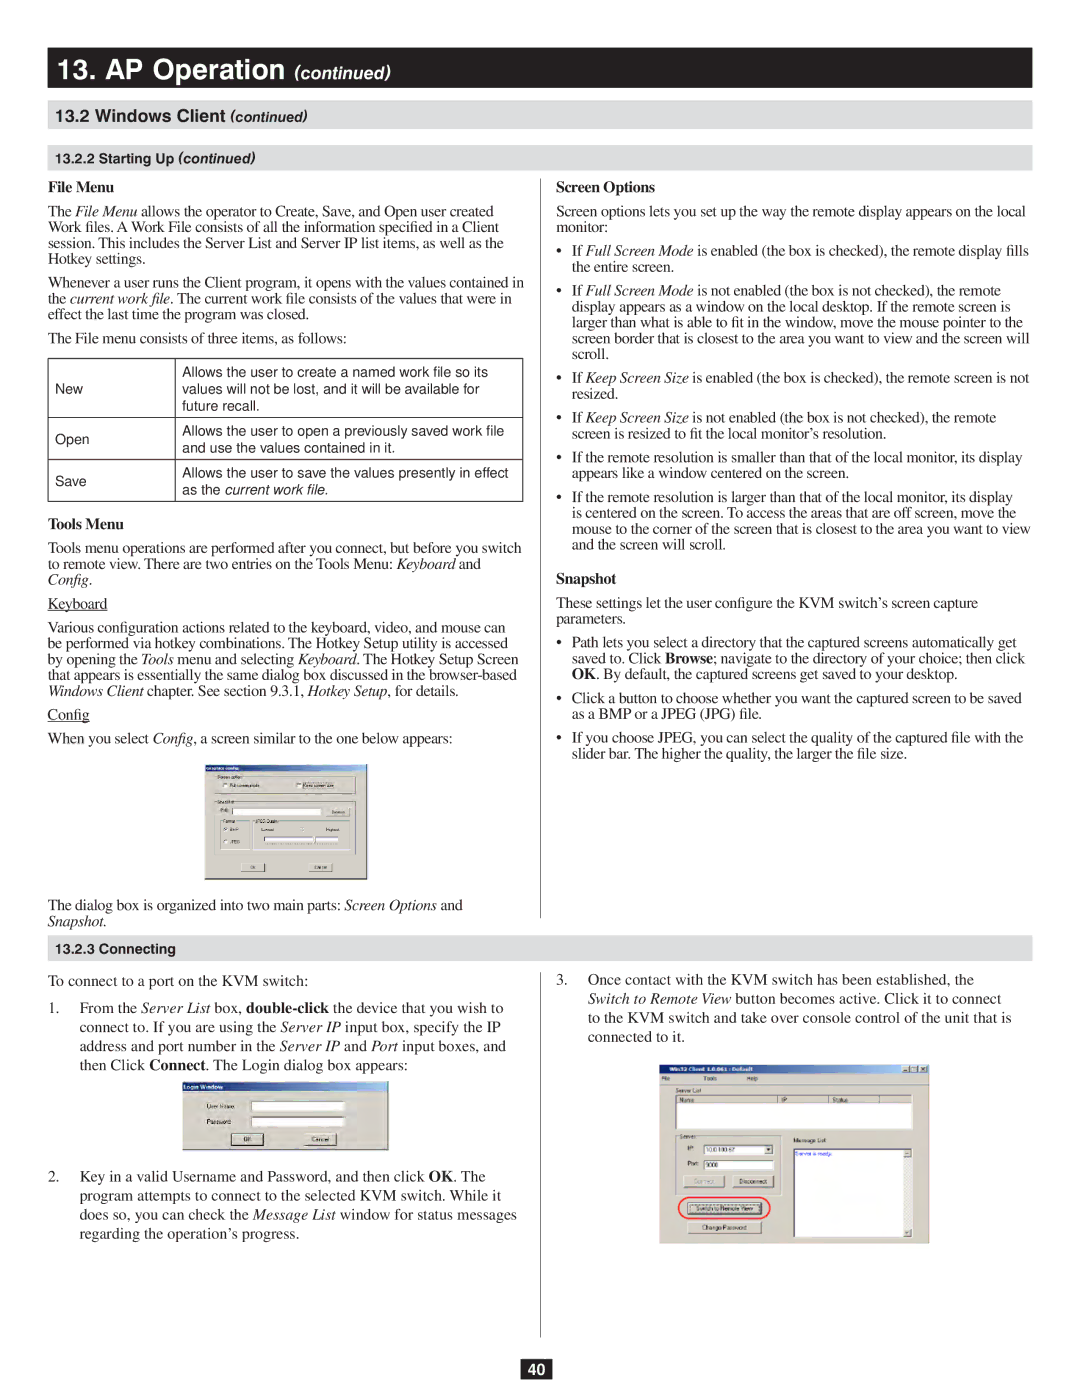
When you select Config, a screen similar to the one below appears:
The dialog box is organized into two main parts: Screen Options and Snapshot.
13.2.3 Connecting
To connect to a port on the KVM switch:
1.From the Server List box,
2.Key in a valid Username and Password, and then click OK. The program attempts to connect to the selected KVM switch. While it does so, you can check the Message List window for status messages regarding the operation’s progress.
Screen Options
Screen options lets you set up the way the remote display appears on the local monitor:
•If Full Screen Mode is enabled (the box is checked), the remote display fills the entire screen.
•If Full Screen Mode is not enabled (the box is not checked), the remote display appears as a window on the local desktop. If the remote screen is larger than what is able to fit in the window, move the mouse pointer to the screen border that is closest to the area you want to view and the screen will scroll.
•If Keep Screen Size is enabled (the box is checked), the remote screen is not resized.
•If Keep Screen Size is not enabled (the box is not checked), the remote screen is resized to fit the local monitor’s resolution.
•If the remote resolution is smaller than that of the local monitor, its display appears like a window centered on the screen.
•If the remote resolution is larger than that of the local monitor, its display is centered on the screen. To access the areas that are off screen, move the mouse to the corner of the screen that is closest to the area you want to view and the screen will scroll.
Snapshot
These settings let the user configure the KVM switch’s screen capture parameters.
•Path lets you select a directory that the captured screens automatically get saved to. Click Browse; navigate to the directory of your choice; then click
OK. By default, the captured screens get saved to your desktop.
•Click a button to choose whether you want the captured screen to be saved as a BMP or a JPEG (JPG) file.
•If you choose JPEG, you can select the quality of the captured file with the slider bar. The higher the quality, the larger the file size.
3.Once contact with the KVM switch has been established, the
Switch to Remote View button becomes active. Click it to connect to the KVM switch and take over console control of the unit that is connected to it.
40