AP Operation
User Management
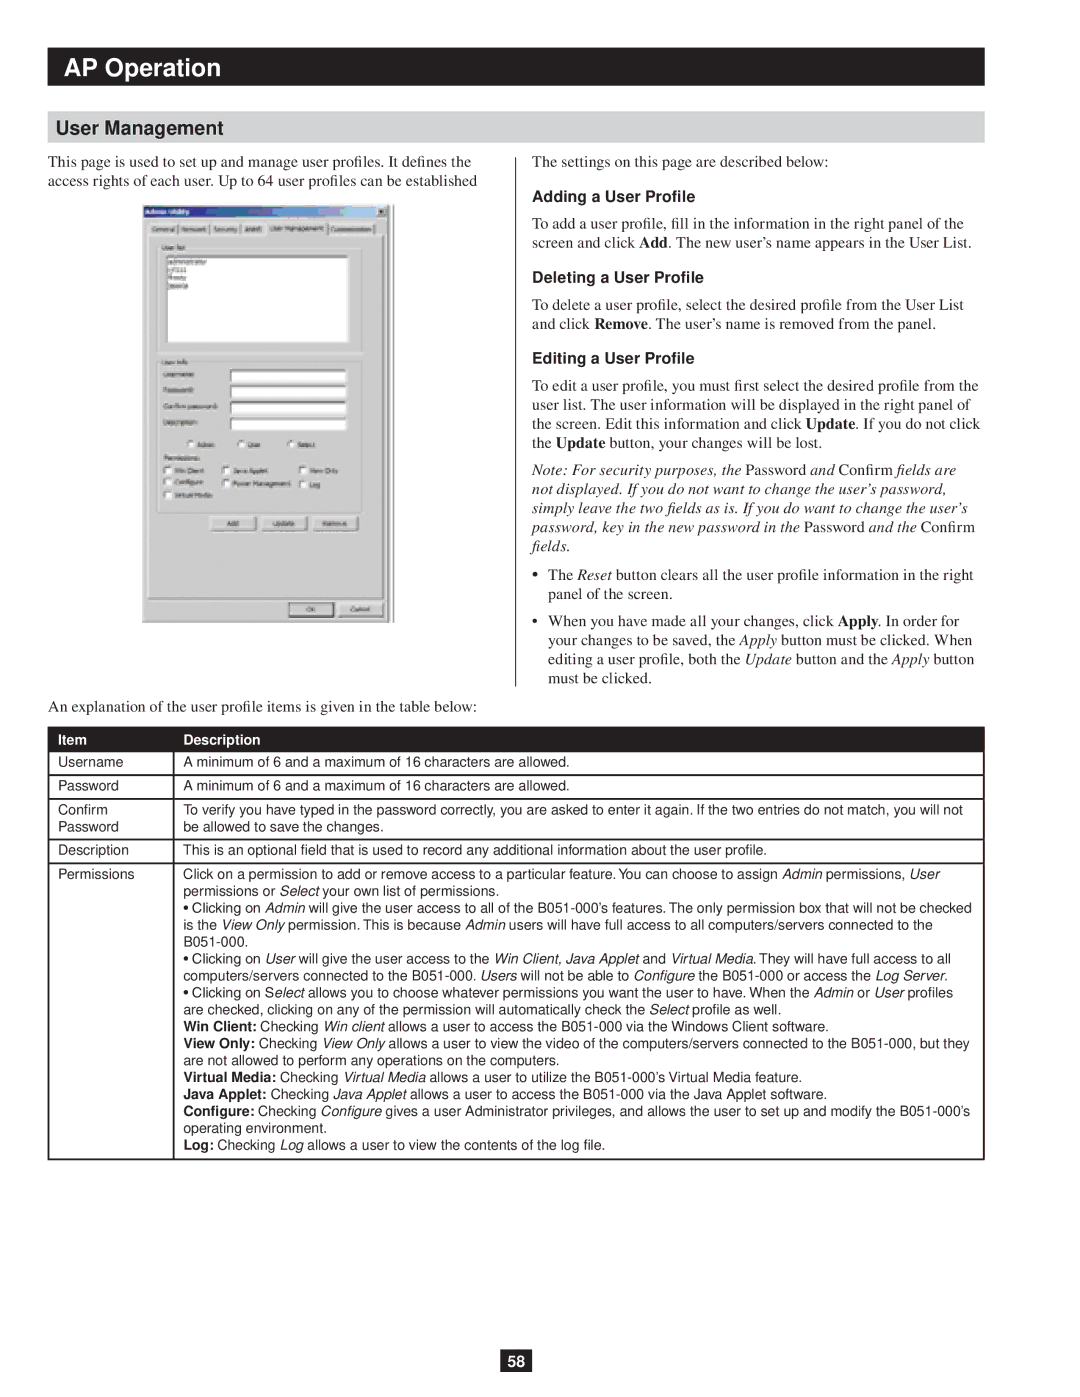
This page is used to set up and manage user profiles. It defines the access rights of each user. Up to 64 user profiles can be established
An explanation of the user profile items is given in the table below:
The settings on this page are described below:
Adding a User Profile
To add a user profile, fill in the information in the right panel of the screen and click Add. The new user’s name appears in the User List.
Deleting a User Profile
To delete a user profile, select the desired profile from the User List and click Remove. The user’s name is removed from the panel.
Editing a User Profile
To edit a user profile, you must first select the desired profile from the user list. The user information will be displayed in the right panel of the screen. Edit this information and click Update. If you do not click the Update button, your changes will be lost.
Note: For security purposes, the Password and Confirm fields are not displayed. If you do not want to change the user’s password, simply leave the two fields as is. If you do want to change the user’s password, key in the new password in the Password and the Confirm fields.
•The Reset button clears all the user profile information in the right panel of the screen.
•When you have made all your changes, click Apply. In order for your changes to be saved, the Apply button must be clicked. When editing a user profile, both the Update button and the Apply button must be clicked.
Item | Description |
|
|
Username | A minimum of 6 and a maximum of 16 characters are allowed. |
|
|
Password | A minimum of 6 and a maximum of 16 characters are allowed. |
|
|
Confirm | To verify you have typed in the password correctly, you are asked to enter it again. If the two entries do not match, you will not |
Password | be allowed to save the changes. |
|
|
Description | This is an optional field that is used to record any additional information about the user profile. |
|
|
Permissions | Click on a permission to add or remove access to a particular feature. You can choose to assign Admin permissions, User |
| permissions or Select your own list of permissions. |
| • Clicking on Admin will give the user access to all of the |
| is the View Only permission. This is because Admin users will have full access to all computers/servers connected to the |
| |
| • Clicking on User will give the user access to the Win Client, Java Applet and Virtual Media. They will have full access to all |
| computers/servers connected to the |
| • Clicking on Select allows you to choose whatever permissions you want the user to have. When the Admin or User profiles |
| are checked, clicking on any of the permission will automatically check the Select profile as well. |
| Win Client: Checking Win client allows a user to access the |
| View Only: Checking View Only allows a user to view the video of the computers/servers connected to the |
| are not allowed to perform any operations on the computers. |
| Virtual Media: Checking Virtual Media allows a user to utilize the |
| Java Applet: Checking Java Applet allows a user to access the |
| Configure: Checking Configure gives a user Administrator privileges, and allows the user to set up and modify the |
| operating environment. |
| Log: Checking Log allows a user to view the contents of the log file. |
|
|
58