110 – Display and Configuration (continued)
2
3
4
5
6
7
8
9
10
11
12
13
14
10-5-4 Charger Setup
Use “ | ” or ” ” to select “CHARGER”, then press ” ” to confirm. |
|
| ||
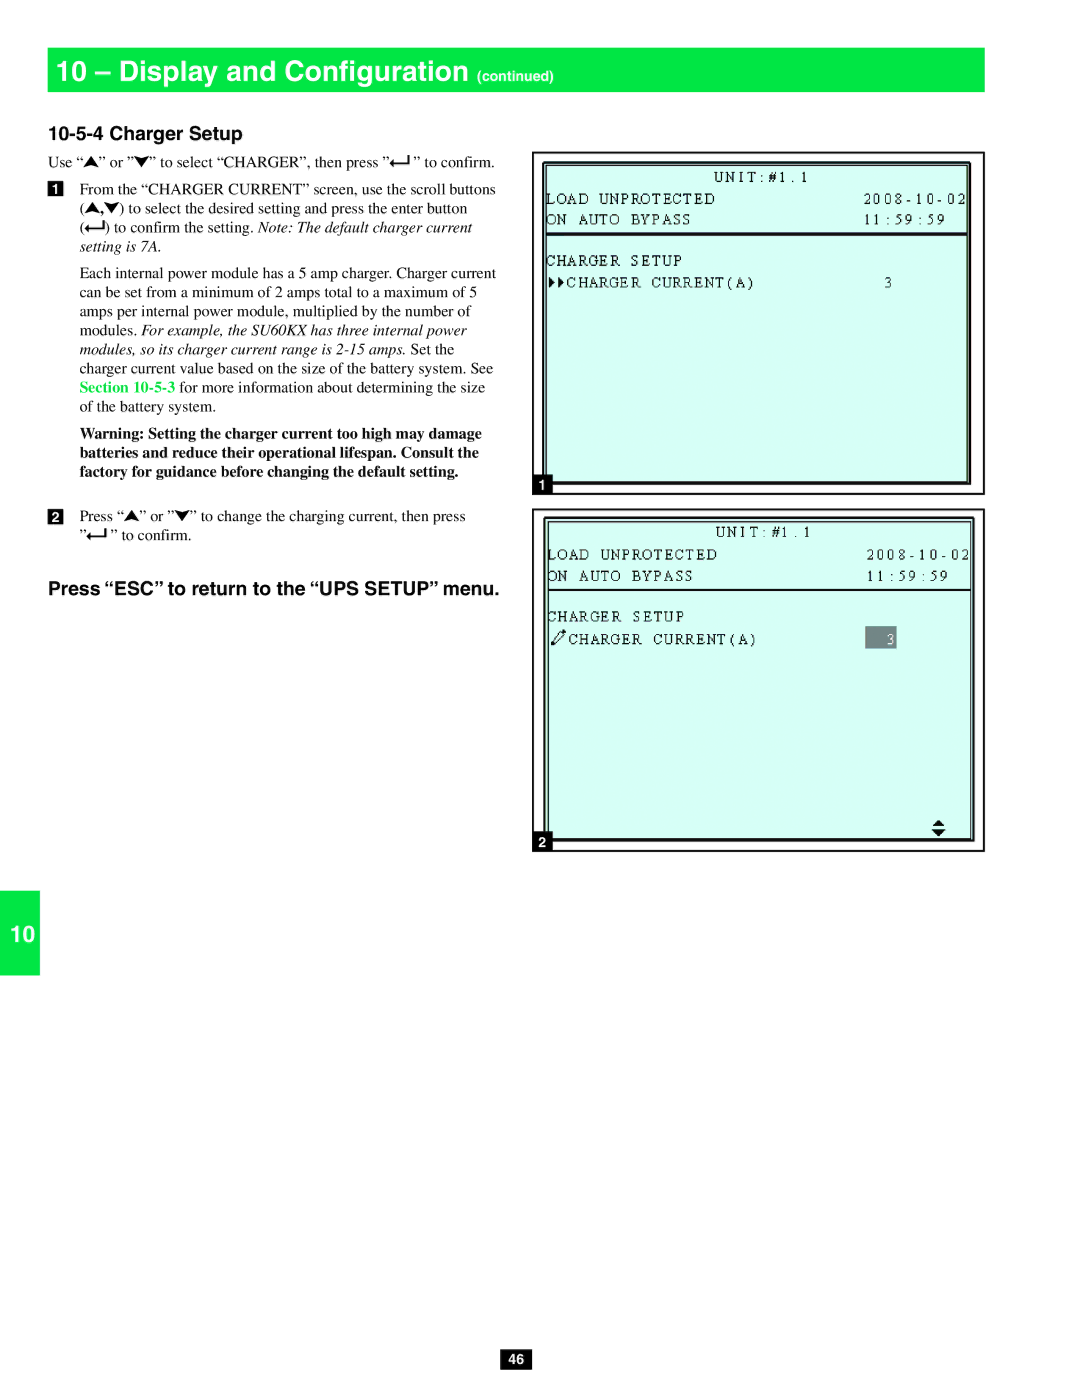
| From the “CHARGER CURRENT” screen, use the scroll buttons |
|
| ||
1 |
|
| |||
( | , ) to select the desired setting and press the enter button |
|
| ||
( | ) to confirm the setting. Note: The default charger current |
|
| ||
| setting is 7A. |
|
| ||
| Each internal power module has a 5 amp charger. Charger current |
|
| ||
| can be set from a minimum of 2 amps total to a maximum of 5 |
|
| ||
| amps per internal power module, multiplied by the number of |
|
| ||
| modules. For example, the SU60KX has three internal power |
|
| ||
| modules, so its charger current range is |
|
| ||
| charger current value based on the size of the battery system. See |
|
| ||
| Section |
|
| ||
| of the battery system. |
|
| ||
| Warning: Setting the charger current too high may damage |
|
| ||
| batteries and reduce their operational lifespan. Consult the |
|
| ||
| factory for guidance before changing the default setting. |
|
| ||
1 | |||||
|
|
|
| ||
2Press “![]() ” or ”
” or ”![]() ” to change the charging current, then press ”
” to change the charging current, then press ”![]() ” to confirm.
” to confirm.
Press “ESC” to return to the “UPS SETUP” menu.
2
46
