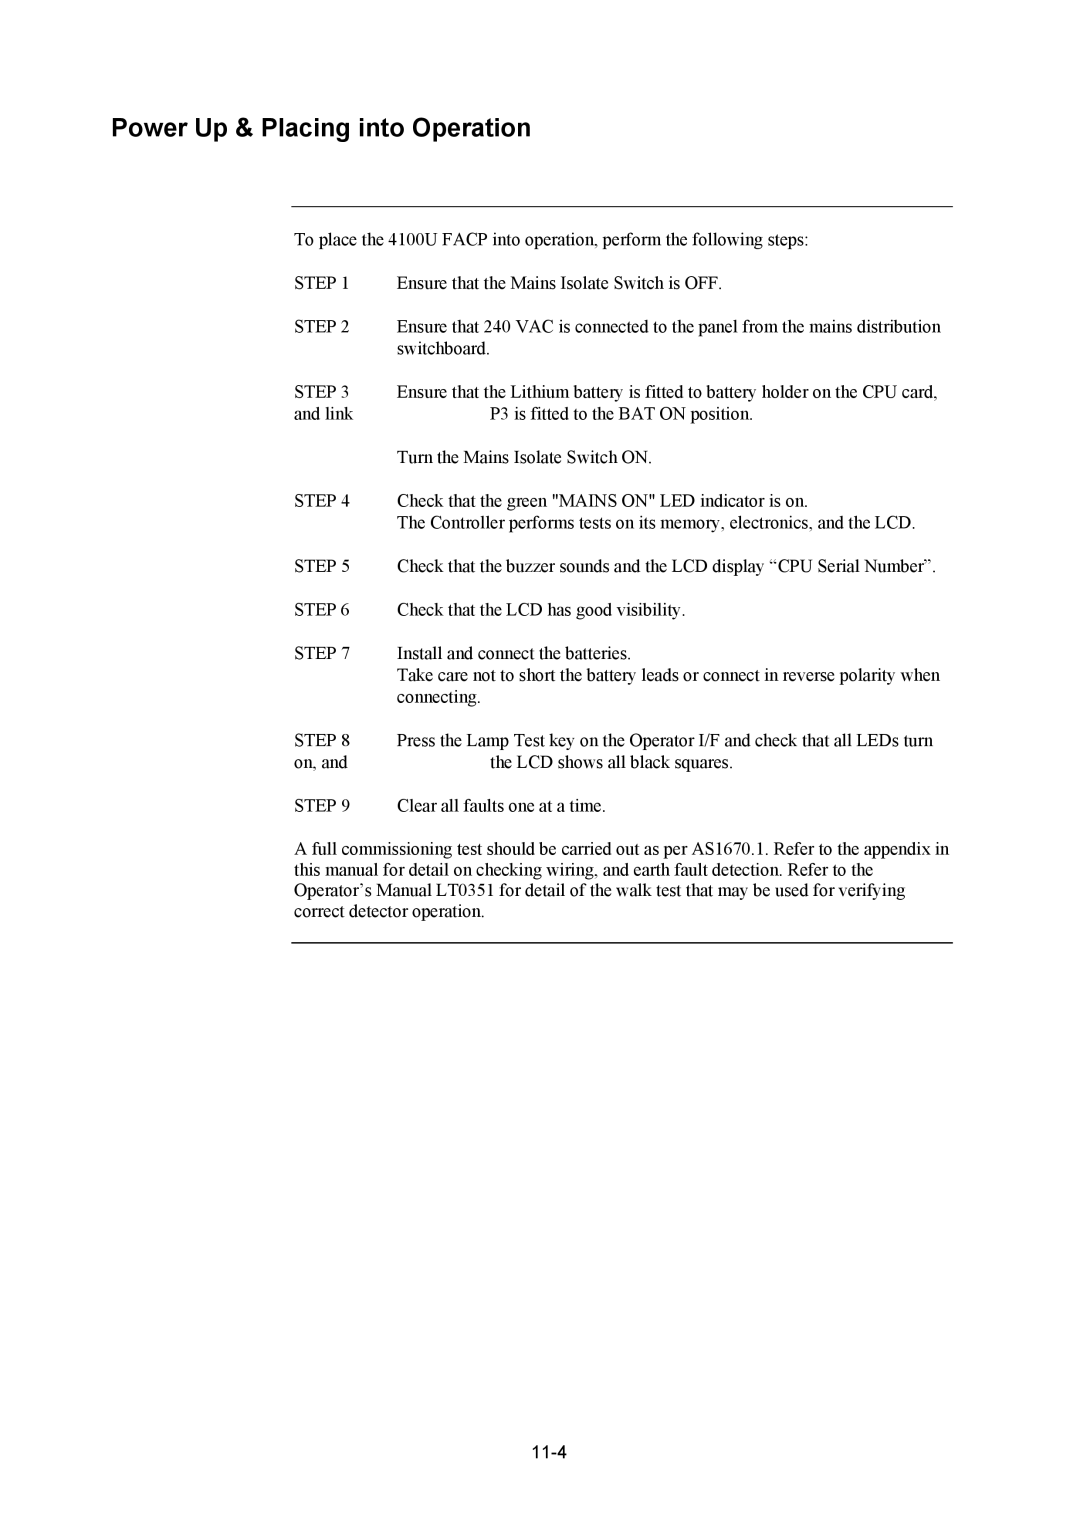
4100U specifications
The Tyco 4100 series, which includes the 4100U, 4120, and 4020 models, represents a significant evolution in fire alarm and detection systems. These systems are designed to meet the needs of commercial, industrial, and institutional environments, ensuring reliable safety and compliance with the latest regulatory standards.One of the primary features of the Tyco 4100 series is its modular design. This allows for easy expansion and customization to meet diverse application requirements. The systems support a wide range of detectors, initiating devices, and notification appliances, providing flexibility for different building layouts and fire protection needs.
The 4100U model is particularly noted for its powerful processing capabilities, utilizing advanced digital technology to enhance the speed and accuracy of fire detection. It includes sophisticated algorithms that optimize response times and reduce false alarms, ensuring that the system is both responsive and reliable during emergencies.
The 4120 model is tailored for larger facilities, incorporating advanced networking features that enable communication between multiple control panels. This interconnectedness is crucial for managing complex building systems, allowing for centralized monitoring and control. It integrates with a variety of life-safety systems and can be configured to accommodate a vast number of addressable points, making it ideal for expansive installations.
The 4020 model serves as a cost-effective solution for smaller establishments while maintaining essential functionalities. It focuses on delivering essential fire alarm capabilities without compromising on performance. Despite its more compact design, the 4020 still offers support for numerous devices and can be integrated into larger systems if needed.
All models in the 4100 series leverage modern communication technologies, offering network integration capabilities that enhance their usability. They support various communication protocols, including Ethernet, which facilitates remote monitoring and maintenance options via web-based interfaces. This ensures that system administrators can manage alerts and notifications from anywhere, streamlining incident response.
In summary, the Tyco 4100 series, featuring the 4100U, 4120, and 4020 models, stands out for its adaptability, technological advancements, and versatility. Their robust design caters effectively to diverse environments, making them a preferred choice for fire alarm and safety solutions in various sectors. Companies can rely on these systems not only for compliance but also for enhanced safety and operational efficiency.

