If you are installing a Vision 140/150 with the optional CineWide or CineWide with AutoScope system, proceed as follows to install the anamorphic lens mounting assembly (stationary base plate or AutoScope lens motor).
3.5
Installing the Optional CineWide Lens Mount
1. Do not install the CineWide lens yet, only the mounting plate or lens
Note motor. You will install the CineWide lens after you install the projector and adjust the primary lens.
2.Some of the following steps are necessary only for CineWide with AutoScope installations.
(Skip this step if you are installing a fixed CineWide anamorphic lens.)
Place the projector upside down on a blanket or other soft surface. Loosen and remove the two front feet on the projector.
The anamorphic lens mounting kit is partially pre-assembled at the
Note factory – the AutoScope lens motor and lens mounting assemblies are both fully assembled.
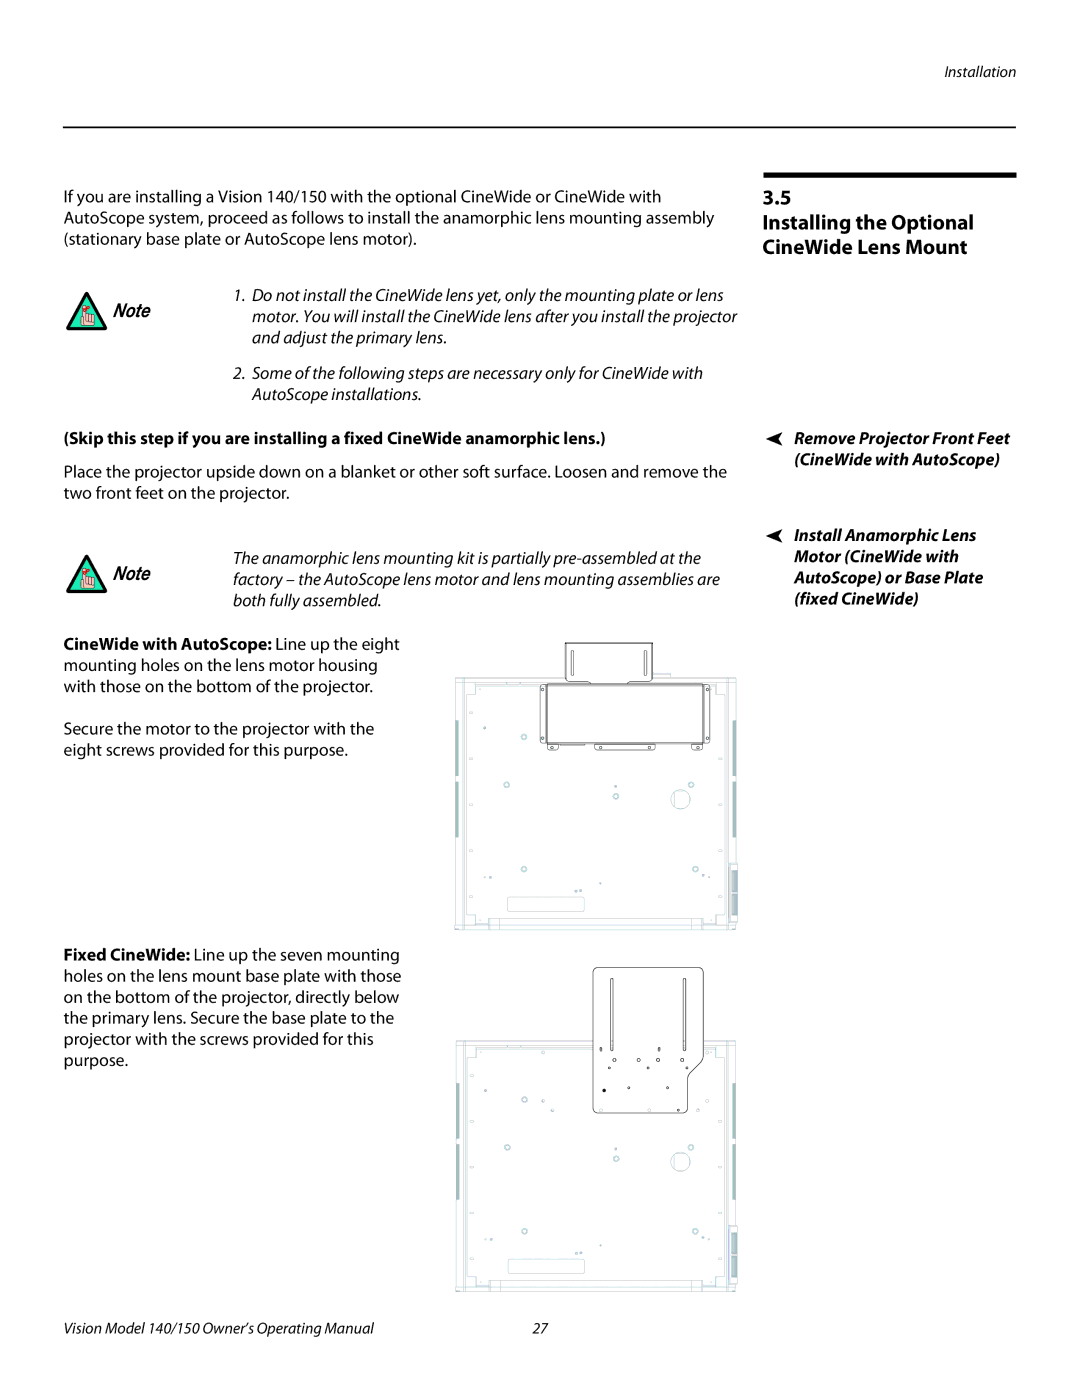
CineWide with AutoScope: Line up the eight mounting holes on the lens motor housing with those on the bottom of the projector.
Secure the motor to the projector with the eight screws provided for this purpose.
Fixed CineWide: Line up the seven mounting holes on the lens mount base plate with those on the bottom of the projector, directly below the primary lens. Secure the base plate to the projector with the screws provided for this purpose.
Remove Projector Front Feet (CineWide with AutoScope)
Install Anamorphic Lens Motor (CineWide with AutoScope) or Base Plate (fixed CineWide)
Vision Model 140/150 Owner’s Operating Manual | 27 |