Pixel Phase: Adjust pixel phase when the image (usually from an RGB source) still shows shimmer or “noise” after pixel tracking is optimized. Pixel phase adjusts the phase of the pixel sampling clock relative to the incoming signal.
Adjust “Pixel Tracking” before “Pixel Phase.”
Note
For best results, use a good test pattern such as a smooth gray consisting of a clear pattern of black and white pixels, or a similar “half on, half off” graphic image. Adjust the slidebar until the image stabilizes and each pixel is clearly defined. You may notice that you can stabilize the image at more than one point; for example, you may find that the image appearance at “11” is identical to the image appearance at “38.” Use either setting in such cases. If some shimmer from a video or HDTV source persists, use the “Filter” control in the Image Settings menu (described later) to remove
Horizontal Shift: This option moves the image right or left within the area of available pixels.
Vertical Shift: This option moves the image up or down within the area of available pixels.
The values shown represent where the approximate center of the image
Note lies in relation to the total number of pixels available horizontally or vertically. This varies widely according to the signal; watch the image while adjusting.
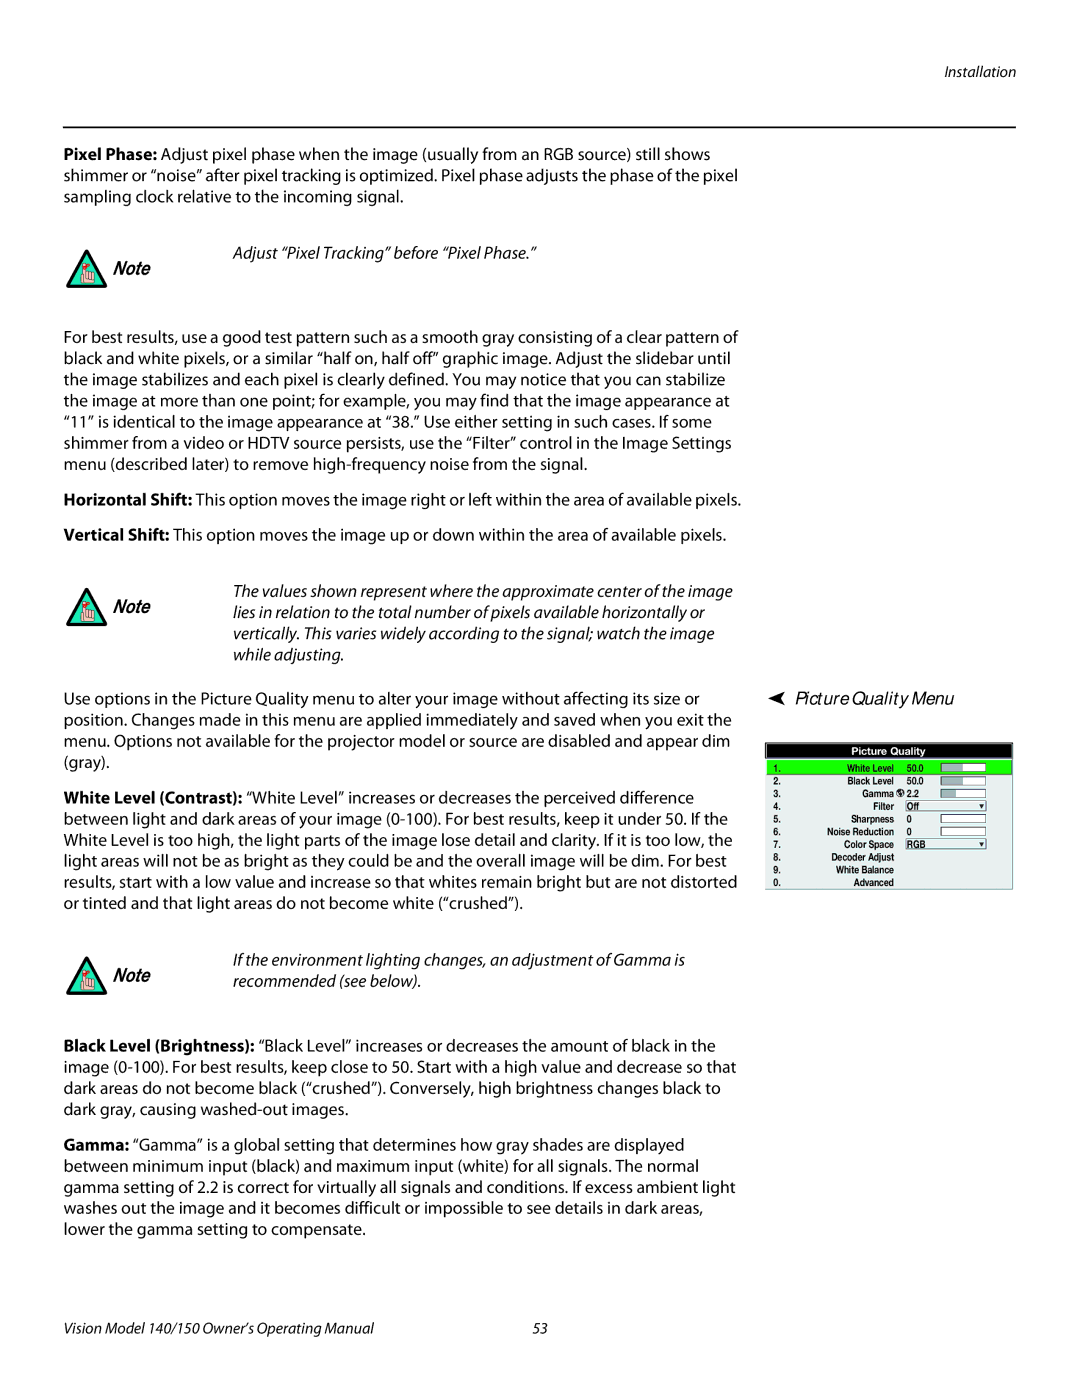
Use options in the Picture Quality menu to alter your image without affecting its size or position. Changes made in this menu are applied immediately and saved when you exit the menu. Options not available for the projector model or source are disabled and appear dim (gray).
White Level (Contrast): “White Level” increases or decreases the perceived difference between light and dark areas of your image
If the environment lighting changes, an adjustment of Gamma is
Note | recommended (see below). |
|
Black Level (Brightness): “Black Level” increases or decreases the amount of black in the image
Gamma: “Gamma” is a global setting that determines how gray shades are displayed between minimum input (black) and maximum input (white) for all signals. The normal gamma setting of 2.2 is correct for virtually all signals and conditions. If excess ambient light washes out the image and it becomes difficult or impossible to see details in dark areas, lower the gamma setting to compensate.
 Picture Quality Menu
Picture Quality
1. | White Level | 50.0 |
2. | Black Level | 50.0 |
3. | Gamma | 2.2 |
4. | Filter | Off |
5. | Sharpness | 0 |
6. | Noise Reduction | 0 |
7. | Color Space | RGB |
8.Decoder Adjust
9.White Balance
0.Advanced
Vision Model 140/150 Owner’s Operating Manual | 53 |