Maintenance and Troubleshooting
5.2
Lens Replacement
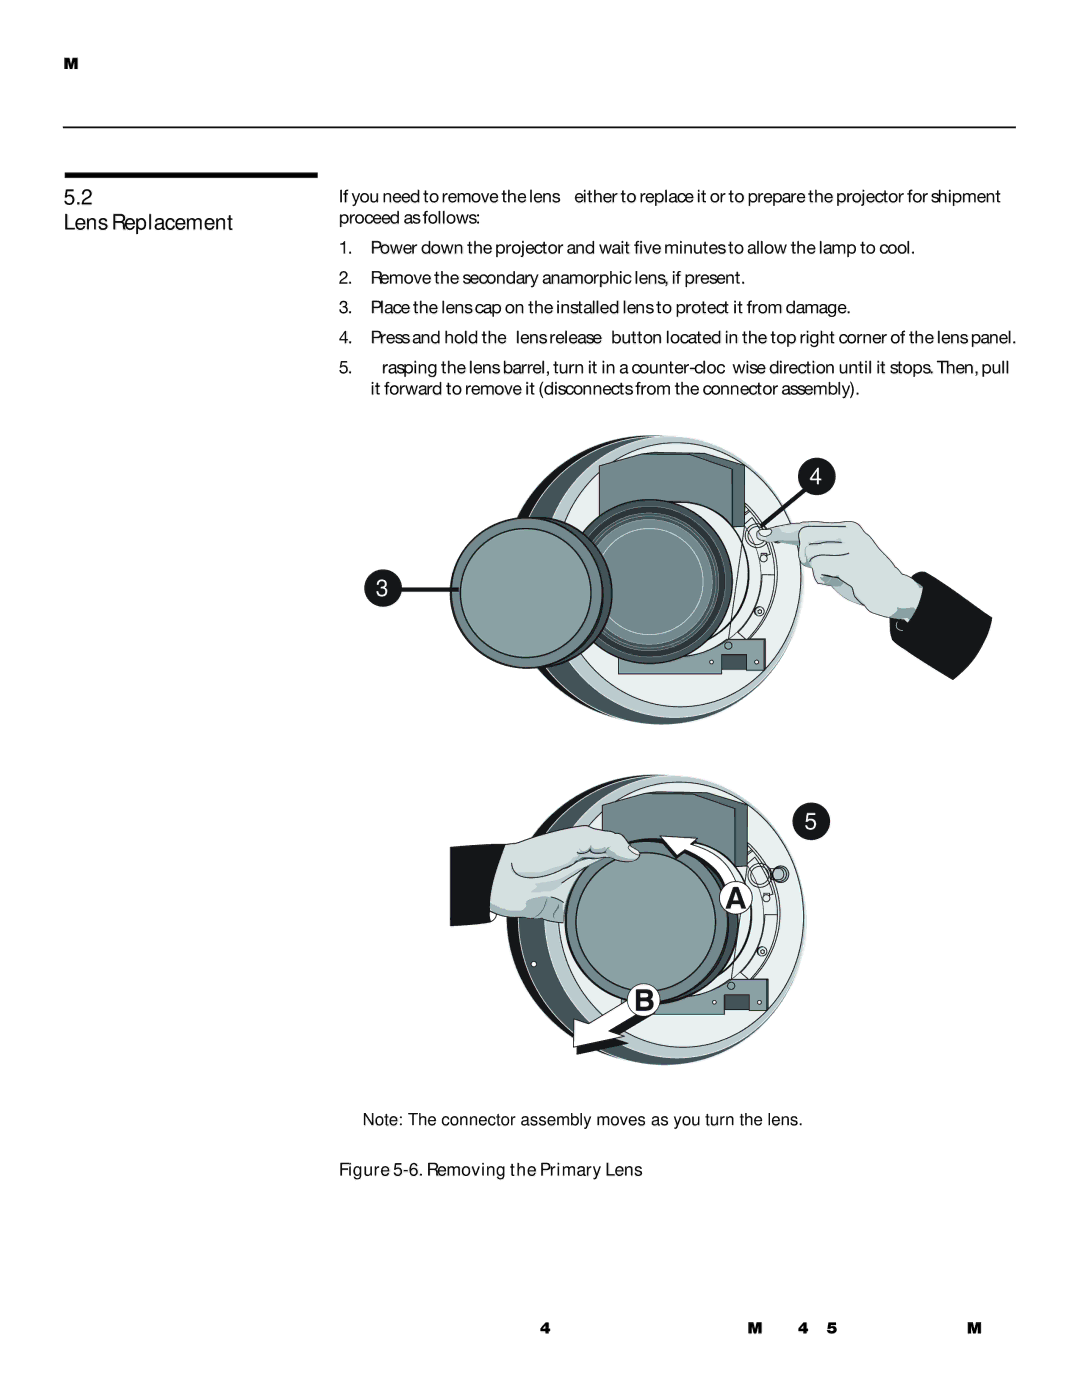
If you need to remove the lens – either to replace it or to prepare the projector for shipment – proceed as follows:
1.Power down the projector and wait five minutes to allow the lamp to cool.
2.Remove the secondary anamorphic lens, if present.
3.Place the lens cap on the installed lens to protect it from damage.
4.Press and hold the “lens release” button located in the top right corner of the lens panel.
5.Grasping the lens barrel, turn it in a
4
3 ![]()
5
Note: The connector assembly moves as you turn the lens.
Figure 5-6. Removing the Primary Lens
84 | Vision Model 140/150 Owner’s Operating Manual |