3.4
Installing the Projection Lens
The projection lens is shipped separately from the projector. Proceed as follows to install the projection lens:
1.Remove the lens plug from the lens opening in the projector.
2.Place the lens cap on the projection lens to protect it from being damaged during the installation process.
3.Remove the rear cap from the lens. This protective cap is only used during shipping to protect the lens from damage.
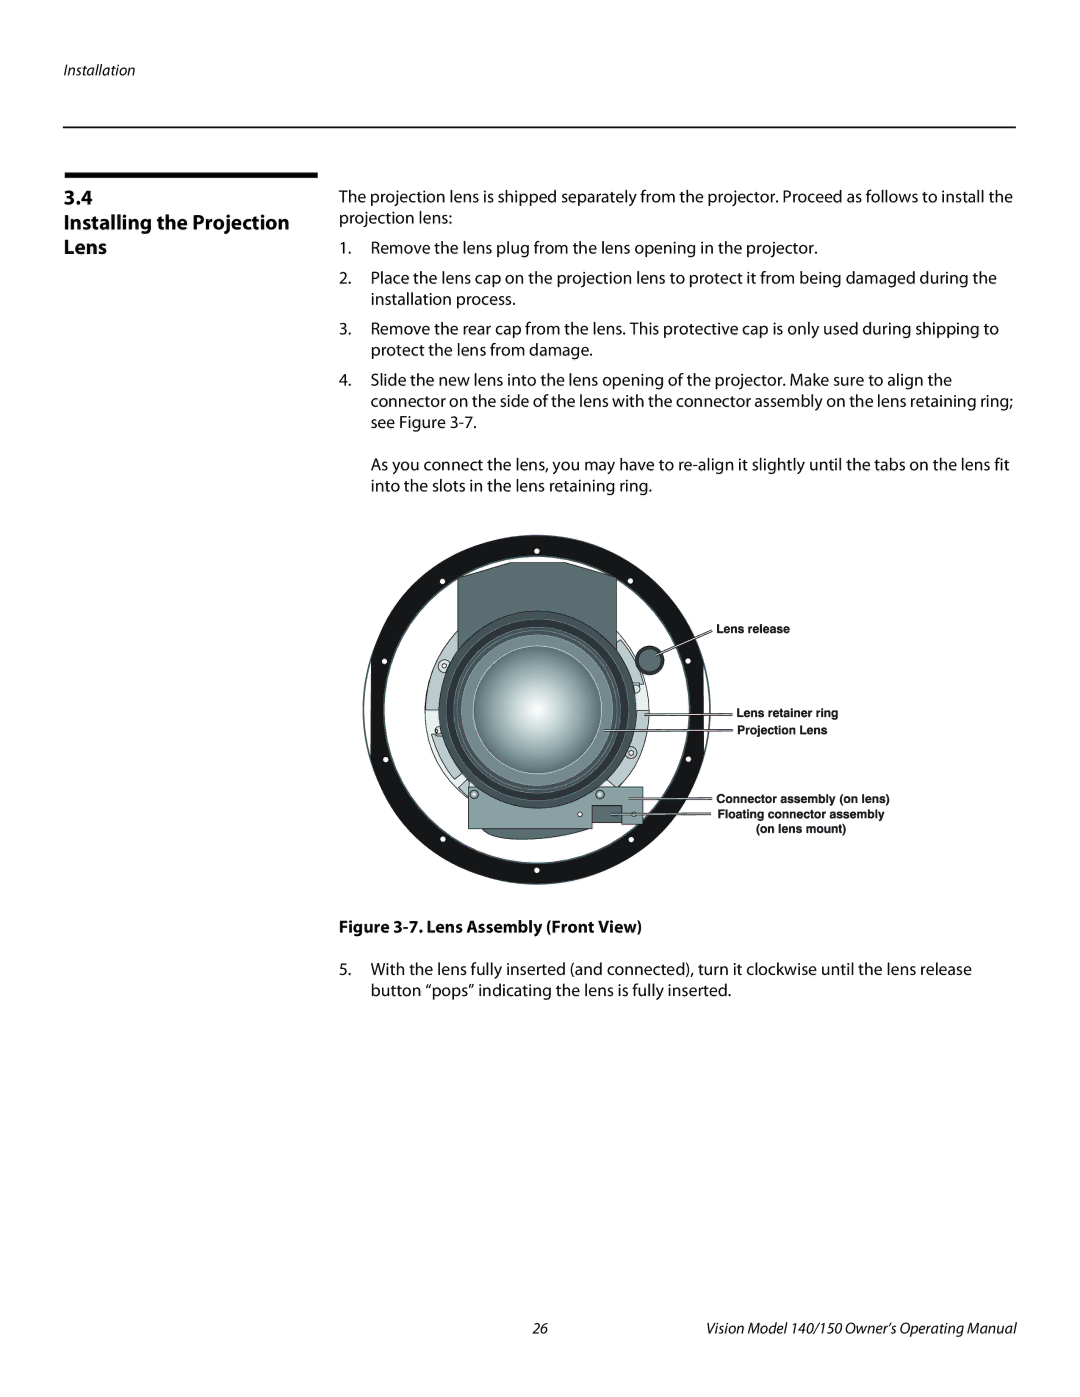
4.Slide the new lens into the lens opening of the projector. Make sure to align the connector on the side of the lens with the connector assembly on the lens retaining ring; see Figure
As you connect the lens, you may have to
Figure 3-7. Lens Assembly (Front View)
5.With the lens fully inserted (and connected), turn it clockwise until the lens release button “pops” indicating the lens is fully inserted.
26 | Vision Model 140/150 Owner’s Operating Manual |