3.11
Installing and Adjusting the CineWide Anamorphic Lens
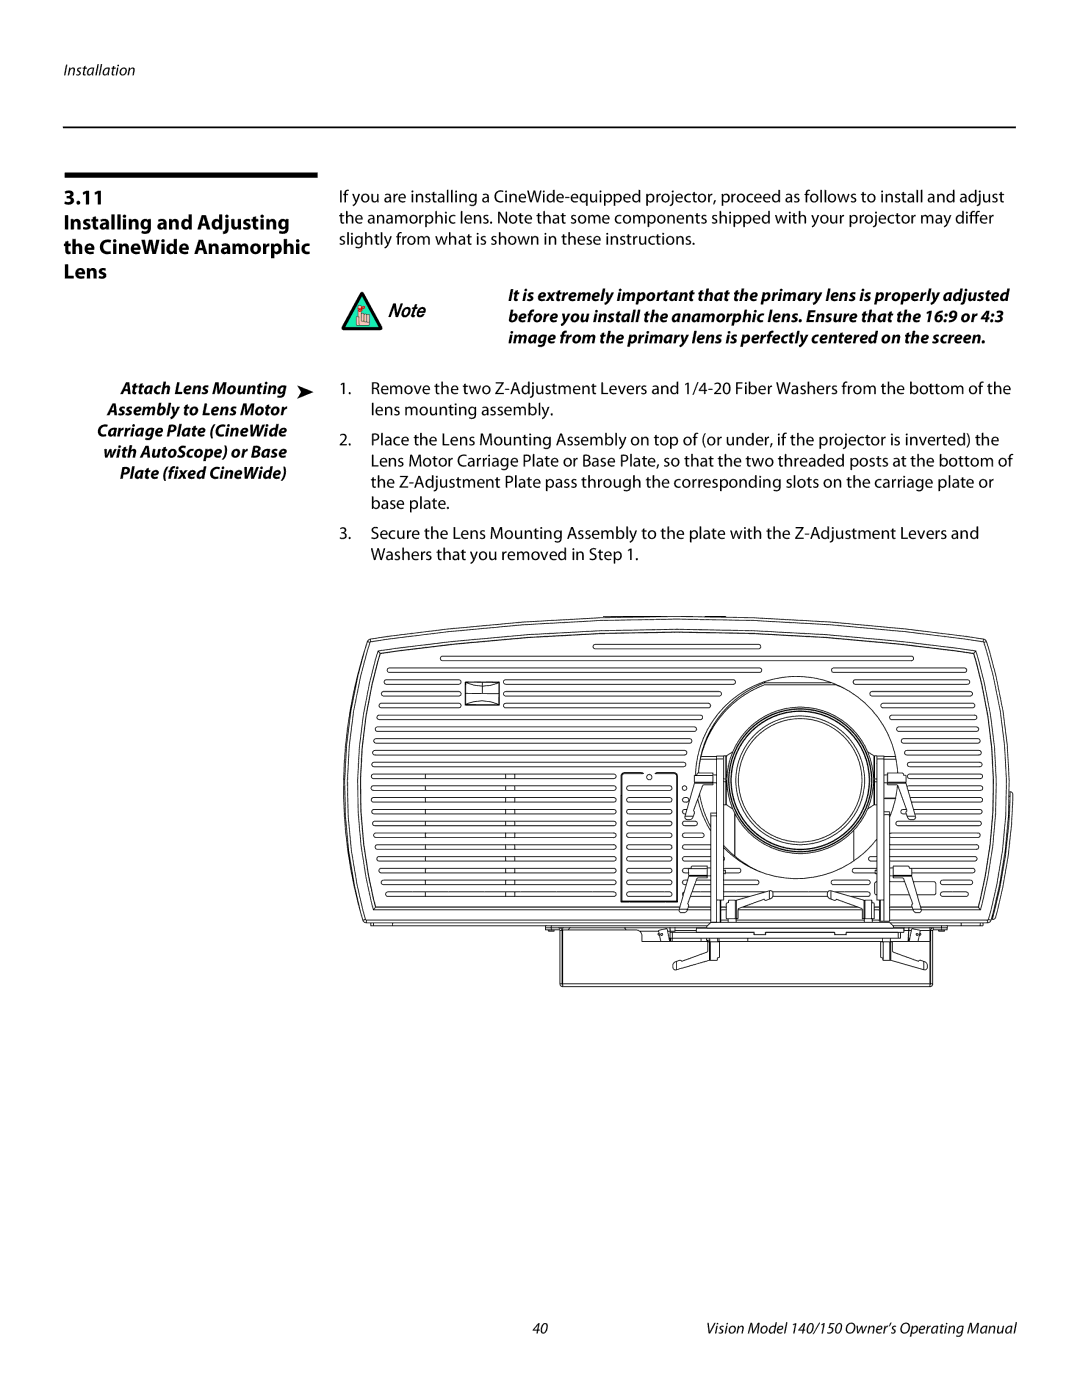
If you are installing a
It is extremely important that the primary lens is properly adjusted
Note before you install the anamorphic lens. Ensure that the 16:9 or 4:3 image from the primary lens is perfectly centered on the screen.
Attach Lens Mounting ➤ 1. | Remove the two | ||
Assembly to Lens Motor |
| lens mounting assembly. | |
Carriage Plate (CineWide | 2. | Place the Lens Mounting Assembly on top of (or under, if the projector is inverted) the | |
with AutoScope) or Base | |||
| Lens Motor Carriage Plate or Base Plate, so that the two threaded posts at the bottom of | ||
Plate (fixed CineWide) |
| ||
| the | ||
|
| ||
|
| base plate. | |
| 3. | Secure the Lens Mounting Assembly to the plate with the | |
|
| Washers that you removed in Step 1. | |
40 | Vision Model 140/150 Owner’s Operating Manual |