RECORDING FROM AN EXTERNAL COMPONENT ONTO THE HDD
■Manual track marking
TRACK NO./BOOKMARK
ER |
|
|
| MULTI JOG |
| |
|
|
|
| PUSH ENTER |
| |
| TEXT/TIME | MODE |
|
| MENU | |
| TRACK NO. | COMPLETE |
| CLEAR | ||
| BOOKMARK |
|
|
|
| |
|
|
|
| DIGITAL REC LEVEL |
| |
COPY |
|
|
|
|
|
|
|
|
|
| INPUT | ANALOG REC LEVEL | |
REC | FINALIZE | ERASE | OPTICAL |
|
| |
A.M.Q.R. |
|
|
| COAXIAL |
|
|
|
|
|
| ANALOG |
|
|
|
|
|
|
| MIN | MAX |
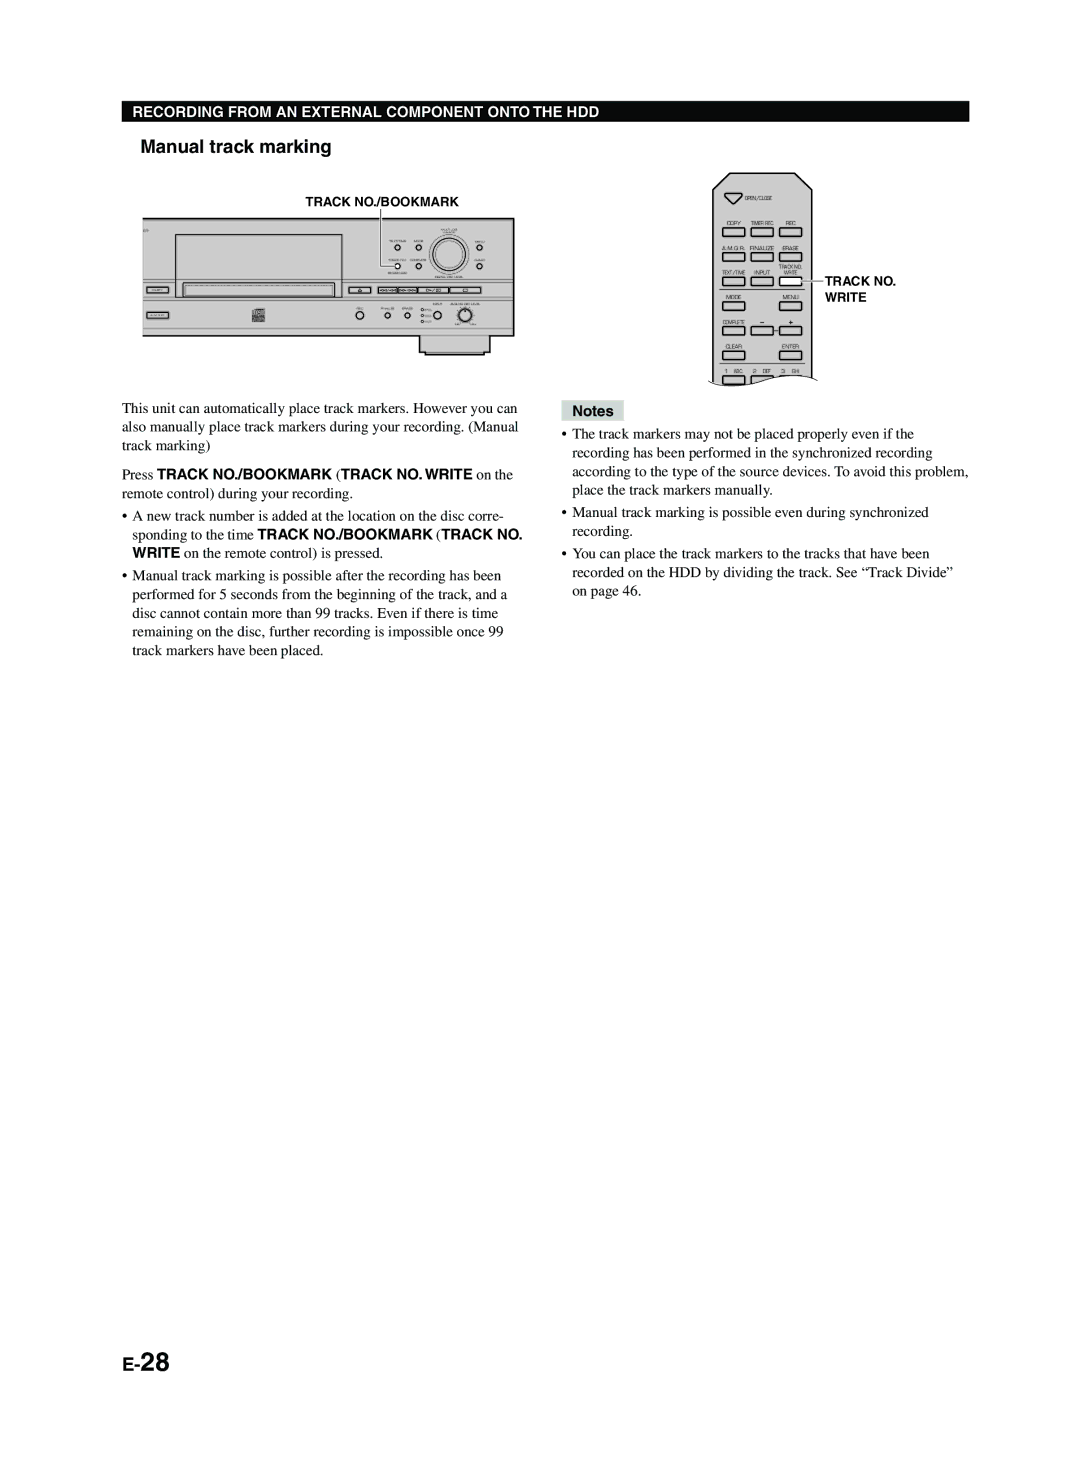
This unit can automatically place track markers. However you can also manually place track markers during your recording. (Manual track marking)
Press TRACK NO./BOOKMARK (TRACK NO. WRITE on the remote control) during your recording.
•A new track number is added at the location on the disc corre- sponding to the time TRACK NO./BOOKMARK (TRACK NO. WRITE on the remote control) is pressed.
•Manual track marking is possible after the recording has been performed for 5 seconds from the beginning of the track, and a disc cannot contain more than 99 tracks. Even if there is time remaining on the disc, further recording is impossible once 99 track markers have been placed.
| OPEN/CLOSE |
|
|
COPY | TIMER REC | REC |
|
A.M.Q.R. FINALIZE | ERASE |
| |
TEXT/TIME | INPUT | TRACK NO. |
|
WRITE | TRACK NO. | ||
|
|
| |
MODE |
| MENU | WRITE |
COMPLETE |
|
|
|
CLEAR |
| ENTER |
|
1 ABC | 2 DEF | 3 GHI |
|
Notes
•The track markers may not be placed properly even if the recording has been performed in the synchronized recording according to the type of the source devices. To avoid this problem, place the track markers manually.
•Manual track marking is possible even during synchronized recording.
•You can place the track markers to the tracks that have been recorded on the HDD by dividing the track. See “Track Divide” on page 46.
