RECORDING FROM AN EXTERNAL COMPONENT ONTO THE HDD
3. Press the MULTI JOG knob (ENTER on the remote control) to confirm the recording mode selected.
If “Manual”, “Track Synchro” or “All Synchro” is confirmed, this unit returns the recording pause mode.
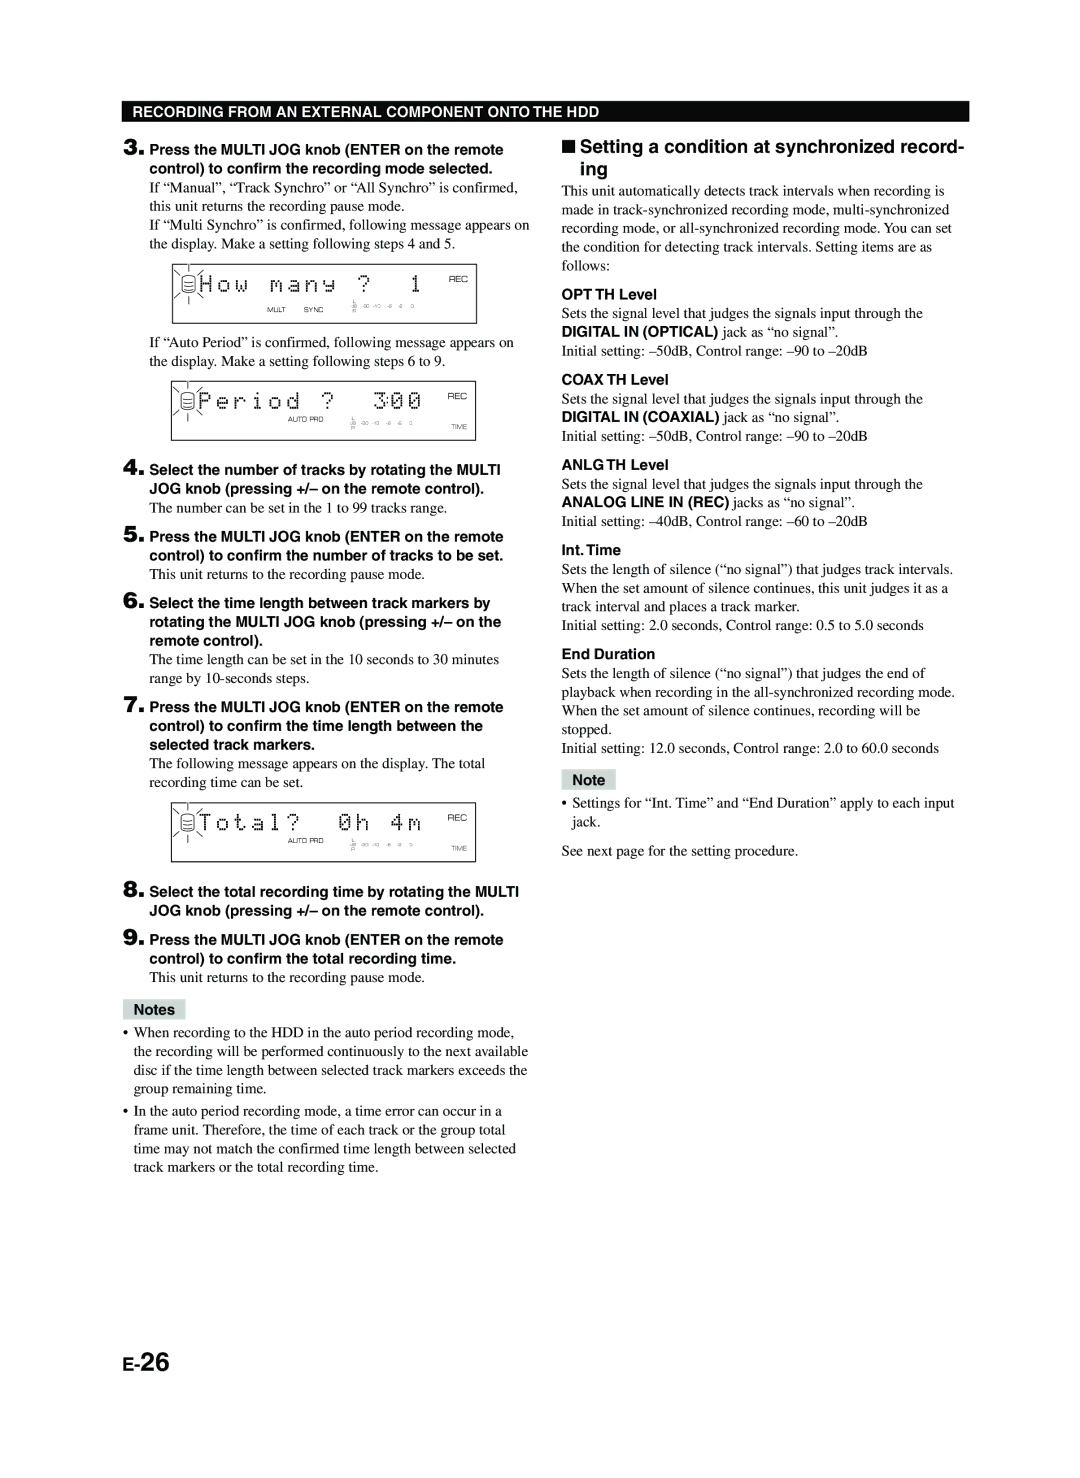
If “Multi Synchro” is confirmed, following message appears on the display. Make a setting following steps 4 and 5.
| H o w m a n y | ? | 1 REC |
| |||
|
| L |
|
| MULT SYNC | dB | |
| R |
| |
|
|
|
|
If “Auto Period” is confirmed, following message appears on the display. Make a setting following steps 6 to 9.
P e r i o d ? | 3 0 0 | REC |
AUTO PRD L |
| |
dB | TIME | |
R |
| |
|
|
|
4. Select the number of tracks by rotating the MULTI JOG knob (pressing +/– on the remote control).
The number can be set in the 1 to 99 tracks range.
5. Press the MULTI JOG knob (ENTER on the remote control) to confirm the number of tracks to be set.
This unit returns to the recording pause mode.
6. Select the time length between track markers by rotating the MULTI JOG knob (pressing +/– on the remote control).
The time length can be set in the 10 seconds to 30 minutes range by
7. Press the MULTI JOG knob (ENTER on the remote control) to confirm the time length between the selected track markers.
The following message appears on the display. The total recording time can be set.
T o t a l ? | 0 h | 4 m | REC |
|
|
| |
AUTO PRD | L |
| |
| dB | TIME | |
| R |
| |
|
|
|
|
8. Select the total recording time by rotating the MULTI JOG knob (pressing +/– on the remote control).
9. Press the MULTI JOG knob (ENTER on the remote control) to confirm the total recording time.
This unit returns to the recording pause mode.
Notes
•When recording to the HDD in the auto period recording mode, the recording will be performed continuously to the next available disc if the time length between selected track markers exceeds the group remaining time.
•In the auto period recording mode, a time error can occur in a frame unit. Therefore, the time of each track or the group total time may not match the confirmed time length between selected track markers or the total recording time.
■Setting a condition at synchronized record-
ing
This unit automatically detects track intervals when recording is made in
OPT TH Level
Sets the signal level that judges the signals input through the DIGITAL IN (OPTICAL) jack as “no signal”.
Initial setting:
COAX TH Level
Sets the signal level that judges the signals input through the DIGITAL IN (COAXIAL) jack as “no signal”.
Initial setting:
ANLG TH Level
Sets the signal level that judges the signals input through the ANALOG LINE IN (REC) jacks as “no signal”.
Initial setting:
Int. Time
Sets the length of silence (“no signal”) that judges track intervals. When the set amount of silence continues, this unit judges it as a track interval and places a track marker.
Initial setting: 2.0 seconds, Control range: 0.5 to 5.0 seconds
End Duration
Sets the length of silence (“no signal”) that judges the end of playback when recording in the
Initial setting: 12.0 seconds, Control range: 2.0 to 60.0 seconds
Note
•Settings for “Int. Time” and “End Duration” apply to each input jack.
See next page for the setting procedure.