RECORDING FROM AN EXTERNAL COMPONENT ONTO A
Advanced Operations
■ Setting the recording mode | Auto Period | |
This unit provides various recording modes. Choose the one that | This mode makes recording for the set amount of time while | |
suits your needs. | placing track markers at the set time interval. The length | |
Initial setting: Track Synchro | between track markers can be adjusted in the 10 seconds to 30 | |
minutes range by | ||
| ||
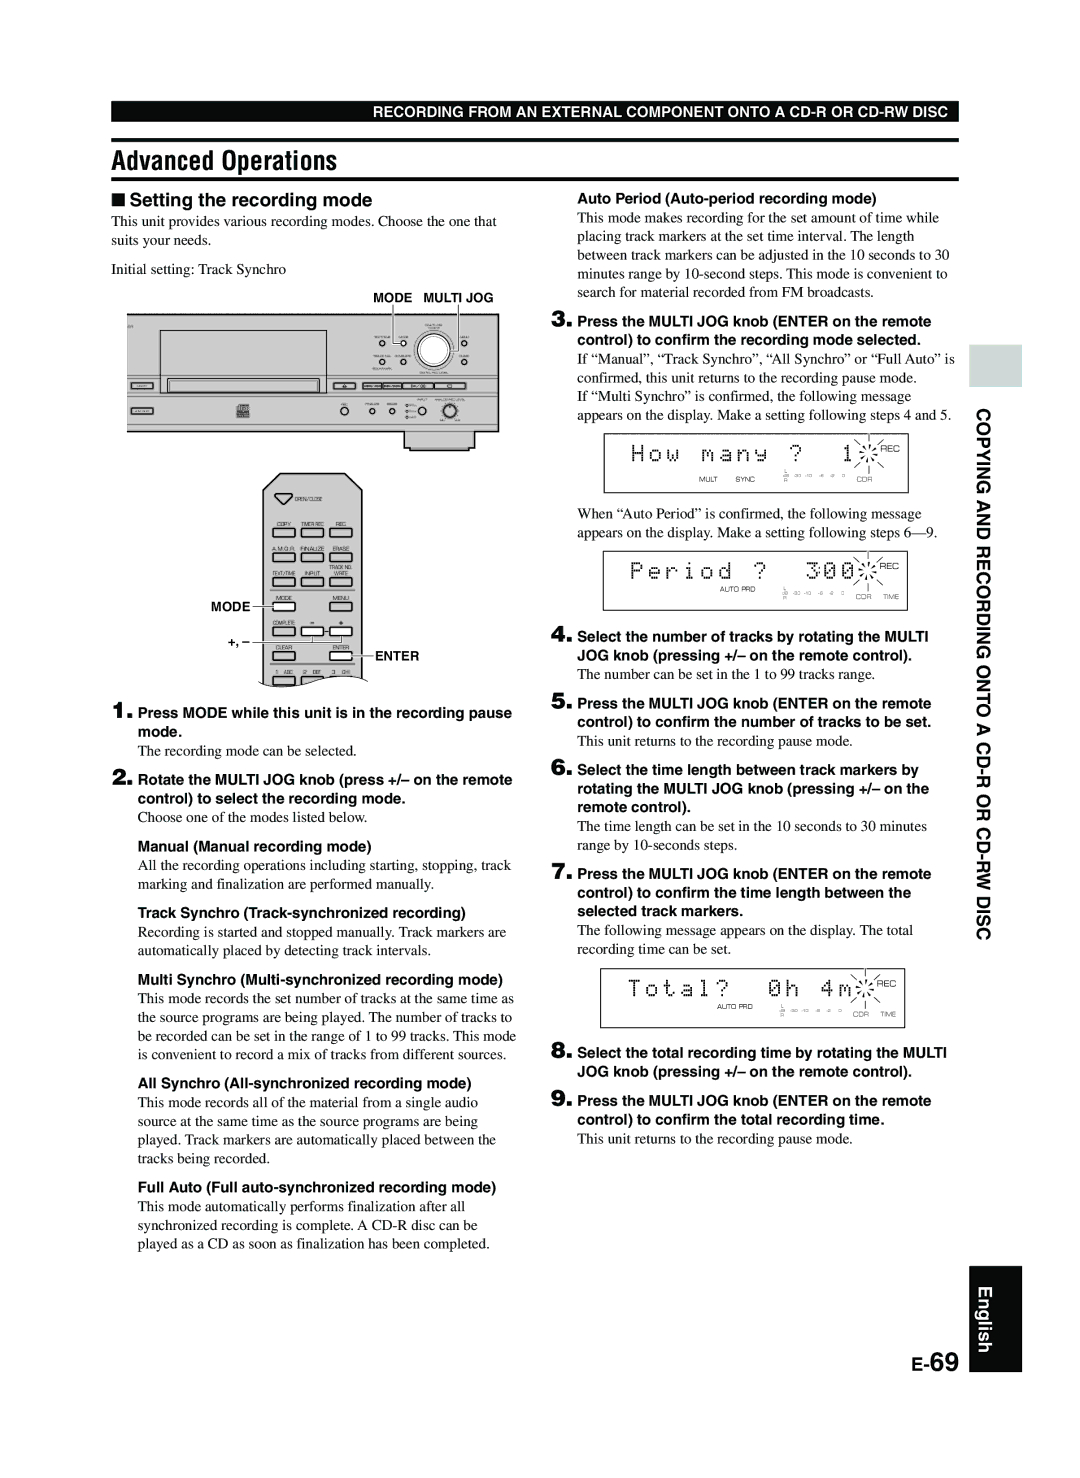
MODE MULTI JOG | search for material recorded from FM broadcasts. | |
|
ER |
|
|
| PUSH ENTER |
| 3. Press the MULTI JOG knob (ENTER on the remote |
|
|
| MULTI JOG |
| control) to confirm the recording mode selected. | |
| TEXT/TIME |
| MODE |
| MENU | |
| TRACK NO. | COMPLETE |
| CLEAR | If “Manual”, “Track Synchro”, “All Synchro” or “Full Auto” is | |
| BOOKMARK |
|
|
|
| confirmed, this unit returns to the recording pause mode. |
|
|
| DIGITAL REC LEVEL |
| ||
COPY |
|
|
|
|
|
|
REC | FINALIZE ERASE | INPUT | ANALOG REC LEVEL | If “Multi Synchro” is confirmed, the following message | ||
OPTICAL |
|
| appears on the display. Make a setting following steps 4 and 5. | |||
A.M.Q.R. |
|
| COAXIAL | MIN | MAX | |
|
|
| ANALOG |
|
|
|
OPEN/CLOSE |
| |
COPY | TIMER REC | REC |
A.M.Q.R. | FINALIZE | ERASE |
TEXT/TIME | INPUT | TRACK NO. |
WRITE | ||
MODEMENU
MODE
COMPLETE
+, –
CLEARENTER
![]() ENTER
ENTER
1 ABC 2 DEF 3 GHI
1. Press MODE while this unit is in the recording pause mode.
The recording mode can be selected.
2. Rotate the MULTI JOG knob (press +/– on the remote control) to select the recording mode.
Choose one of the modes listed below.
Manual (Manual recording mode)
All the recording operations including starting, stopping, track marking and finalization are performed manually.
Track Synchro (Track-synchronized recording)
Recording is started and stopped manually. Track markers are automatically placed by detecting track intervals.
Multi Synchro (Multi-synchronized recording mode)
This mode records the set number of tracks at the same time as the source programs are being played. The number of tracks to be recorded can be set in the range of 1 to 99 tracks. This mode is convenient to record a mix of tracks from different sources.
All Synchro (All-synchronized recording mode)
This mode records all of the material from a single audio source at the same time as the source programs are being played. Track markers are automatically placed between the tracks being recorded.
Full Auto (Full auto-synchronized recording mode)
This mode automatically performs finalization after all synchronized recording is complete. A
H o w m a n y | ? | 1 REC | |
| L |
|
|
MULT SYNC | dB | CDR | |
R |
| ||
|
|
|
|
When “Auto Period” is confirmed, the following message appears on the display. Make a setting following steps
P e r i o d ? | 3 0 0 |
| REC |
AUTO PRD L |
|
| |
dB | CDR | TIME | |
R |
| ||
|
|
|
|
4. Select the number of tracks by rotating the MULTI JOG knob (pressing +/– on the remote control).
The number can be set in the 1 to 99 tracks range.
5. Press the MULTI JOG knob (ENTER on the remote control) to confirm the number of tracks to be set.
This unit returns to the recording pause mode.
6. Select the time length between track markers by rotating the MULTI JOG knob (pressing +/– on the remote control).
The time length can be set in the 10 seconds to 30 minutes range by
7. Press the MULTI JOG knob (ENTER on the remote control) to confirm the time length between the selected track markers.
The following message appears on the display. The total recording time can be set.
T o t a l ? | 0 h | 4 m |
| REC |
AUTO PRD | L |
|
| |
| dB | CDR | TIME | |
| R |
| ||
|
|
|
|
|
8. Select the total recording time by rotating the MULTI JOG knob (pressing +/– on the remote control).
9. Press the MULTI JOG knob (ENTER on the remote control) to confirm the total recording time.
This unit returns to the recording pause mode.
COPYING AND RECORDING ONT O A
OR CD
W DISC
English