Inserting a Zip disk
Follow these instructions to insert a Zip disk into the Zip drive.
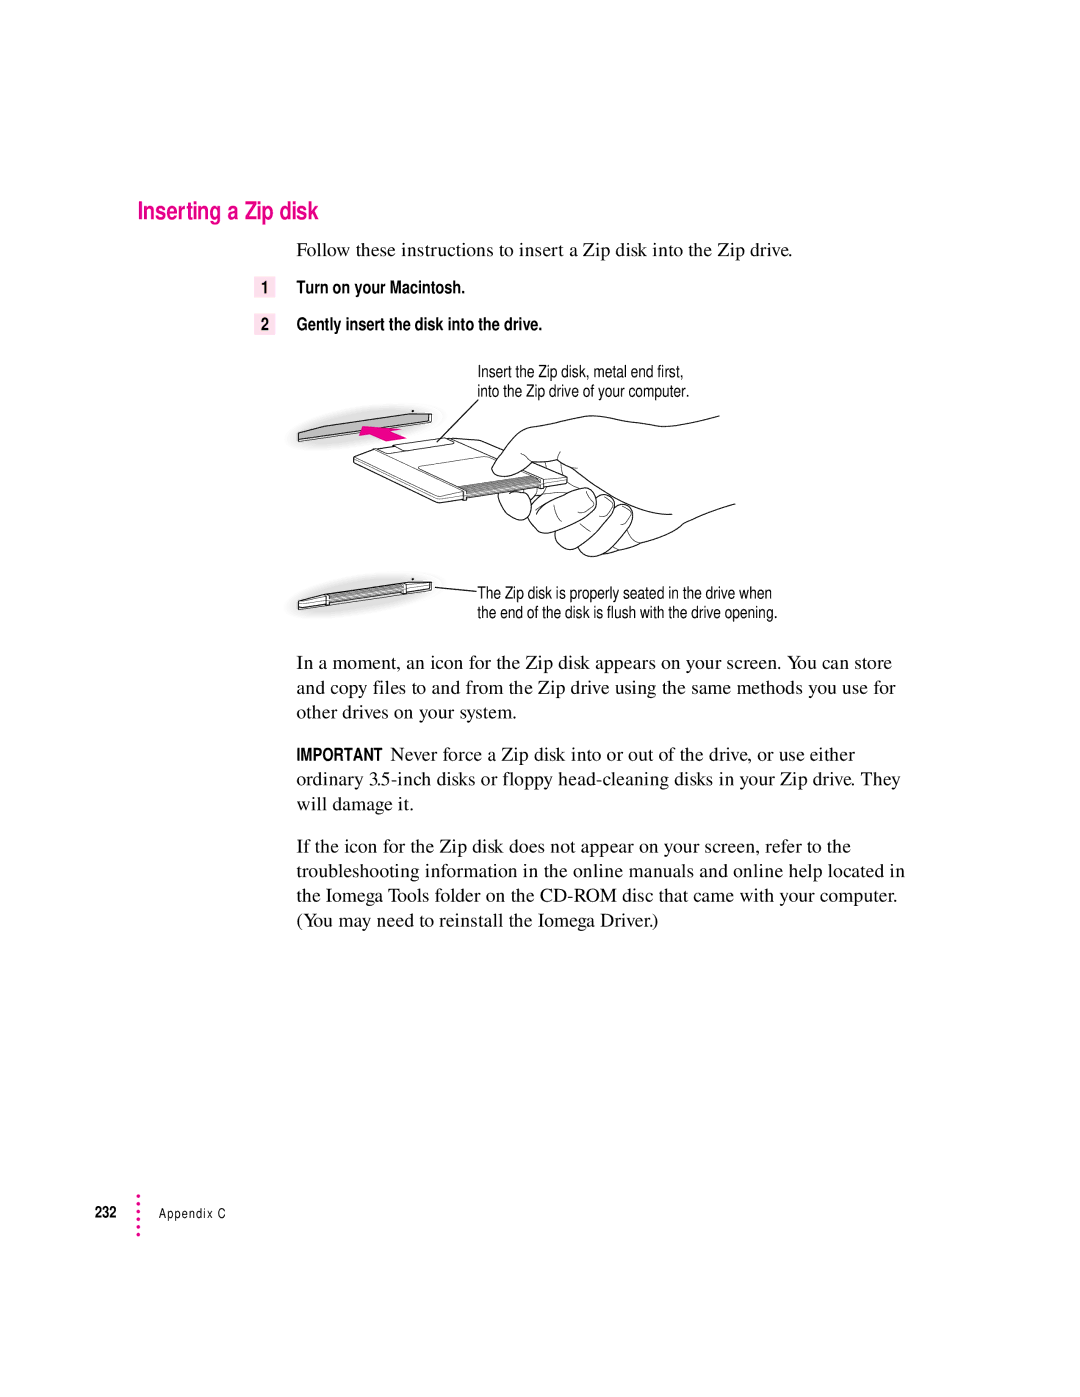
1Turn on your Macintosh.
2Gently insert the disk into the drive.
Insert the Zip disk, metal end first, into the Zip drive of your computer.
The Zip disk is properly seated in the drive when the end of the disk is flush with the drive opening.
In a moment, an icon for the Zip disk appears on your screen. You can store and copy files to and from the Zip drive using the same methods you use for other drives on your system.
IMPORTANT Never force a Zip disk into or out of the drive, or use either ordinary
If the icon for the Zip disk does not appear on your screen, refer to the troubleshooting information in the online manuals and online help located in the Iomega Tools folder on the
232 ![]() Appendix C
Appendix C