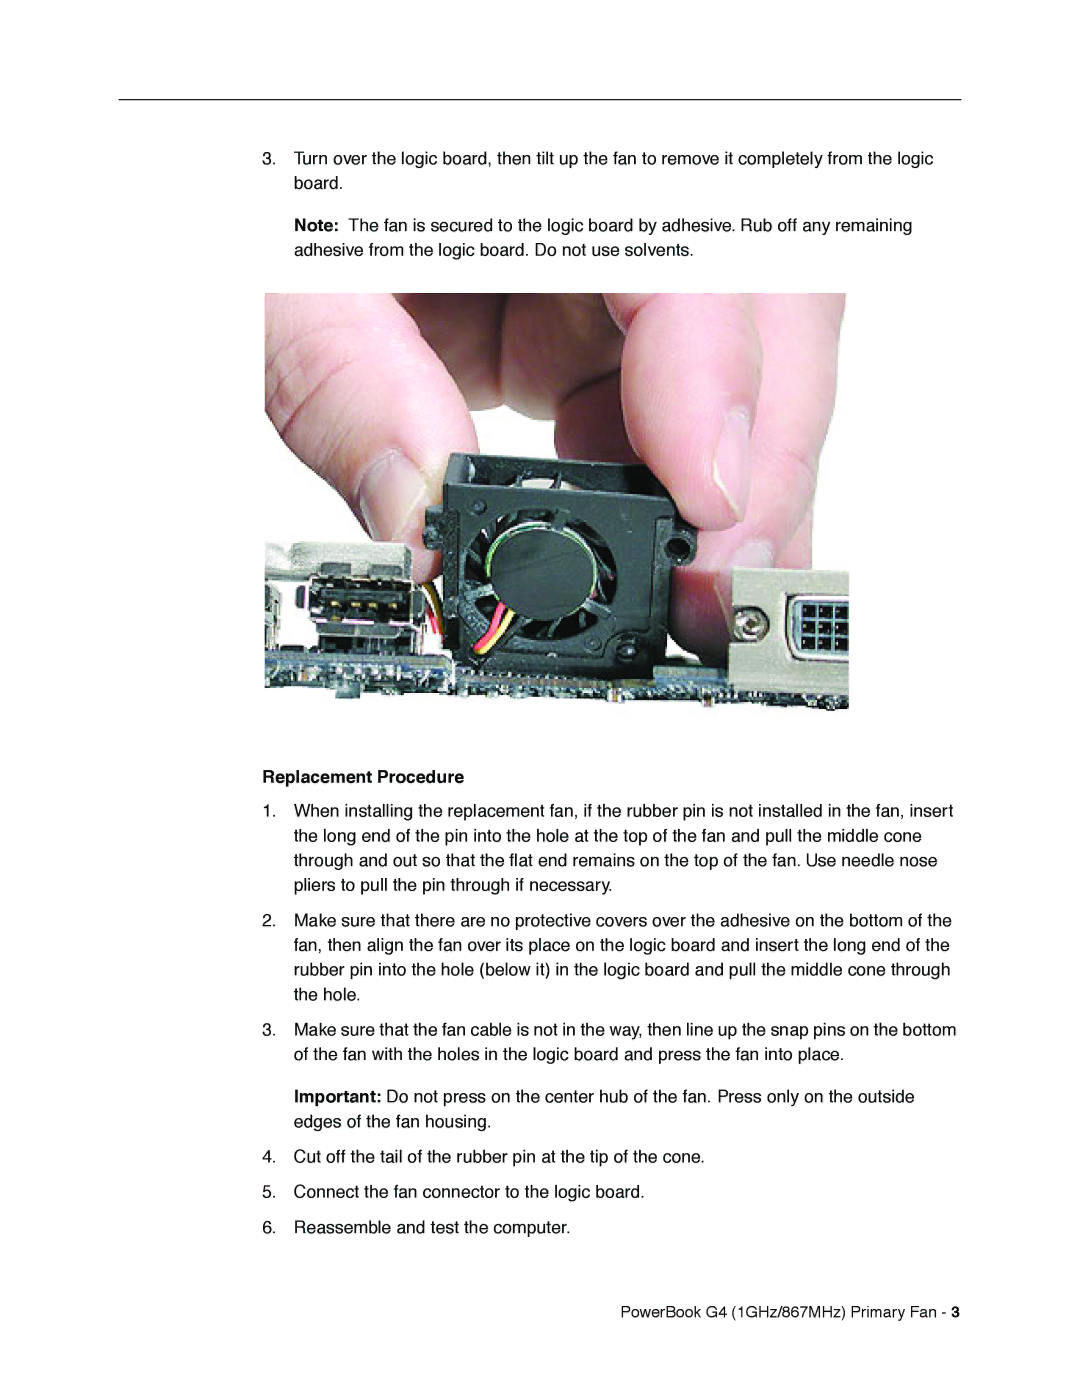
3.Turn over the logic board, then tilt up the fan to remove it completely from the logic board.
Note: The fan is secured to the logic board by adhesive. Rub off any remaining adhesive from the logic board. Do not use solvents.
Replacement Procedure
1.When installing the replacement fan, if the rubber pin is not installed in the fan, insert the long end of the pin into the hole at the top of the fan and pull the middle cone through and out so that the flat end remains on the top of the fan. Use needle nose pliers to pull the pin through if necessary.
2.Make sure that there are no protective covers over the adhesive on the bottom of the fan, then align the fan over its place on the logic board and insert the long end of the rubber pin into the hole (below it) in the logic board and pull the middle cone through the hole.
3.Make sure that the fan cable is not in the way, then line up the snap pins on the bottom of the fan with the holes in the logic board and press the fan into place.
Important: Do not press on the center hub of the fan. Press only on the outside edges of the fan housing.
4.Cut off the tail of the rubber pin at the tip of the cone.
5.Connect the fan connector to the logic board.
6.Reassemble and test the computer.
