DELETING IMAGES
To do this: | Select this option: |
Exit the image selection screen | EXIT |
Delete the currently displayed image | DELETE |
Scroll forward to the next image | NEXT |
|
|
Scroll back to the previous image | BACK |
6.When the image you want is displayed, use [![]() ] and [ ] to select “DELETE” and then press SET .
] and [ ] to select “DELETE” and then press SET .
7.In response to the confirmation message that appears, use [![]() ] and [ ] to select “YES” and then press SET .
] and [ ] to select “YES” and then press SET .
![]() If you change your mind and do not want to delete the image, select “CANCEL” and then press SET .
If you change your mind and do not want to delete the image, select “CANCEL” and then press SET .
8.To exit the image delete procedure, press MENU.
52
![]() NOTE
NOTE ![]()
![]()
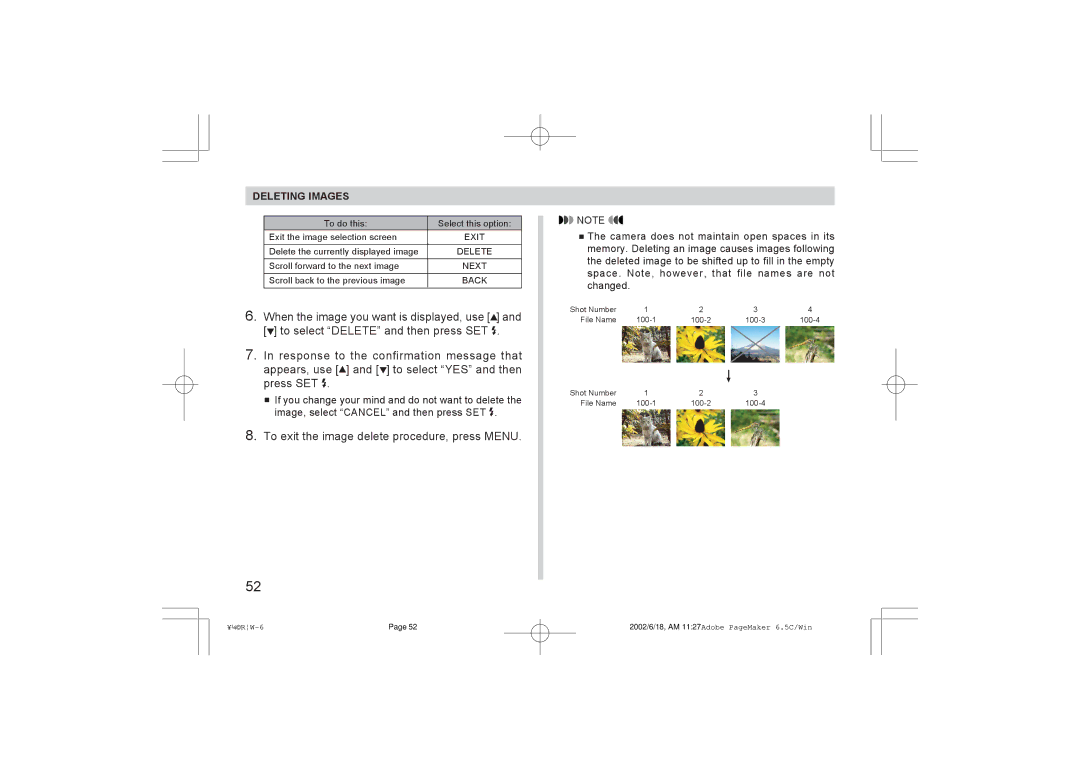
![]() The camera does not maintain open spaces in its memory. Deleting an image causes images following the deleted image to be shifted up to fill in the empty space. Note, however, that file names are not changed.
The camera does not maintain open spaces in its memory. Deleting an image causes images following the deleted image to be shifted up to fill in the empty space. Note, however, that file names are not changed.
Shot Number | 1 | 2 | 3 | 4 |
File Name |
Shot Number | 1 | 2 | 3 |
File Name |
Page 52 | 2002/6/18, AM 11:27Adobe PageMaker 6.5C/Win |
