Using Sounds
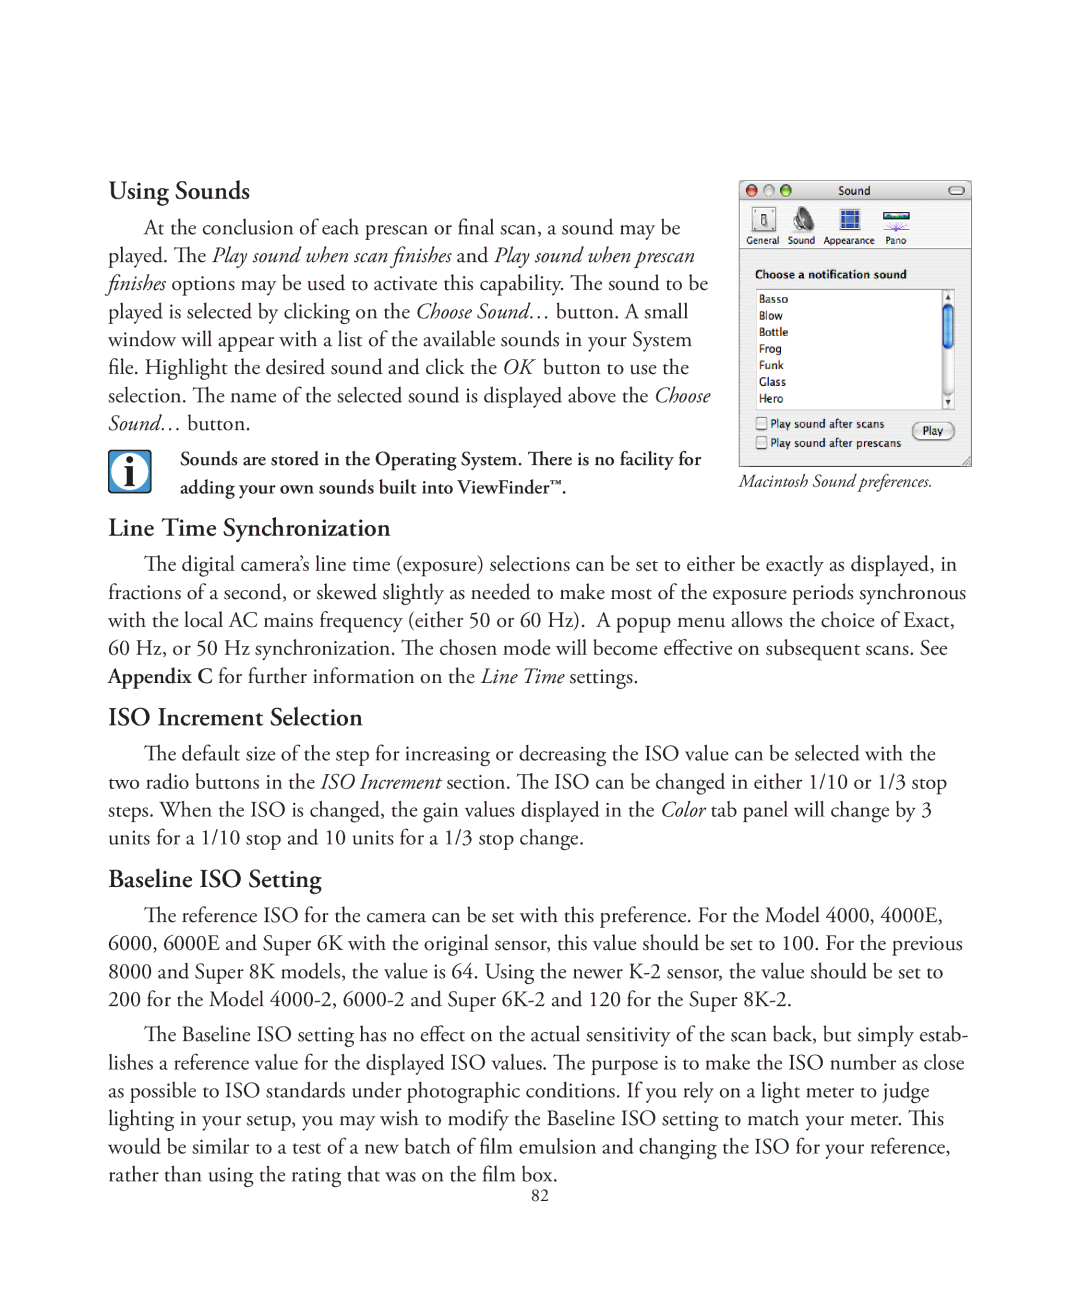
At the conclusion of each prescan or final scan, a sound may be played. The Play sound when scan finishes and Play sound when prescan finishes options may be used to activate this capability. The sound to be played is selected by clicking on the Choose Sound… button. A small window will appear with a list of the available sounds in your System file. Highlight the desired sound and click the OK button to use the selection. The name of the selected sound is displayed above the Choose Sound… button.
Sounds are stored in the Operating System. There is no facility for | Macintosh Sound preferences. |
adding your own sounds built into ViewFinder™. | |
Line Time Synchronization |
|
The digital camera’s line time (exposure) selections can be set to either be exactly as displayed, in fractions of a second, or skewed slightly as needed to make most of the exposure periods synchronous with the local AC mains frequency (either 50 or 60 Hz). A popup menu allows the choice of Exact, 60 Hz, or 50 Hz synchronization. The chosen mode will become effective on subsequent scans. See Appendix C for further information on the Line Time settings.
ISO Increment Selection
The default size of the step for increasing or decreasing the ISO value can be selected with the two radio buttons in the ISO Increment section. The ISO can be changed in either 1/10 or 1/3 stop steps. When the ISO is changed, the gain values displayed in the Color tab panel will change by 3 units for a 1/10 stop and 10 units for a 1/3 stop change.
Baseline ISO Setting
The reference ISO for the camera can be set with this preference. For the Model 4000, 4000E, 6000, 6000E and Super 6K with the original sensor, this value should be set to 100. For the previous 8000 and Super 8K models, the value is 64. Using the newer
The Baseline ISO setting has no effect on the actual sensitivity of the scan back, but simply estab- lishes a reference value for the displayed ISO values. The purpose is to make the ISO number as close as possible to ISO standards under photographic conditions. If you rely on a light meter to judge lighting in your setup, you may wish to modify the Baseline ISO setting to match your meter. This would be similar to a test of a new batch of film emulsion and changing the ISO for your reference, rather than using the rating that was on the film box.
82
