Rollout Panorama
Hardware Setup
For a rollout, the camera is fixed to a tripod and the stepper stage unit is placed on a firm, non- skid surface in such a manner that it will not turn as the motor is activated. A flat platform is attached to the stage armature then mounted to the stepper motor stage. The subject is positioned in the center of the platform such that the center of the object is in line with the center of the stepper motor stage. The camera is adjusted to put the center of the object in the exact center of the camera’s image area.
Software Operation
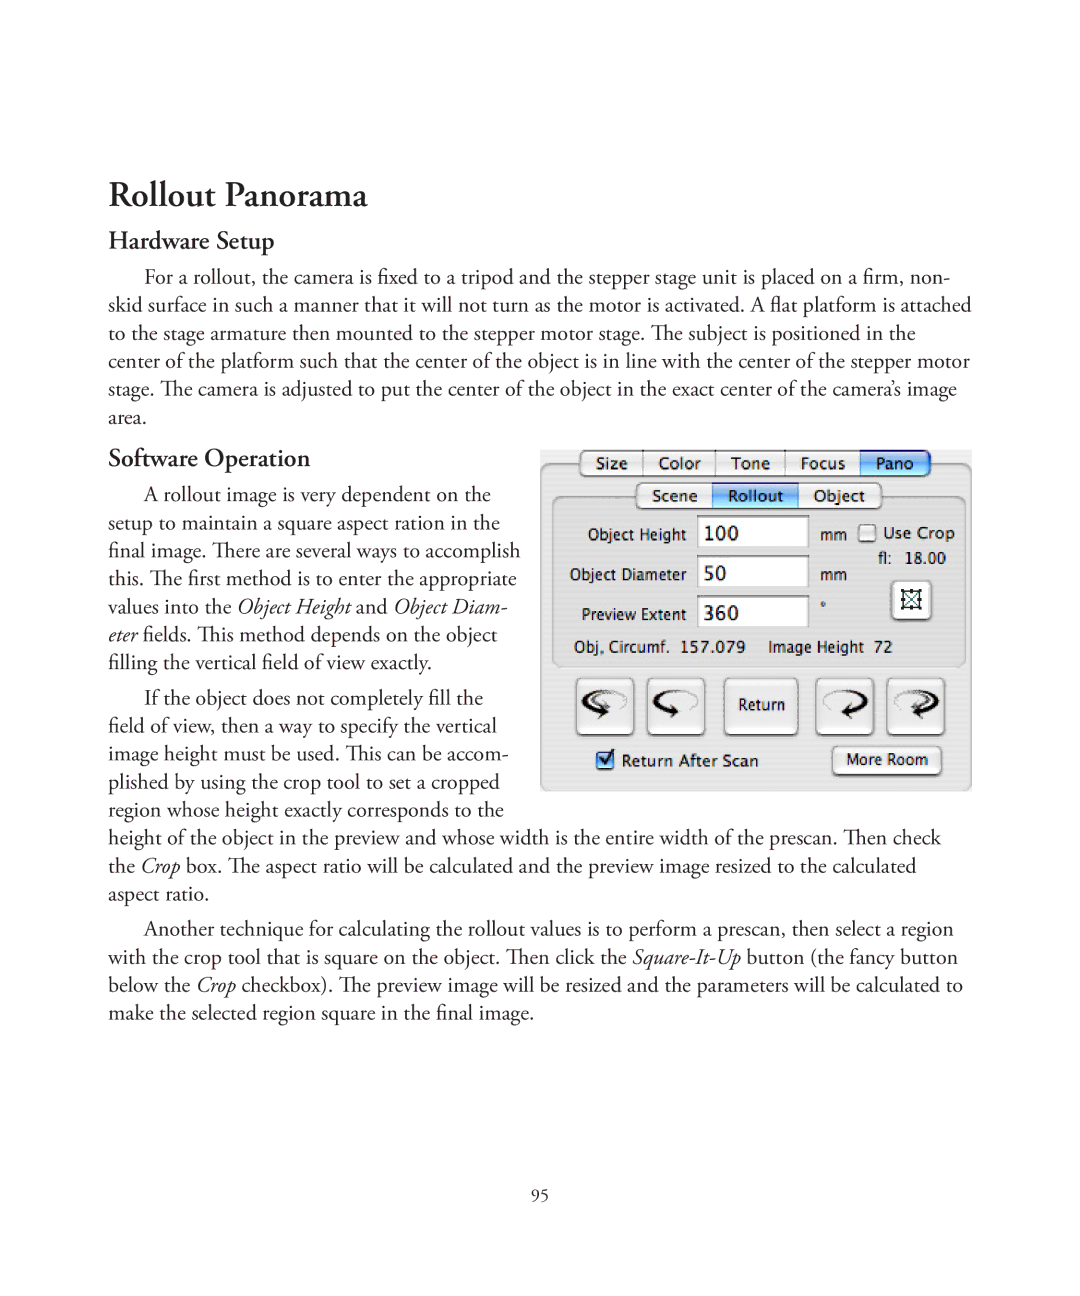
A rollout image is very dependent on the setup to maintain a square aspect ration in the final image. There are several ways to accomplish this. The first method is to enter the appropriate values into the Object Height and Object Diam- eter fields. This method depends on the object filling the vertical field of view exactly.
If the object does not completely fill the field of view, then a way to specify the vertical image height must be used. This can be accom- plished by using the crop tool to set a cropped region whose height exactly corresponds to the
height of the object in the preview and whose width is the entire width of the prescan. Then check the Crop box. The aspect ratio will be calculated and the preview image resized to the calculated aspect ratio.
Another technique for calculating the rollout values is to perform a prescan, then select a region with the crop tool that is square on the object. Then click the
95
