Image Capture Settings
Resolution
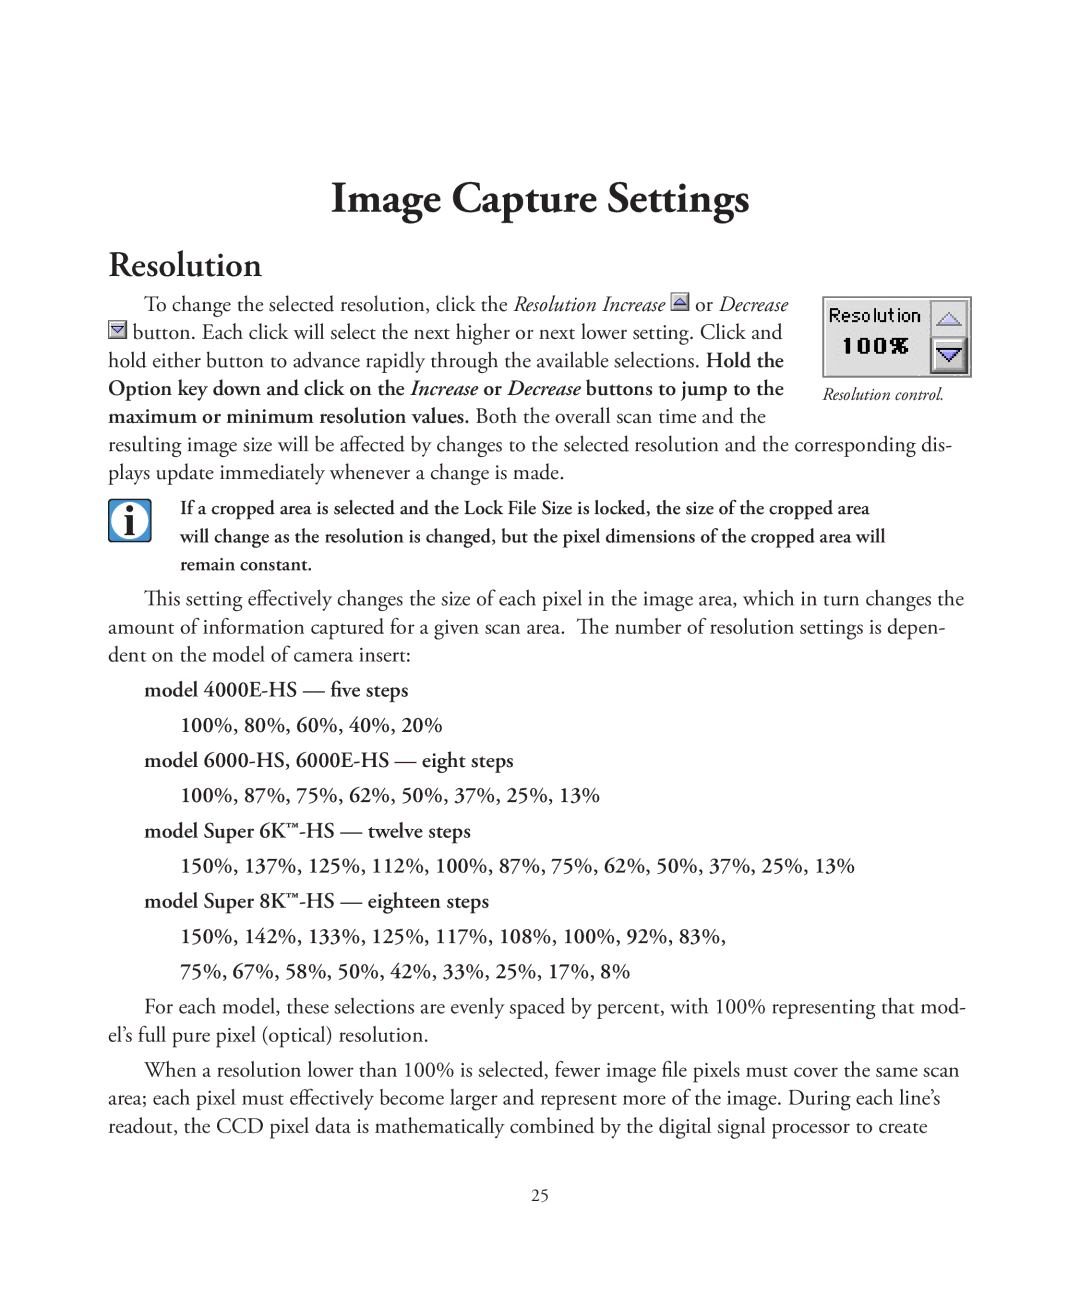
To change the selected resolution, click the Resolution Increase ![]() or Decrease
or Decrease ![]() button. Each click will select the next higher or next lower setting. Click and hold either button to advance rapidly through the available selections. Hold the
button. Each click will select the next higher or next lower setting. Click and hold either button to advance rapidly through the available selections. Hold the
Option key down and click on the Increase or Decrease buttons to jump to the maximum or minimum resolution values. Both the overall scan time and the
resulting image size will be affected by changes to the selected resolution and the corresponding dis- plays update immediately whenever a change is made.
If a cropped area is selected and the Lock File Size is locked, the size of the cropped area will change as the resolution is changed, but the pixel dimensions of the cropped area will remain constant.
This setting effectively changes the size of each pixel in the image area, which in turn changes the amount of information captured for a given scan area. The number of resolution settings is depen- dent on the model of camera insert:
model
model
model Super
150%, 137%, 125%, 112%, 100%, 87%, 75%, 62%, 50%, 37%, 25%, 13% model Super
150%, 142%, 133%, 125%, 117%, 108%, 100%, 92%, 83%, 75%, 67%, 58%, 50%, 42%, 33%, 25%, 17%, 8%
For each model, these selections are evenly spaced by percent, with 100% representing that mod- el’s full pure pixel (optical) resolution.
When a resolution lower than 100% is selected, fewer image file pixels must cover the same scan area; each pixel must effectively become larger and represent more of the image. During each line’s readout, the CCD pixel data is mathematically combined by the digital signal processor to create
25
