CARE AND CLEANING
CARE AND CLEANING (continued)
DECALCIFYING
•After regular use, hard water can cause mineral build up in and on many of the inner functioning components, reducing the brewing fl ow, power of the machine, and affecting the quality of the espresso.
•We advise decalcifying the machine on a regular basis (every
Follow the instructions provided, or use the following as a guide:
DECALCIFYING THE MACHINE
• Ensure the Selector Control is in the |
‘Standby’ position, the power is off |
and unplug the machine from the |
power outlet. |
• Remove the portafi lter and frothing |
attachment. Pour the mixture of white |
vinegar and water into the water tank. |
• Plug the machine into the power outlet |
and switch on. |
• Release the button once half the mixture |
of white vinegar and water has run |
through the group head. |
• Set the Selector Control to the ‘STEAM’ |
position and allow steam to run through |
the Steam Wand for approximately 2 |
minutes. Return the Selector Control |
back to the ‘Standby’ position. |
• Set the Selector Control to the ‘HOT |
WATER’ position and allow the |
remaining liquid to run through the hot |
CLEANING THE OUTER HOUSING / CUP WARMING PLATE
•The outer housing and cup warming plate can be cleaned with a soft, damp cloth. Then polish with a soft, dry cloth. Do not use abrasive cleansers, pads or cloths which can scratch the surface.
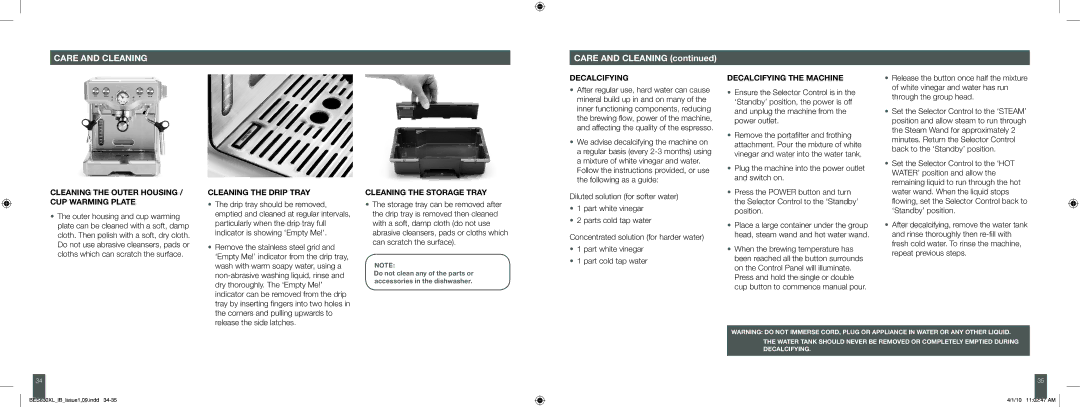
CLEANING THE DRIP TRAY
•The drip tray should be removed, emptied and cleaned at regular intervals, particularly when the drip tray full indicator is showing ‘Empty Me!’.
•Remove the stainless steel grid and ‘Empty Me!’ indicator from the drip tray, wash with warm soapy water, using a
CLEANING THE STORAGE TRAY
•The storage tray can be removed after the drip tray is removed then cleaned with a soft, damp cloth (do not use abrasive cleansers, pads or cloths which can scratch the surface).
NOTE:
Do not clean any of the parts or accessories in the dishwasher.
Diluted solution (for softer water)
•1 part white vinegar
•2 parts cold tap water
Concentrated solution (for harder water)
•1 part white vinegar
•1 part cold tap water
• Press the POWER button and turn |
the Selector Control to the ‘Standby’ |
position. |
• Place a large container under the group |
head, steam wand and hot water wand. |
• When the brewing temperature has |
been reached all the button surrounds |
on the Control Panel will illuminate. |
Press and hold the single or double |
cup button to commence manual pour. |
water wand. When the liquid stops |
fl owing, set the Selector Control back to |
‘Standby’ position. |
• After decalcifying, remove the water tank |
and rinse thoroughly then |
fresh cold water. To rinse the machine, |
repeat previous steps. |
34
BES830XL_IB_Issue1,09.indd
WARNING: DO NOT IMMERSE CORD, PLUG OR APPLIANCE IN WATER OR ANY OTHER LIQUID.
THE WATER TANK SHOULD NEVER BE REMOVED OR COMPLETELY EMPTIED DURING DECALCIFYING.
35
4/1/10 11:02:47 AM