Selecting from the Menus
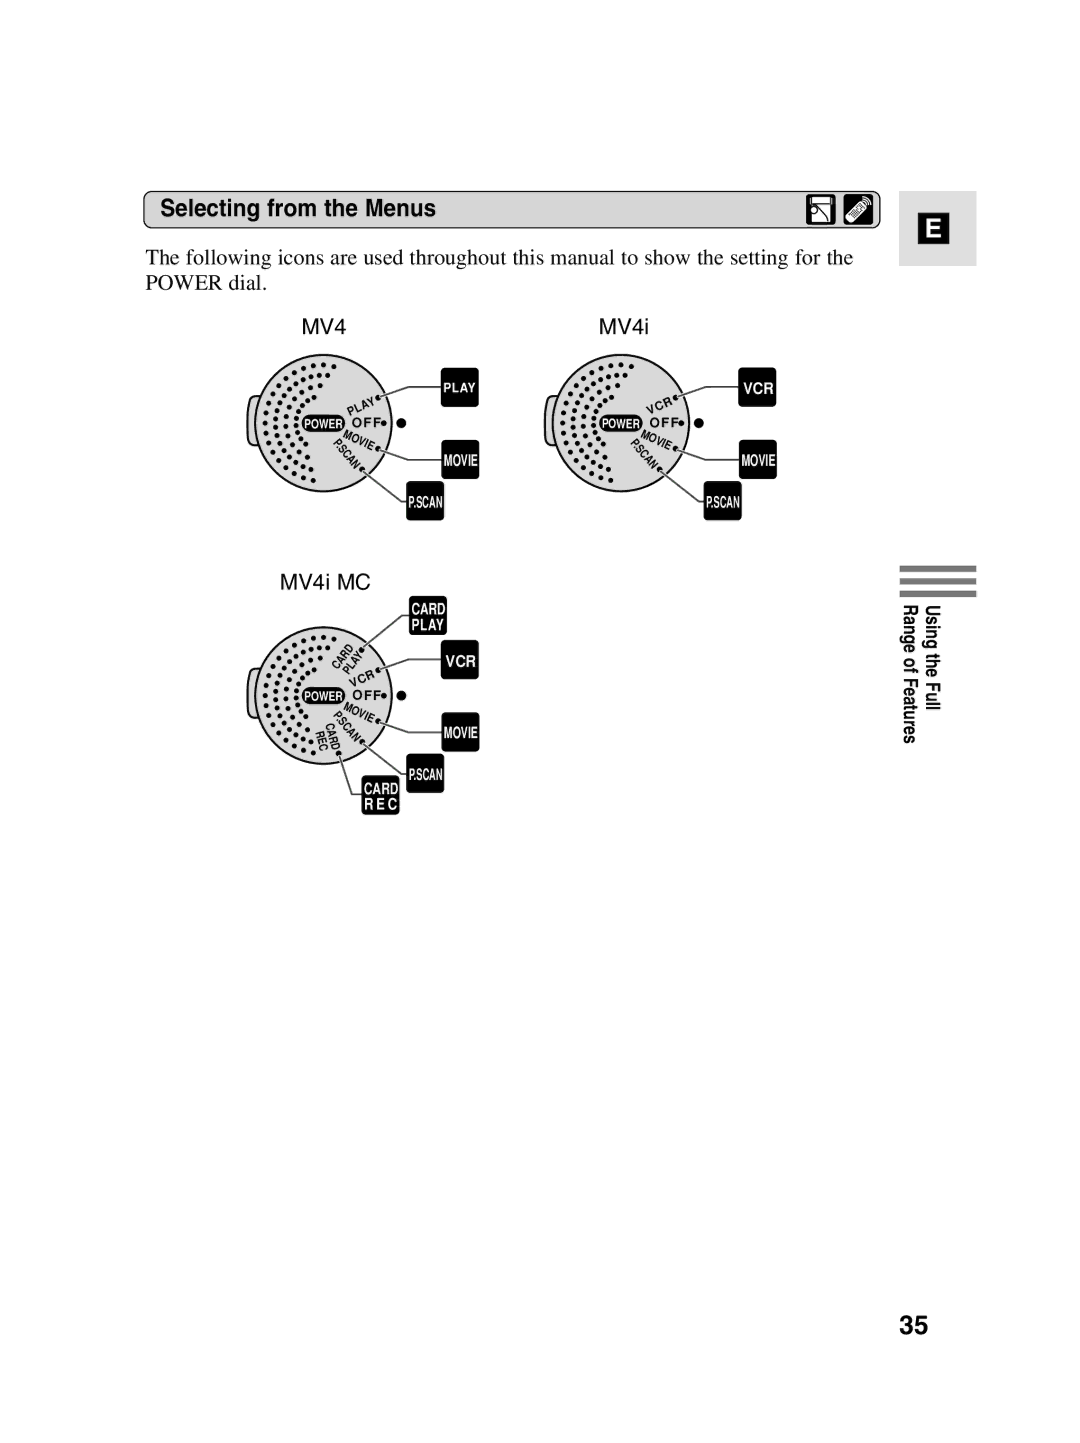
The following icons are used throughout this manual to show the setting for the POWER dial.
MV4 |
|
| MV4i |
| ||
|
|
| PLAY |
|
| VCR |
|
| PLAY |
|
| R |
|
|
|
|
| C |
| |
|
|
|
|
| V |
|
POWER | OFF |
| POWER | OFF |
| |
P | MOVIE |
| P | MOVIE |
| |
. |
|
| . |
| ||
SCAN | MOVIE | SCAN | MOVIE | |||
|
|
|
|
| ||
|
|
| P.SCAN |
|
| P.SCAN |
E
MV4i MC
|
| CARD |
|
| PLAY |
CARD | R | |
| PLAY | |
|
| VCR |
| C | |
| V |
|
POWER | OFF | |
P | MOVIE | |
. |
| |
SCAN | MOVIE | |
RECCARD |
| |
|
| |
P.SCAN
CARD
R E C
Using the Full Range of Features
35