zTo delete an entire entry: Press and hold the [ button.
Entering the Date and Time
Note
zThree date display formats are available: YYYY/MM/DD, MM/DD/YYYY, and DD/MM/YYYY. For details on the date format settings, refer to “Date display” in “Device Settings” of the User’s Guide
zWhen the machine is connected to a computer with the MP Drivers installed, the date and time setting will be copied from the computer to the machine. As long as the date and time is set accurately on your computer, you do not need to set it on the machine.
zIf you disconnect the power cord or when there is a power failure, the date and time setting on the machine will be reset. When you connect the machine to a computer with the MP Drivers installed, the setting will be copied to the machine once again.
1Display the FAX menu screen.
(1) Press the FAX button, then press the Menu button. The FAX menu screen is displayed.
2Display the Device settings screen.
(1) Use the [ or ] button to select Maintenance/settings, then press the OK button. The Maintenance/settings screen is displayed.
(2) Use the [ or ] button to select Device settings, then press the OK button. The Device settings screen is displayed.
3Display the User settings screen.
(1) Use the { or } button to select FAX settings, then press the OK button. The FAX settings screen is displayed.
(2) Use the { or } button to select User settings, then press the OK button. The User settings screen is displayed.
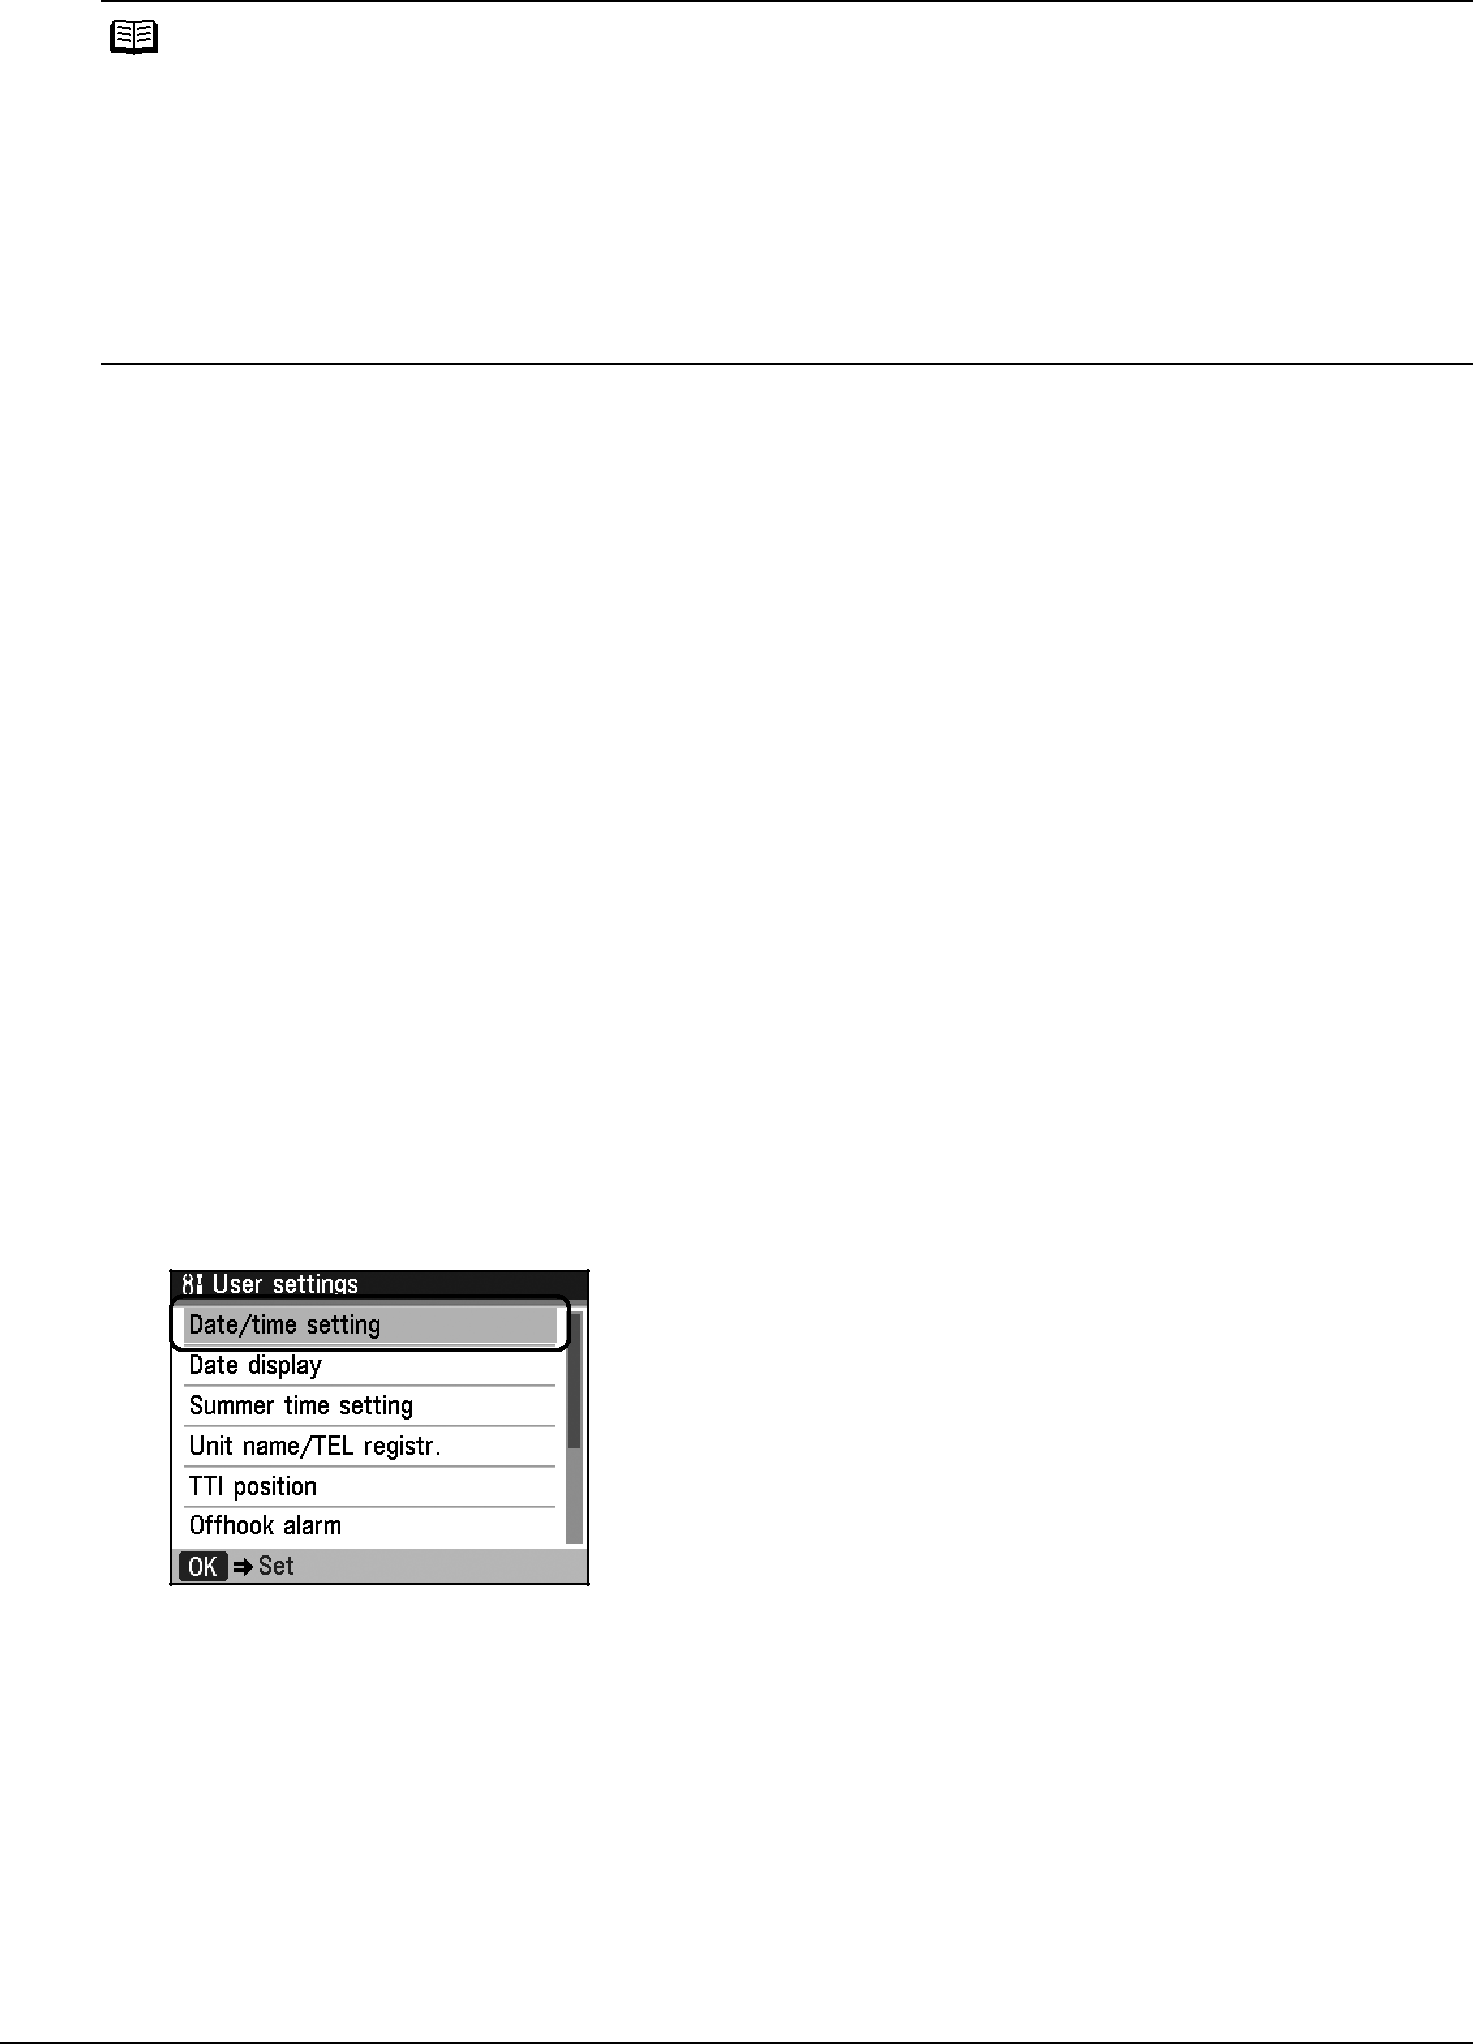
4Display the Date/time setting screen.
(1) Use the { or } button to select Date/time setting, then press the OK button.
The Date/time setting screen is displayed.
64Faxing