Chapter 3 Starting and Configuring
Configuring a Cisco 7401ASR Router
Step 4 Save your settings to NVRAM. (See the “Saving the Running Configuration to NVRAM” section on page
Note If additional Fast Ethernet interfaces are available in your system, you are prompted for their configurations as well.
Configuring Synchronous Serial Interfaces
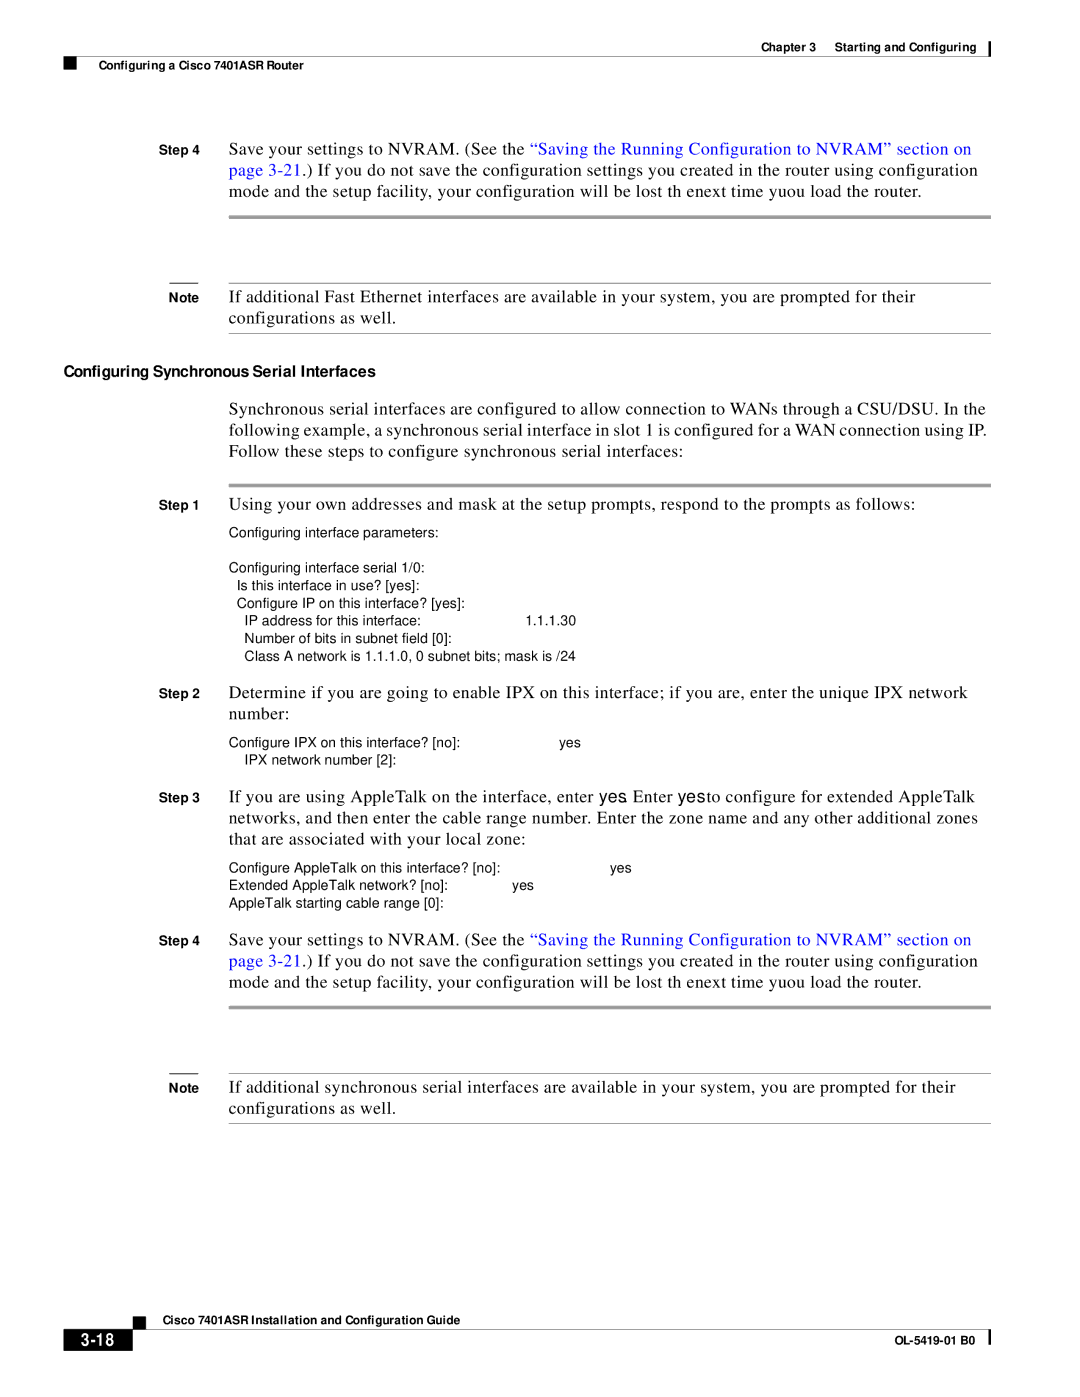
Synchronous serial interfaces are configured to allow connection to WANs through a CSU/DSU. In the following example, a synchronous serial interface in slot 1 is configured for a WAN connection using IP. Follow these steps to configure synchronous serial interfaces:
Step 1 Using your own addresses and mask at the setup prompts, respond to the prompts as follows:
Configuring interface parameters:
Configuring interface serial 1/0:
Is this interface in use? [yes]:
Configure IP on this interface? [yes]:
IP address for this interface: 1.1.1.30
Number of bits in subnet field [0]:
Class A network is 1.1.1.0, 0 subnet bits; mask is /24
Step 2 Determine if you are going to enable IPX on this interface; if you are, enter the unique IPX network number:
Configure IPX on this interface? [no]: yes
IPX network number [2]:
Step 3 If you are using AppleTalk on the interface, enter yes. Enter yes to configure for extended AppleTalk networks, and then enter the cable range number. Enter the zone name and any other additional zones that are associated with your local zone:
Configure AppleTalk on this interface? [no]: yes
Extended AppleTalk network? [no]: yes
AppleTalk starting cable range [0]:
Step 4 Save your settings to NVRAM. (See the “Saving the Running Configuration to NVRAM” section on page
Note If additional synchronous serial interfaces are available in your system, you are prompted for their configurations as well.
| Cisco 7401ASR Installation and Configuration Guide |
|
