Chapter 3 Installing the Cisco ASR 901 10G Router
Mounting the Cisco ASR 901 10G Router
Attaching Brackets for Wall-Mounting
Perform the steps given below to attach brackets on the router for
Step 1 Locate the mounting holes of the router.
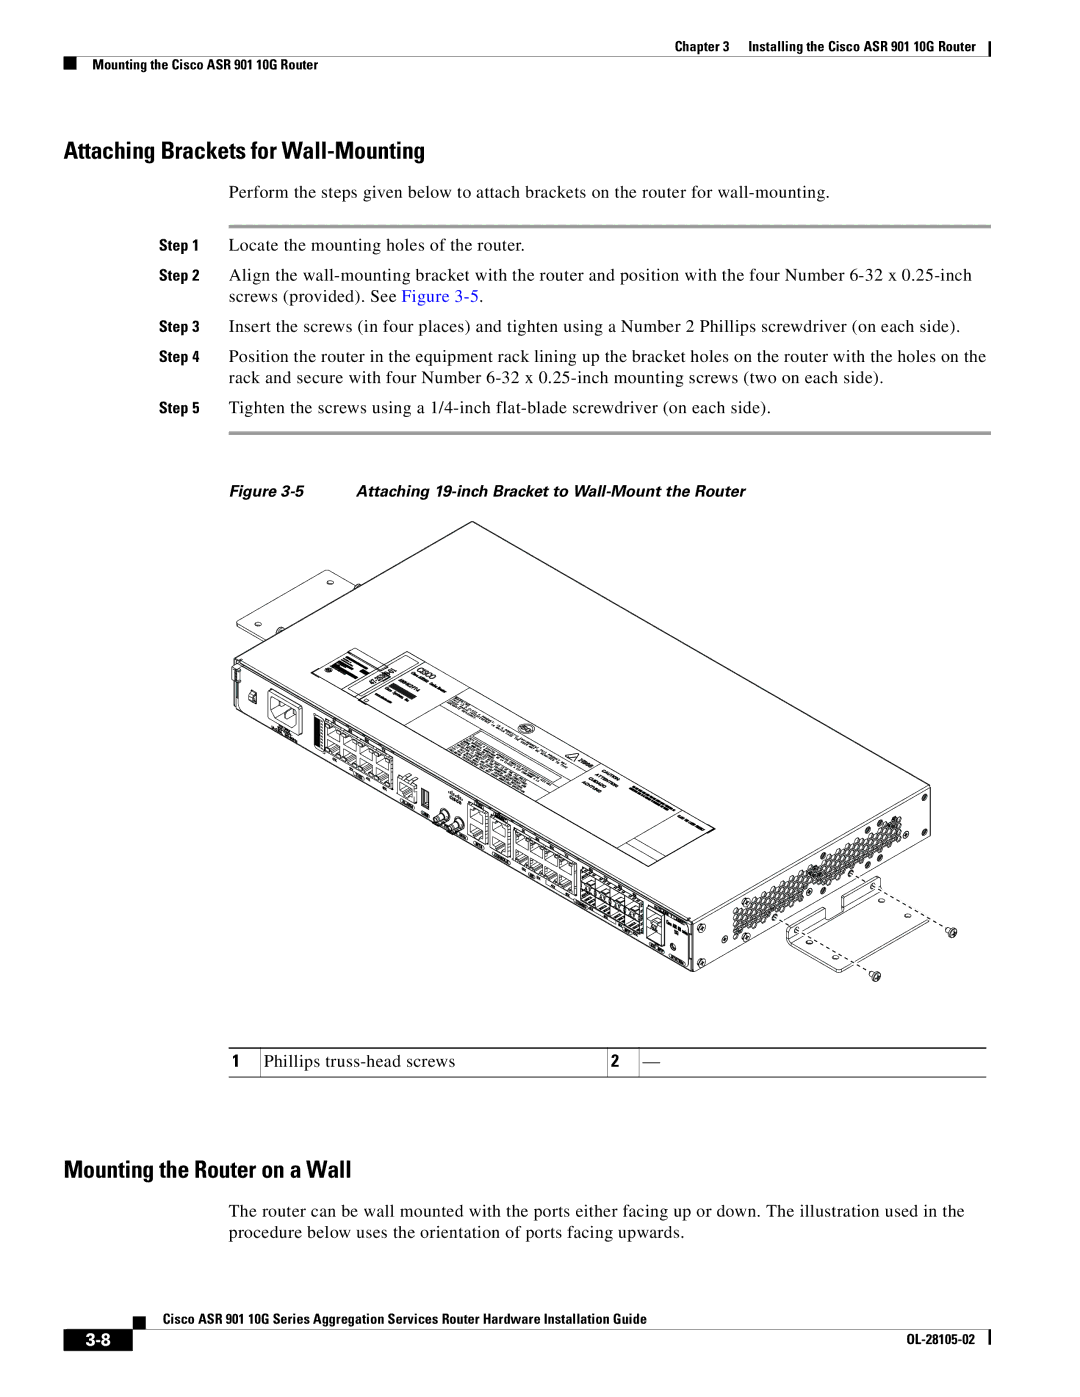
Step 2 Align the
Step 3 Insert the screws (in four places) and tighten using a Number 2 Phillips screwdriver (on each side).
Step 4 Position the router in the equipment rack lining up the bracket holes on the router with the holes on the rack and secure with four Number
Step 5 Tighten the screws using a
Figure 3-5 Attaching 19-inch Bracket to Wall-Mount the Router
1
Phillips
2
—
Mounting the Router on a Wall
The router can be wall mounted with the ports either facing up or down. The illustration used in the procedure below uses the orientation of ports facing upwards.
Cisco ASR 901 10G Series Aggregation Services Router Hardware Installation Guide
|
| |
|
