Chapter 3 Installing the Cisco ASR 901 10G Router
Installing and Removing SFP Modules
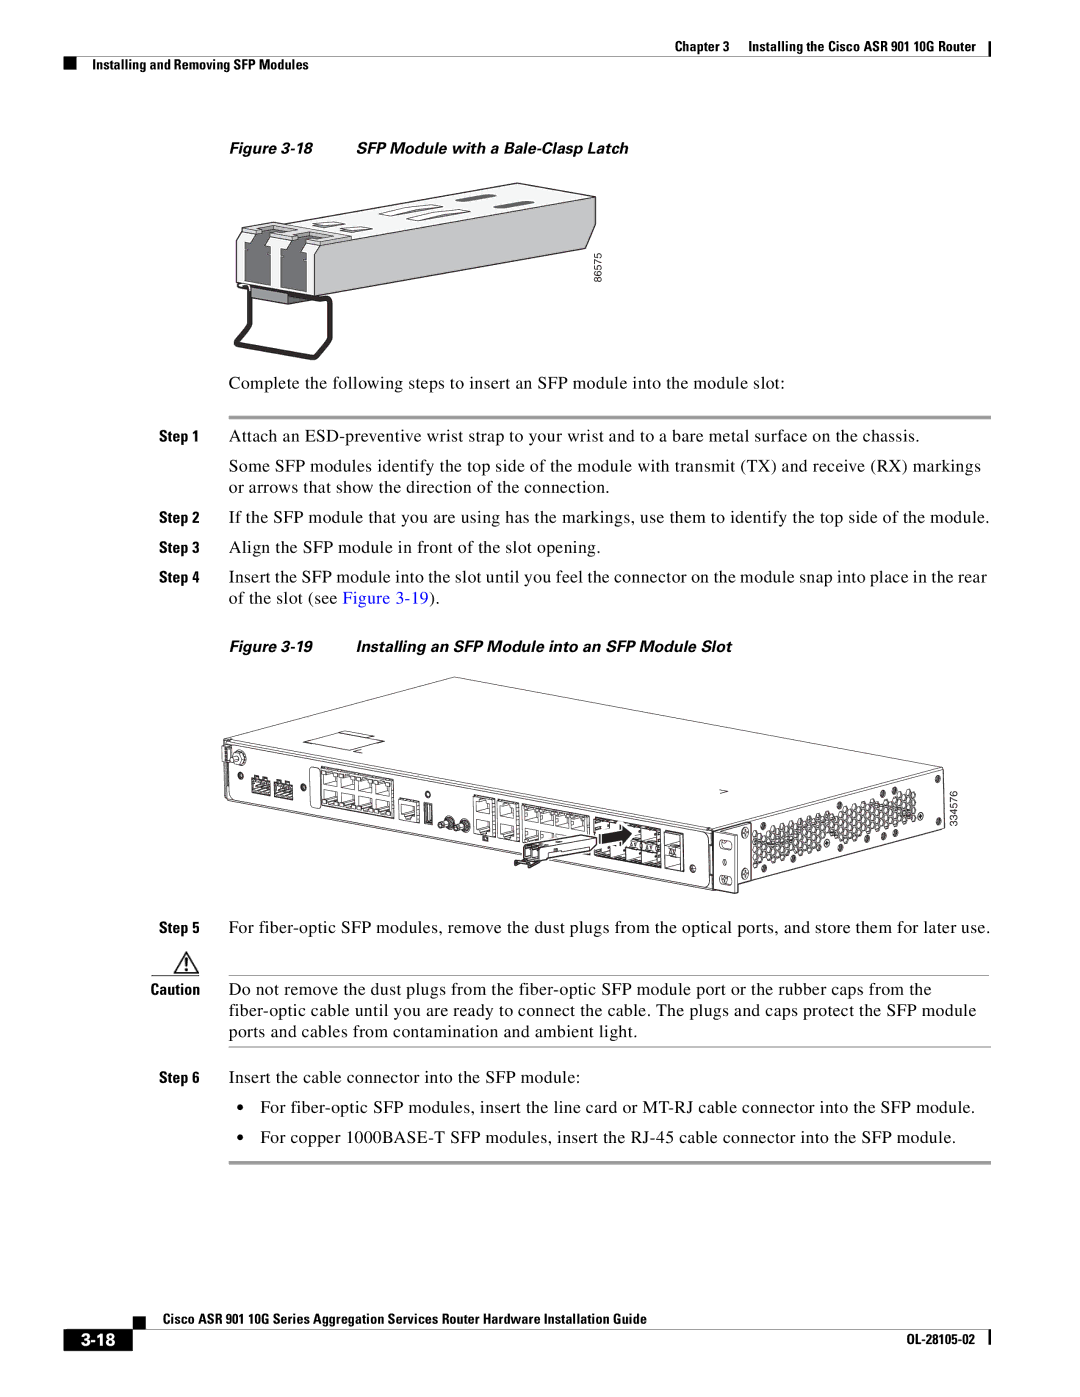
Figure 3-18 SFP Module with a Bale-Clasp Latch
86575
Complete the following steps to insert an SFP module into the module slot:
Step 1 Attach an
Some SFP modules identify the top side of the module with transmit (TX) and receive (RX) markings or arrows that show the direction of the connection.
Step 2 If the SFP module that you are using has the markings, use them to identify the top side of the module. Step 3 Align the SFP module in front of the slot opening.
Step 4 Insert the SFP module into the slot until you feel the connector on the module snap into place in the rear of the slot (see Figure
Figure 3-19 Installing an SFP Module into an SFP Module Slot
334576
Step 5 For
Caution Do not remove the dust plugs from the
Step 6 Insert the cable connector into the SFP module:
•For
•For copper
| Cisco ASR 901 10G Series Aggregation Services Router Hardware Installation Guide |
|