Getting Started
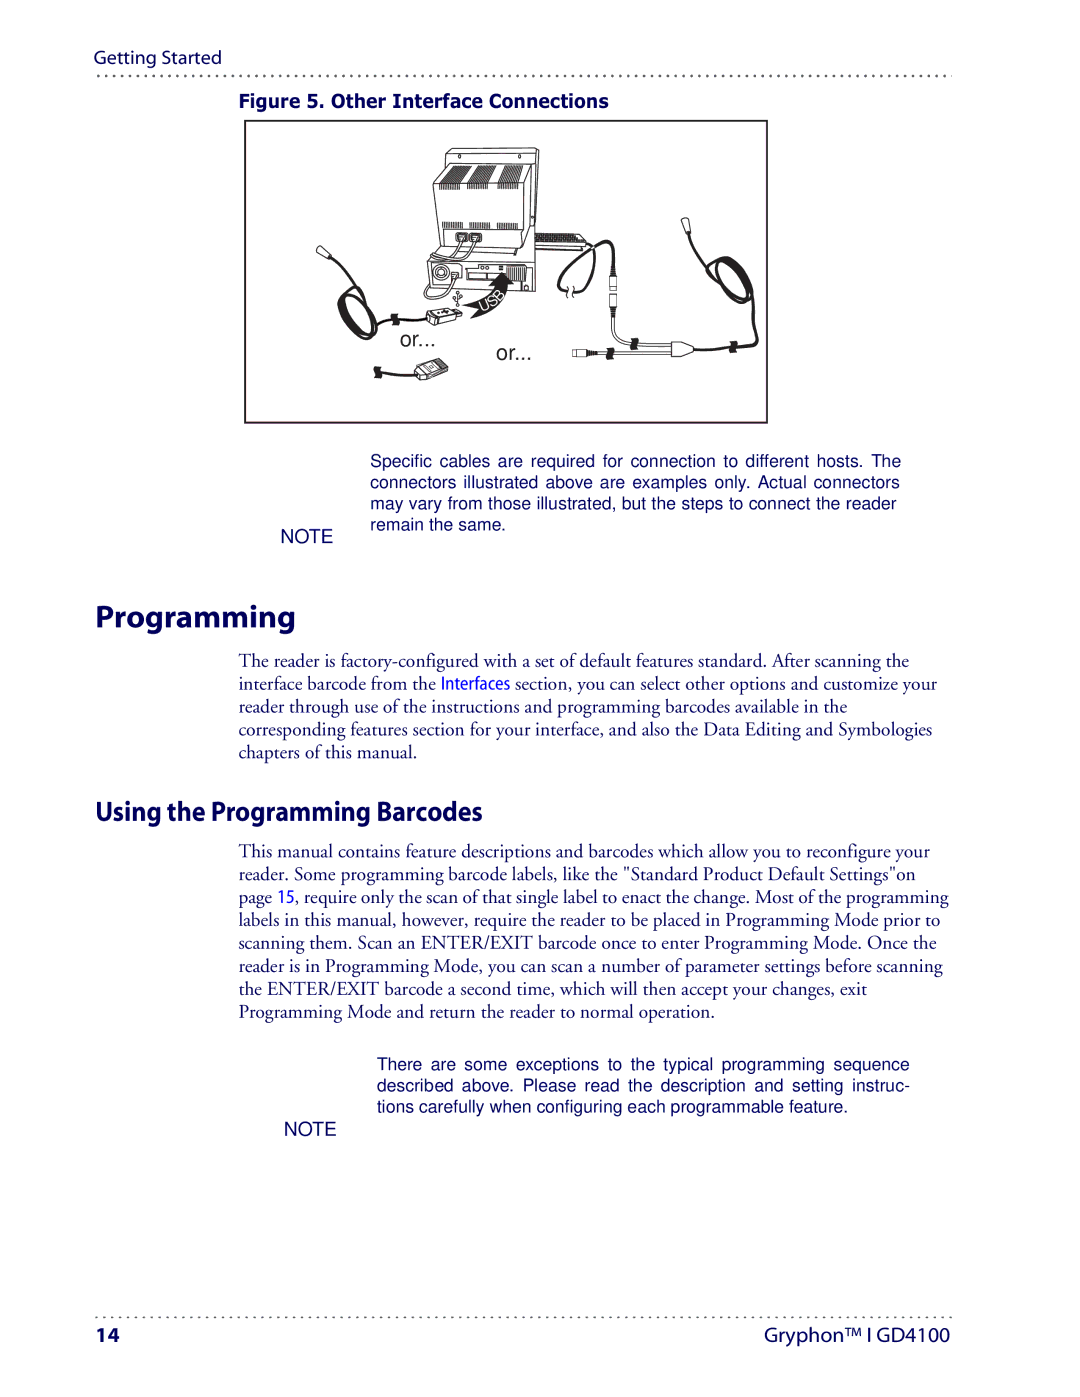
Figure 5. Other Interface Connections
| B |
S | |
U |
|
or...
IBM
K |
|
|
|
|
e |
|
|
|
|
y |
|
|
| |
b |
|
|
| |
W o |
| |||
e |
|
| ar | |
d |
|
| d | |
| g |
|
| |
or... | e |
| ||
|
|
| ||
NOTE
Programming
Specific cables are required for connection to different hosts. The connectors illustrated above are examples only. Actual connectors may vary from those illustrated, but the steps to connect the reader remain the same.
The reader is
Using the Programming Barcodes
This manual contains feature descriptions and barcodes which allow you to reconfigure your reader. Some programming barcode labels, like the "Standard Product Default Settings"on page 15, require only the scan of that single label to enact the change. Most of the programming labels in this manual, however, require the reader to be placed in Programming Mode prior to scanning them. Scan an ENTER/EXIT barcode once to enter Programming Mode. Once the reader is in Programming Mode, you can scan a number of parameter settings before scanning the ENTER/EXIT barcode a second time, which will then accept your changes, exit Programming Mode and return the reader to normal operation.
There are some exceptions to the typical programming sequence described above. Please read the description and setting instruc- tions carefully when configuring each programmable feature.
NOTE
14 | Gryphon™ I GD4100 |
