37 Replacing the Processor
WARNING: Before working inside your computer, read the safety information that shipped with your computer and follow the steps in "Before You Begin" on page 11. After working inside your computer, follow the instructions in "After Working Inside Your Computer" on page 13. For additional safety best practices information, see the Regulatory Compliance Homepage at dell.com/ regulatory_compliance.
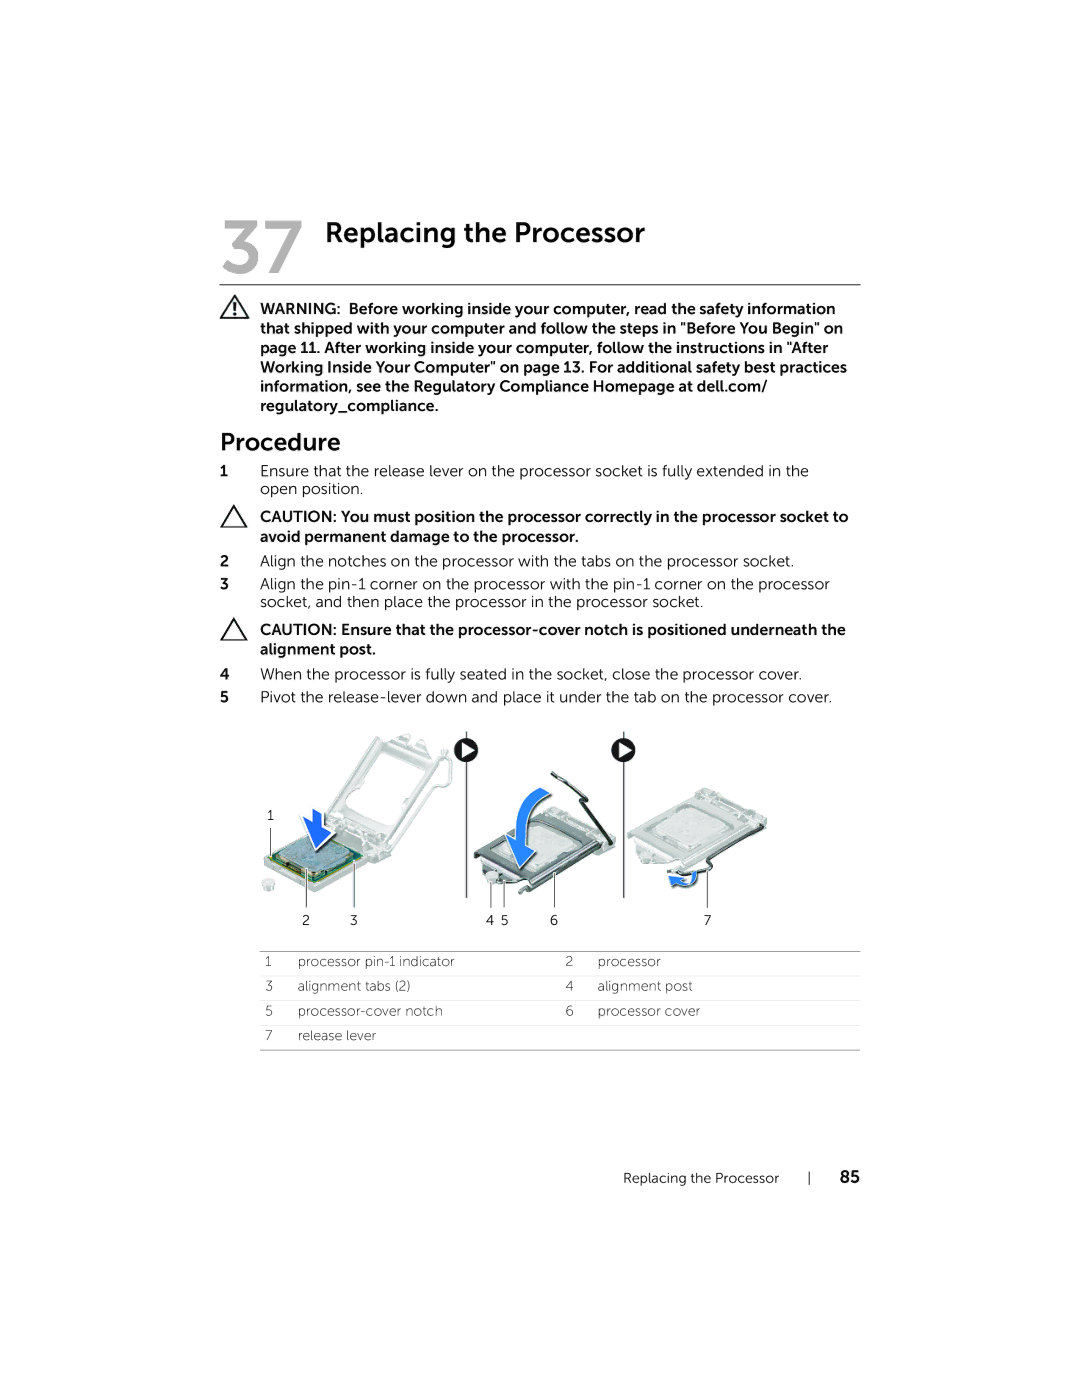
Procedure
1Ensure that the release lever on the processor socket is fully extended in the open position.
CAUTION: You must position the processor correctly in the processor socket to avoid permanent damage to the processor.
2Align the notches on the processor with the tabs on the processor socket.
3Align the
CAUTION: Ensure that the
4When the processor is fully seated in the socket, close the processor cover.
5Pivot the
1
| 2 | 3 | 4 5 | 6 | 7 |
|
|
|
|
| |
1 | processor |
| 2 | processor | |
|
|
|
|
| |
3 | alignment tabs (2) |
| 4 | alignment post | |
|
|
|
|
| |
5 |
| 6 | processor cover | ||
|
|
|
|
| |
7 | release lever |
|
|
| |
|
|
|
|
|
|
Replacing the Processor | 85 |