12
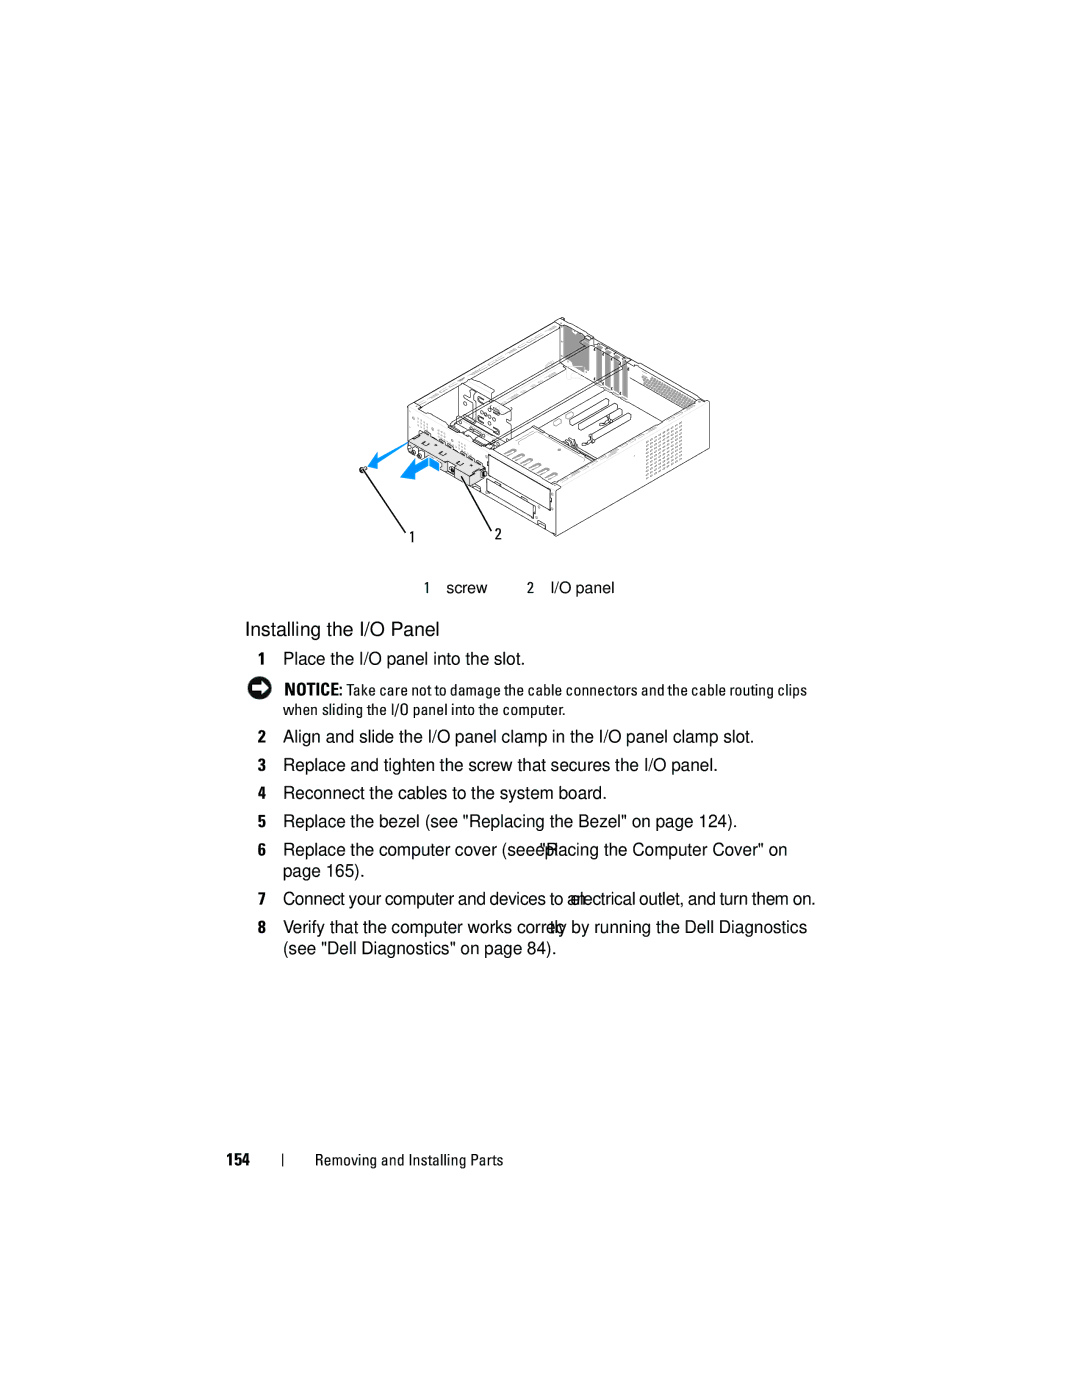
1 screw | 2 I/O panel |
Installing the I/O Panel
1Place the I/O panel into the slot.
NOTICE: Take care not to damage the cable connectors and the cable routing clips when sliding the I/O panel into the computer.
2Align and slide the I/O panel clamp in the I/O panel clamp slot.
3Replace and tighten the screw that secures the I/O panel.
4Reconnect the cables to the system board.
5Replace the bezel (see "Replacing the Bezel" on page 124).
6Replace the computer cover (see "Replacing the Computer Cover" on page 165).
7Connect your computer and devices to an electrical outlet, and turn them on.
8Verify that the computer works correctly by running the Dell Diagnostics (see "Dell Diagnostics" on page 84).
154