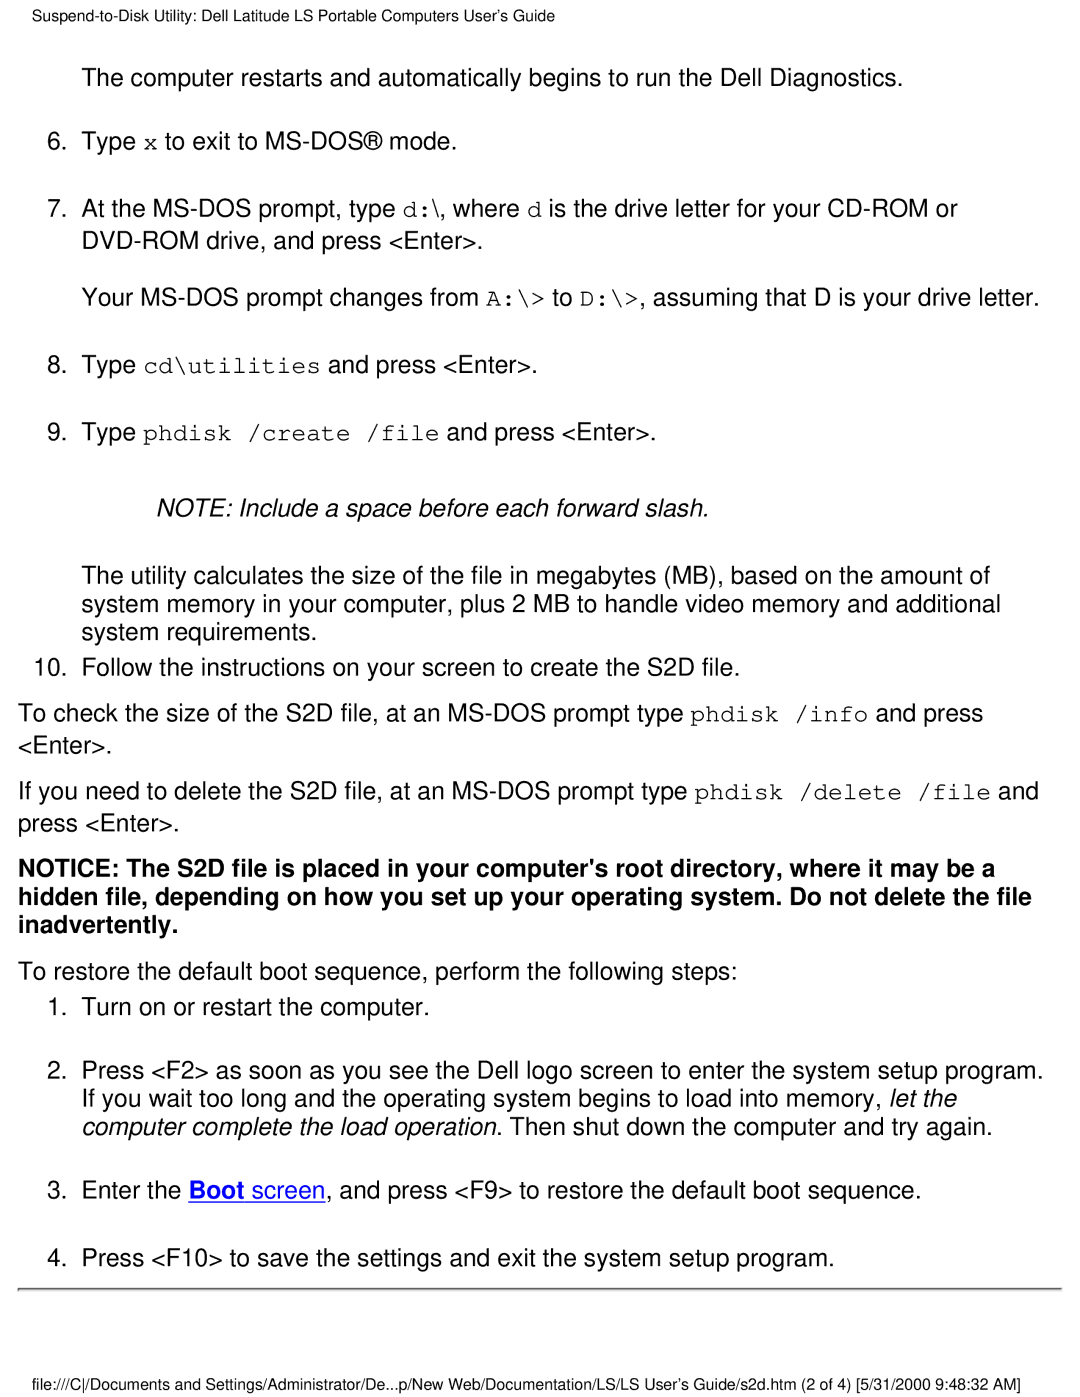
The computer restarts and automatically begins to run the Dell Diagnostics.
6.Type x to exit to
7.At the
Your
8.Type cd\utilities and press <Enter>.
9.Type phdisk /create /file and press <Enter>.
NOTE: Include a space before each forward slash.
The utility calculates the size of the file in megabytes (MB), based on the amount of system memory in your computer, plus 2 MB to handle video memory and additional system requirements.
10. Follow the instructions on your screen to create the S2D file.
To check the size of the S2D file, at an
If you need to delete the S2D file, at an
NOTICE: The S2D file is placed in your computer's root directory, where it may be a hidden file, depending on how you set up your operating system. Do not delete the file inadvertently.
To restore the default boot sequence, perform the following steps:
1.Turn on or restart the computer.
2.Press <F2> as soon as you see the Dell logo screen to enter the system setup program. If you wait too long and the operating system begins to load into memory, let the computer complete the load operation. Then shut down the computer and try again.
3.Enter the Boot screen, and press <F9> to restore the default boot sequence.
4.Press <F10> to save the settings and exit the system setup program.
file:///C/Documents and Settings/Administrator/De...p/New Web/Documentation/LS/LS User's Guide/s2d.htm (2 of 4) [5/31/2000 9:48:32 AM]
